

DIY Painted Scalloped Wall - Cove’s Room
*The Following Post May Contain Affiliate Links Which I Earn A Small Commission From. Thank You!*
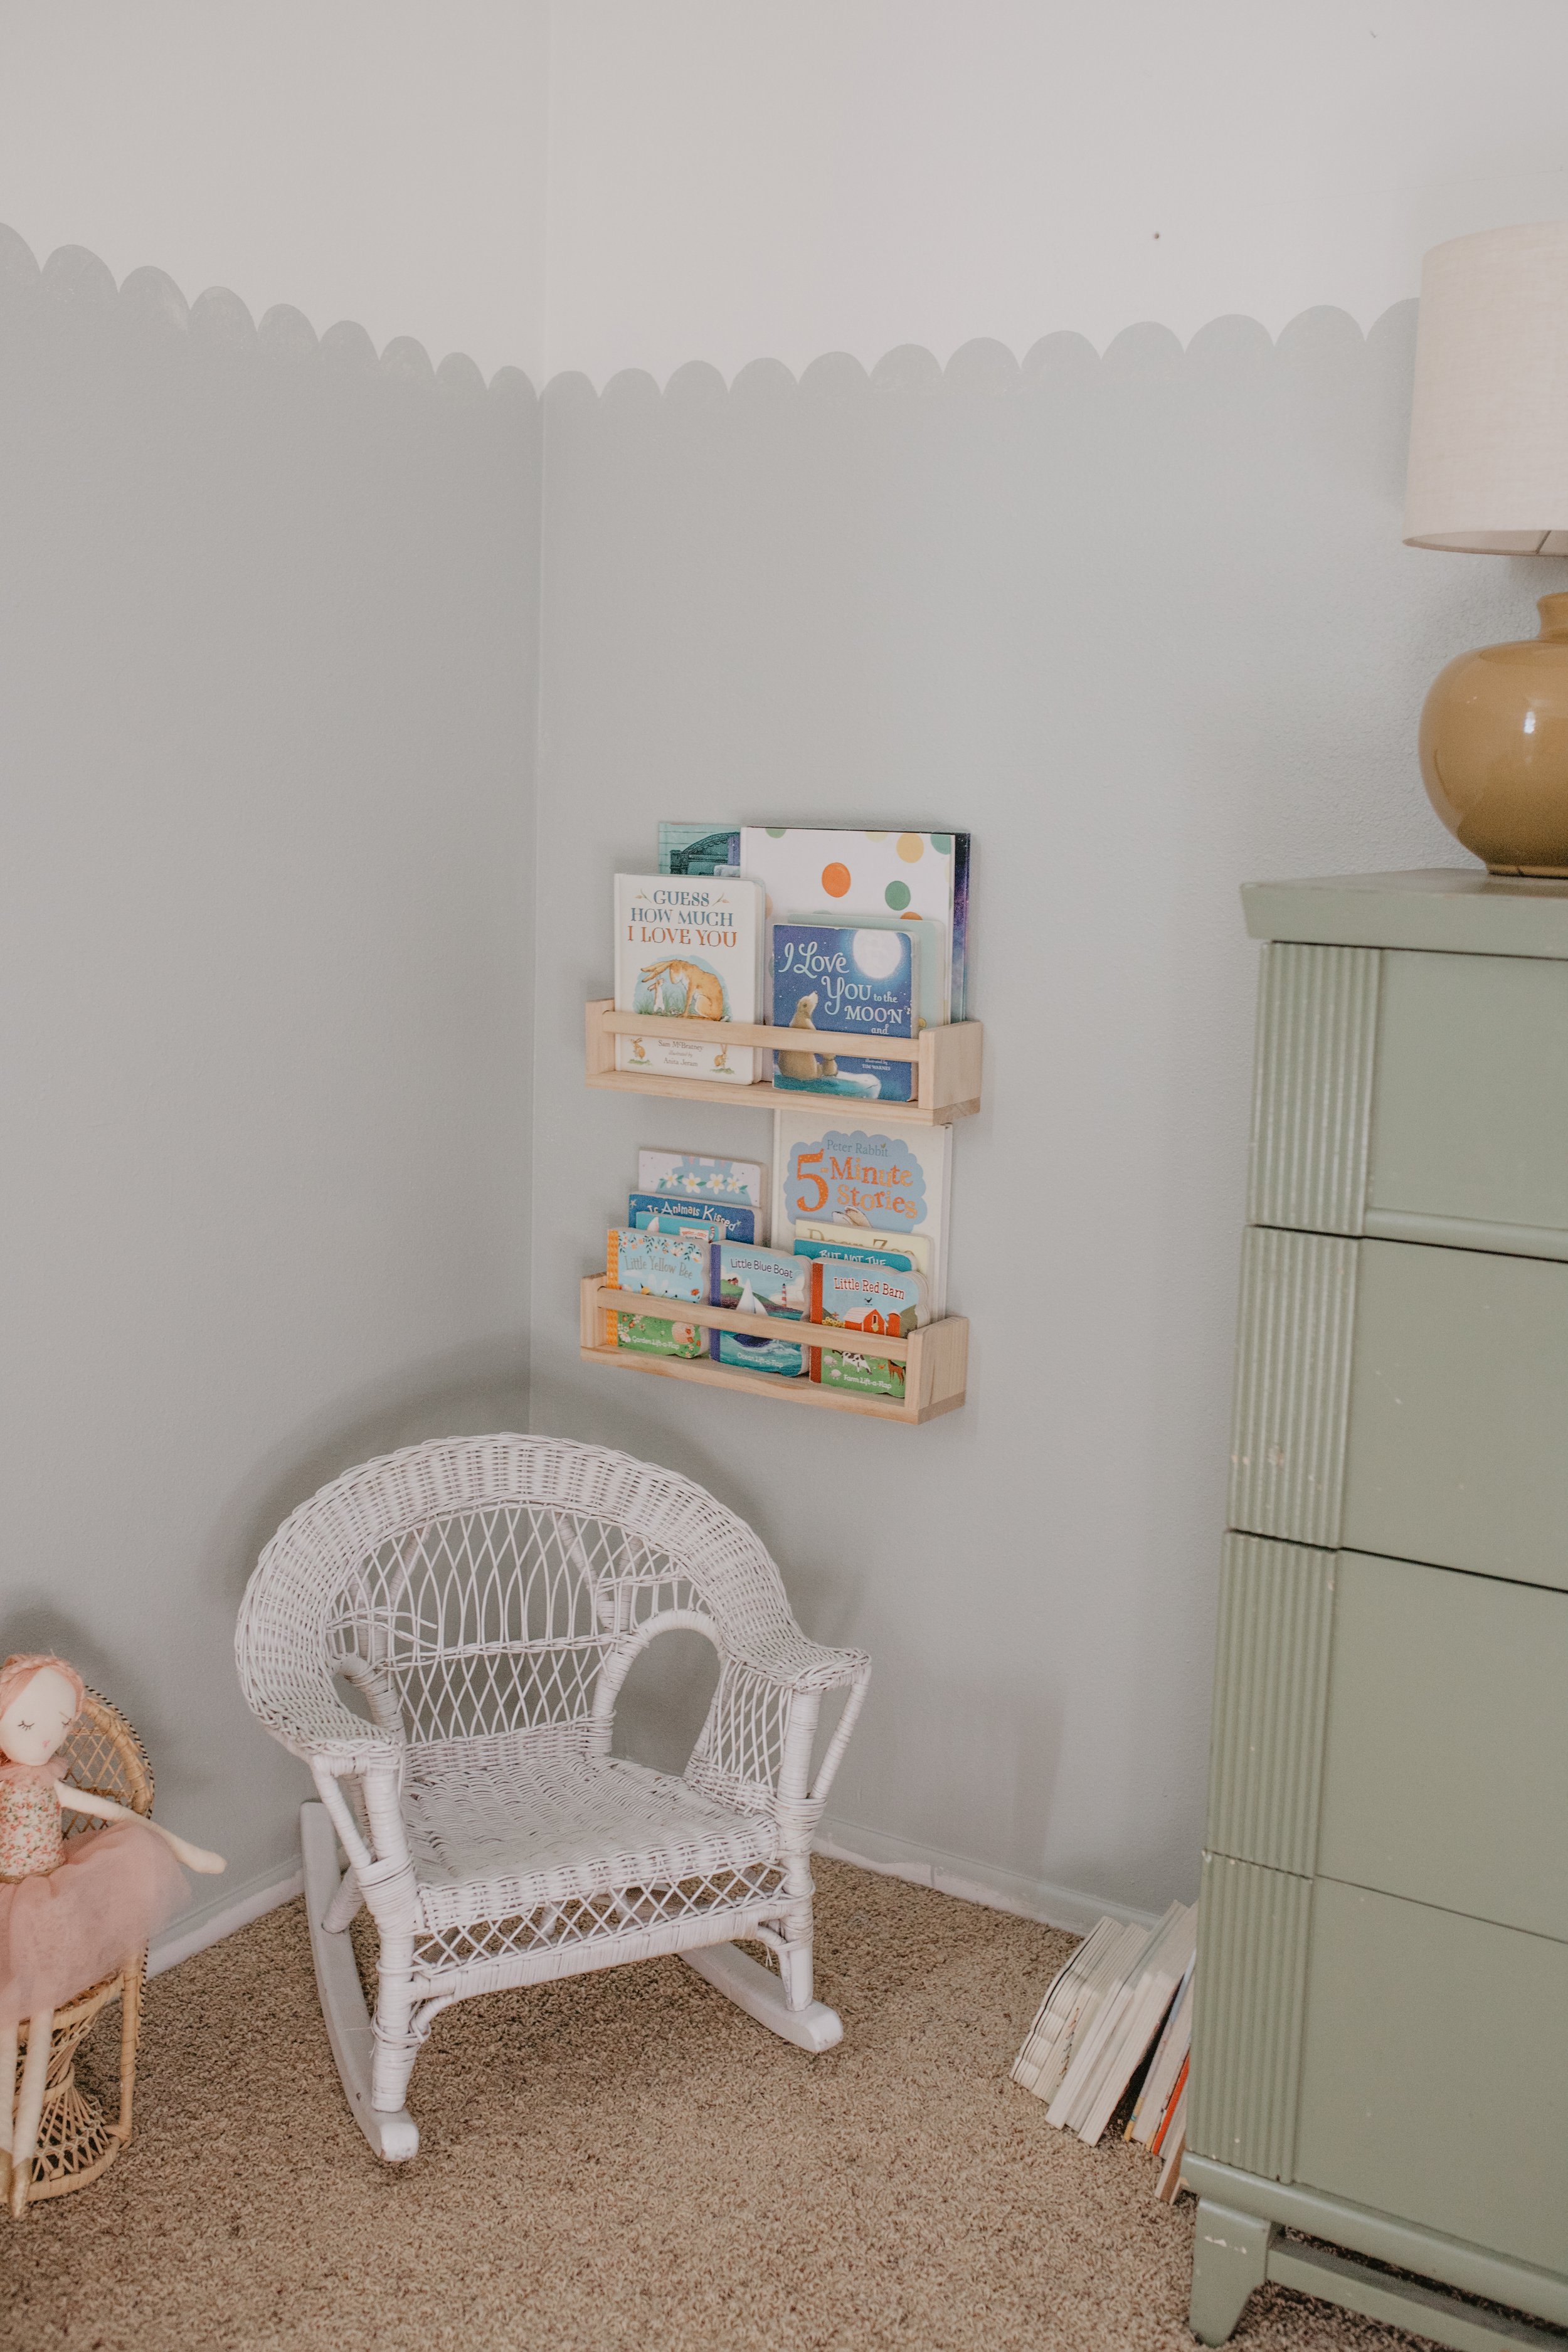
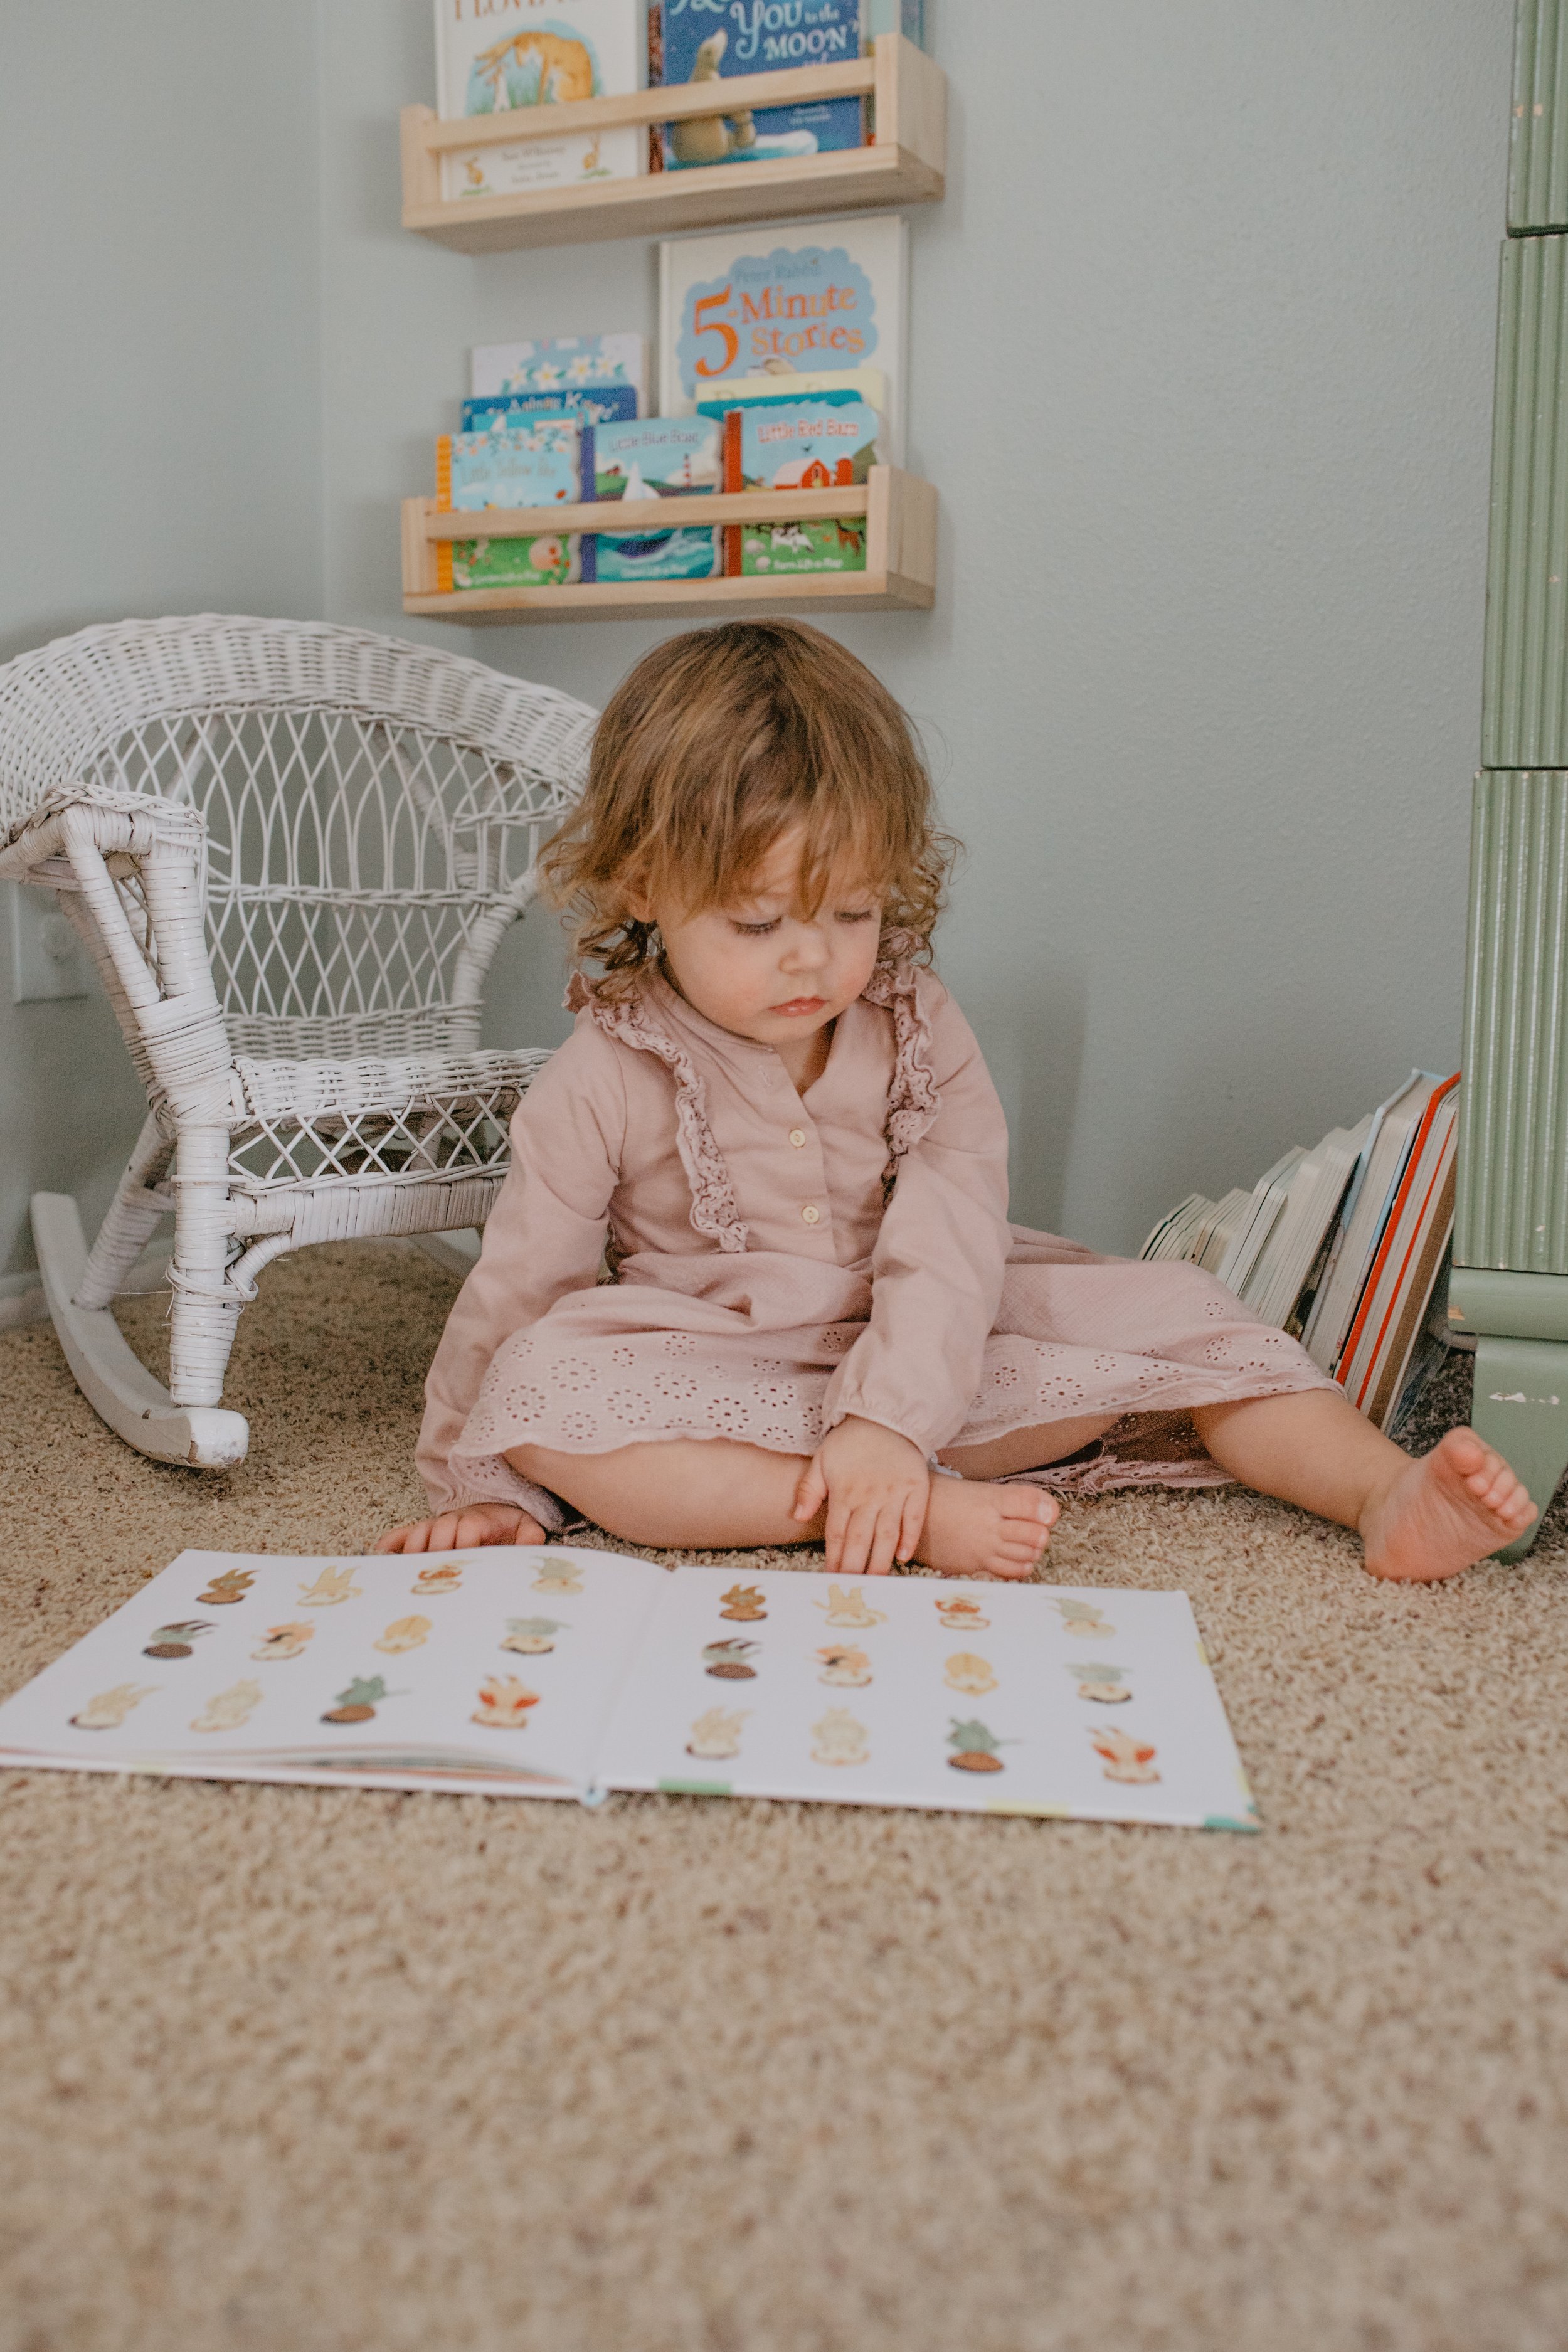
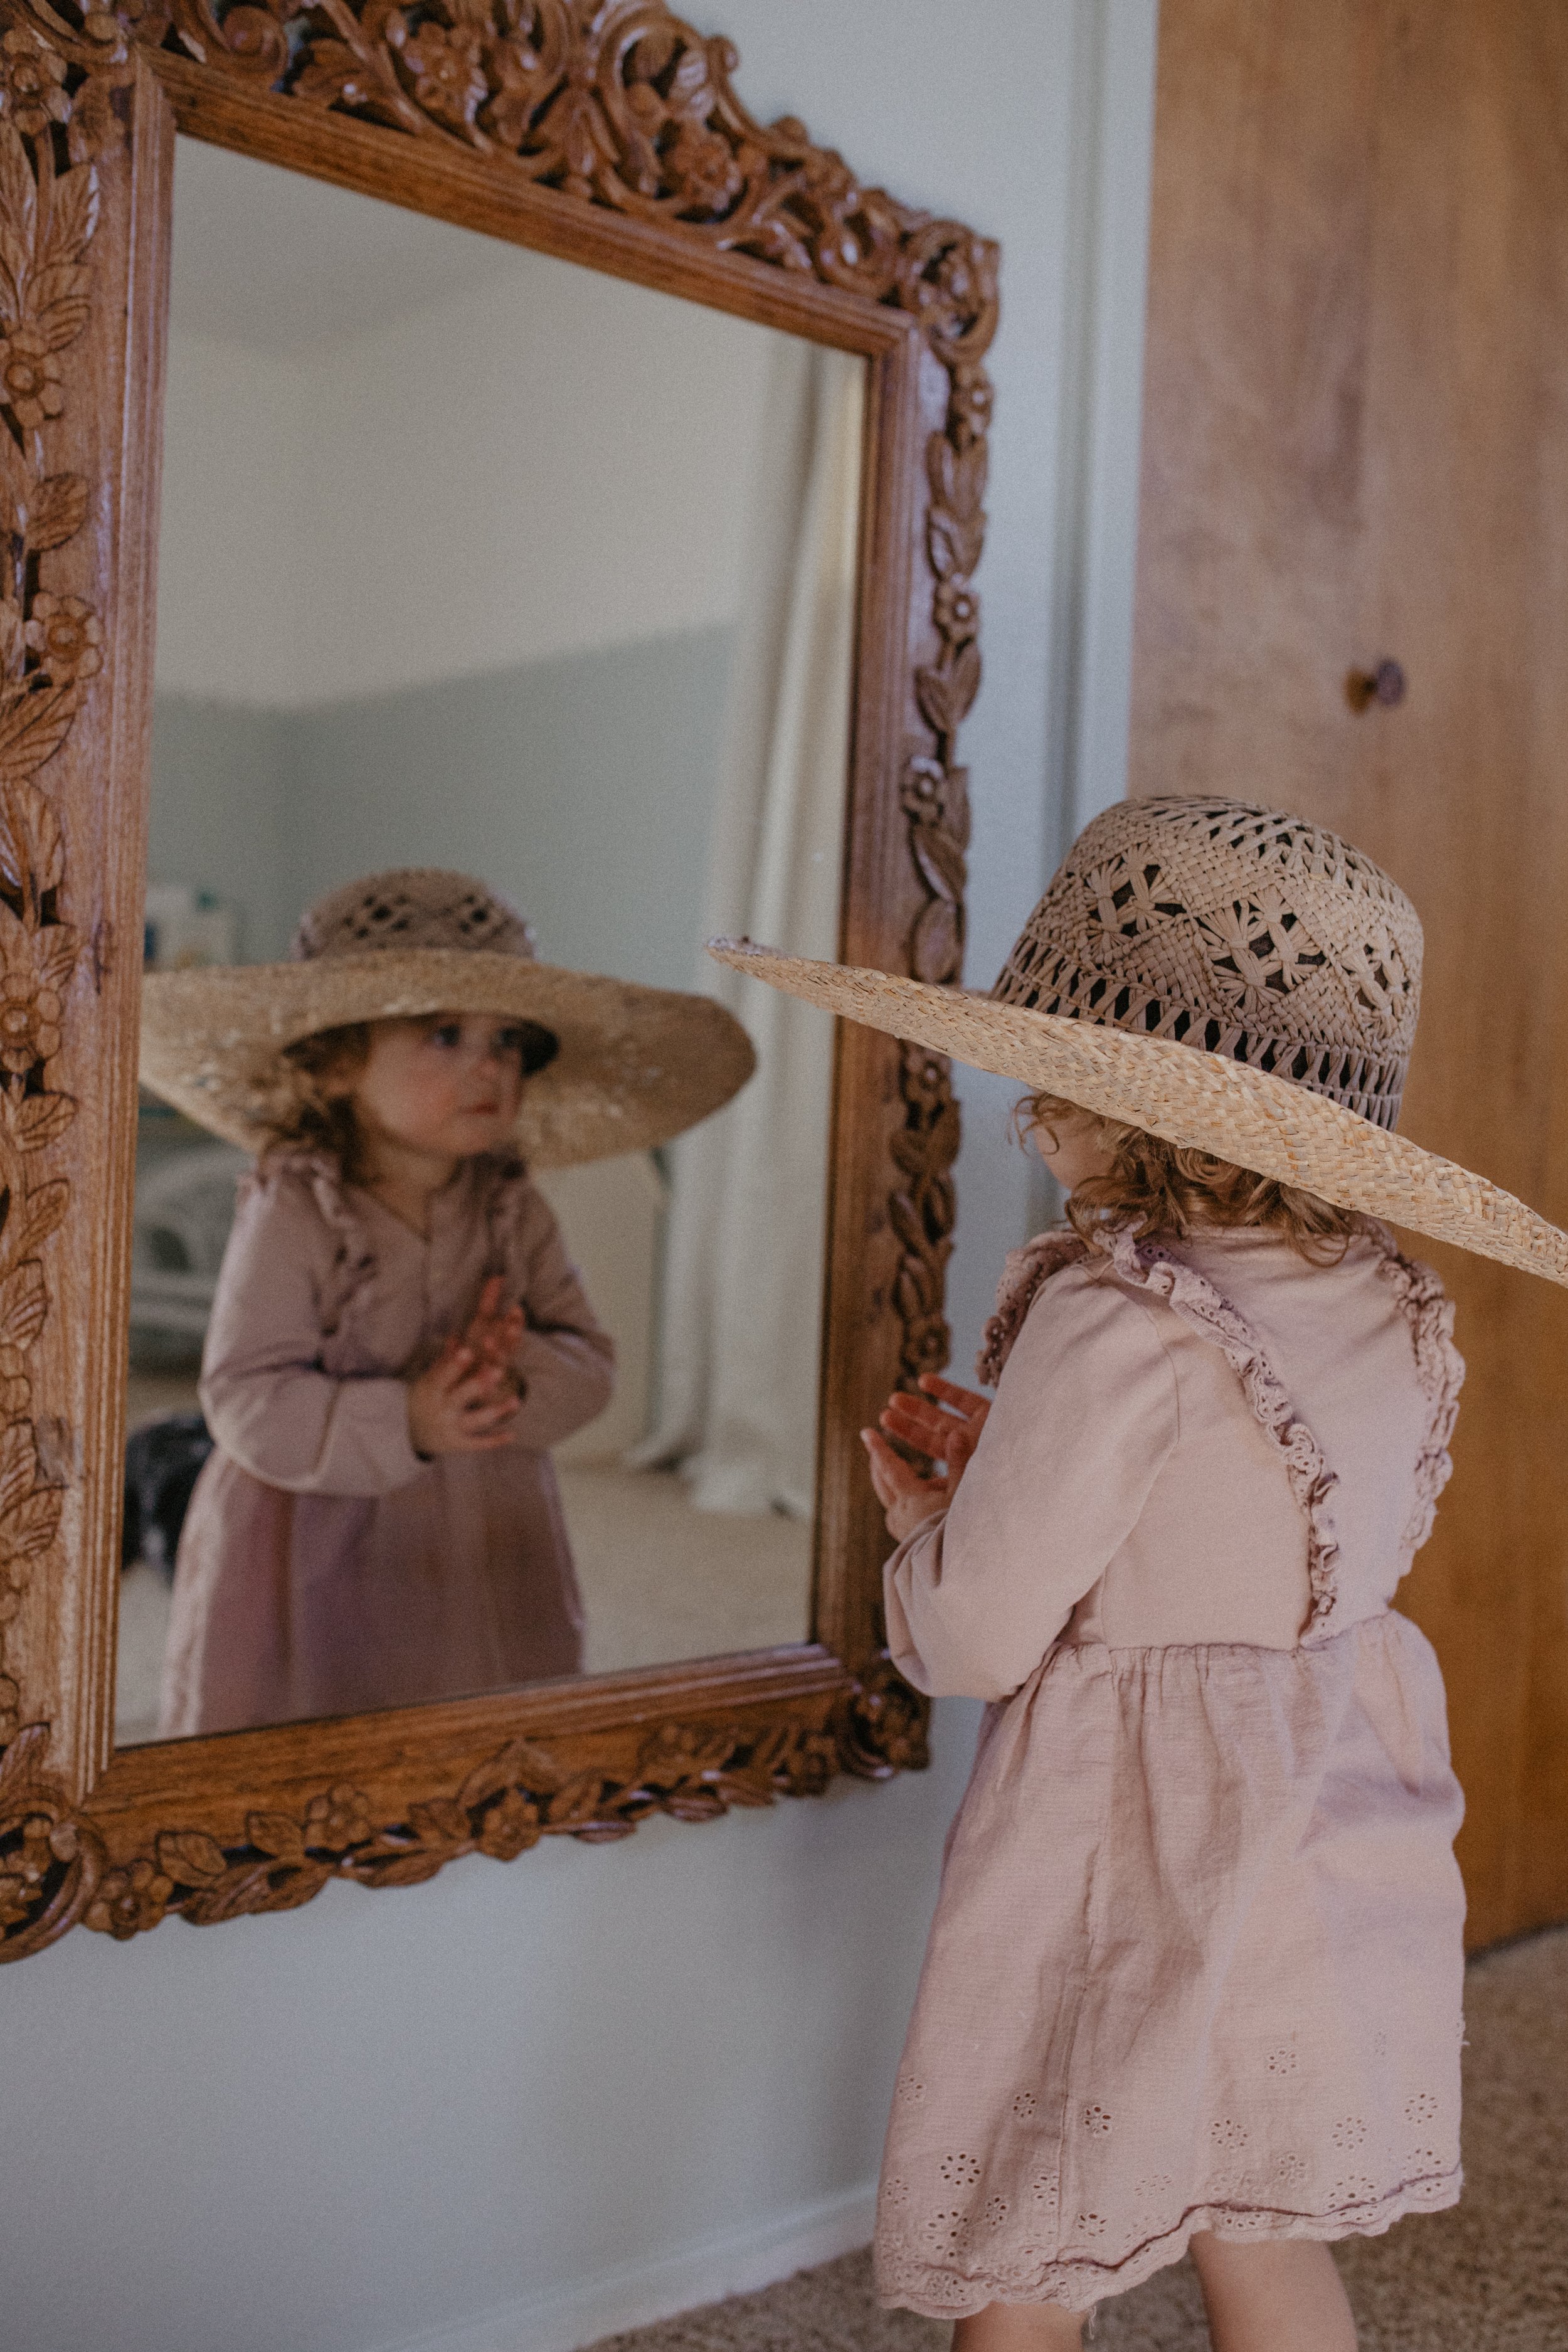
I am so excited to share Cove’s room makeover! It feels like a whimsical cottage theme with a touch of elegance and fun! My favorite is the scalloped paint border around the room!
First off, it has taken me a while to figure out my decorating style. I hopped on the boho train and started out with warm oranges and suns for Cove’s room…Still cute but not the style I realized I wanted. I wanted to do a timeless look that could be a cute and creative space since this is her room and playroom!

*Updated Pic
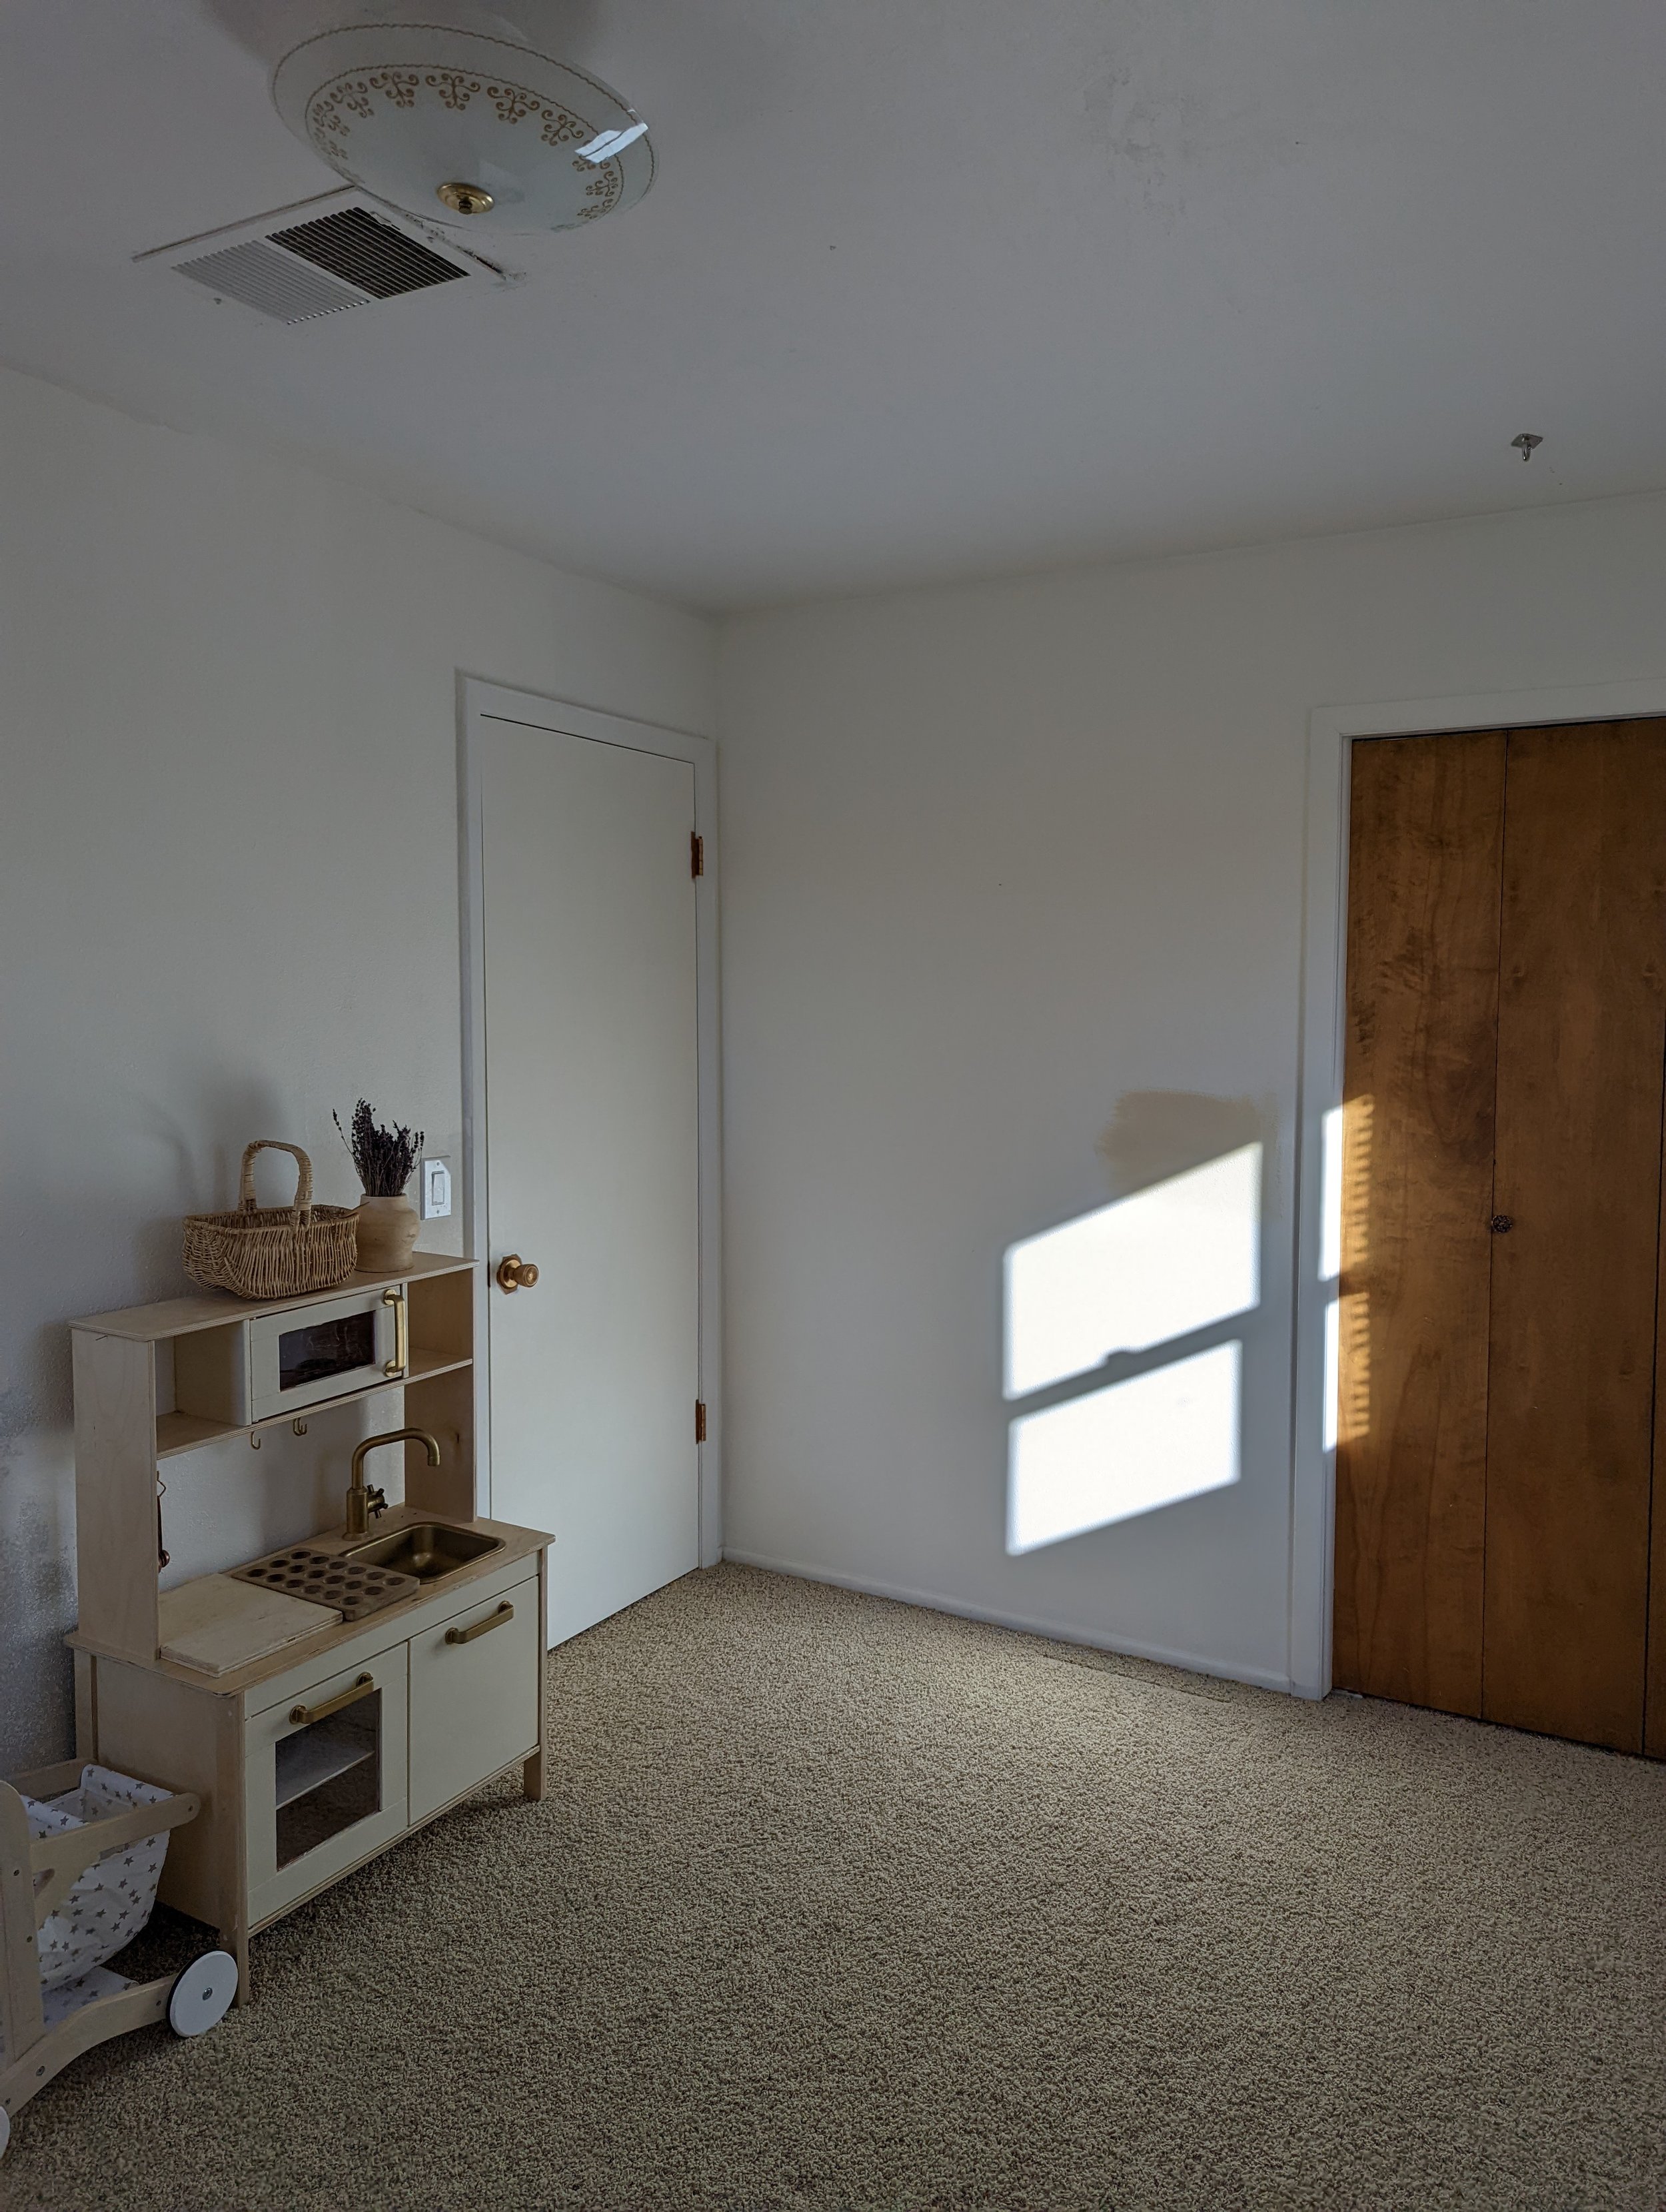
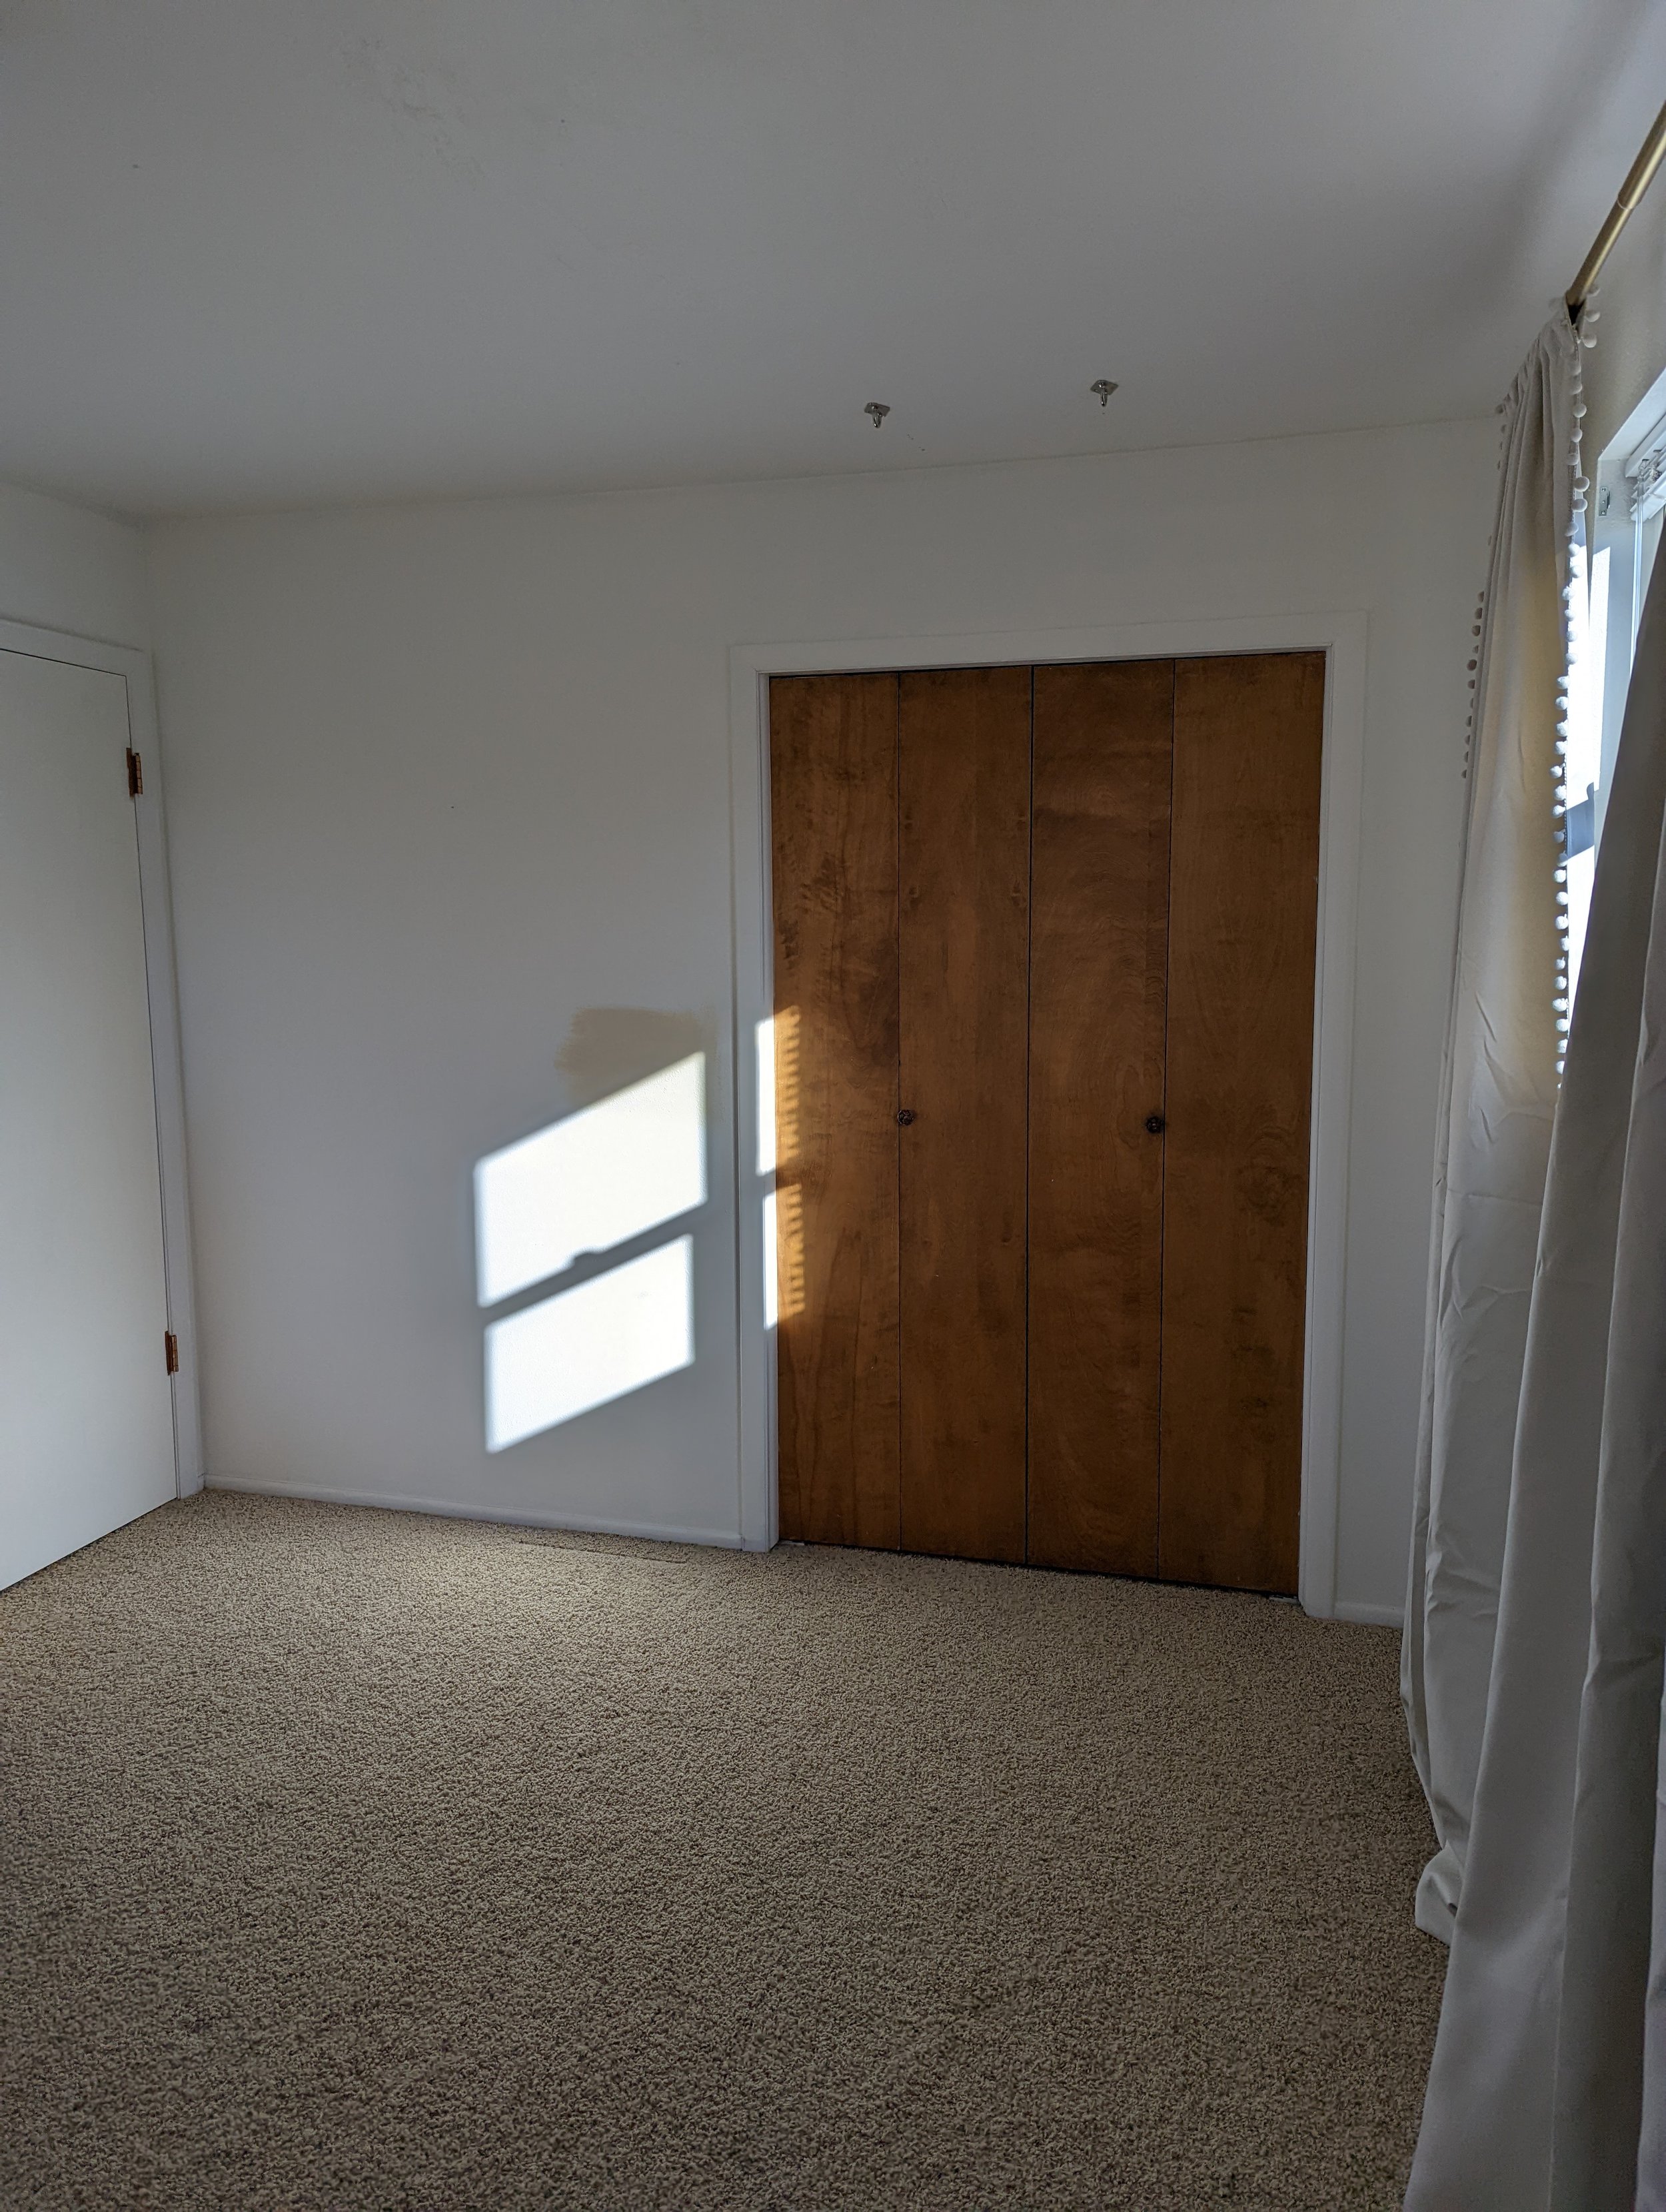
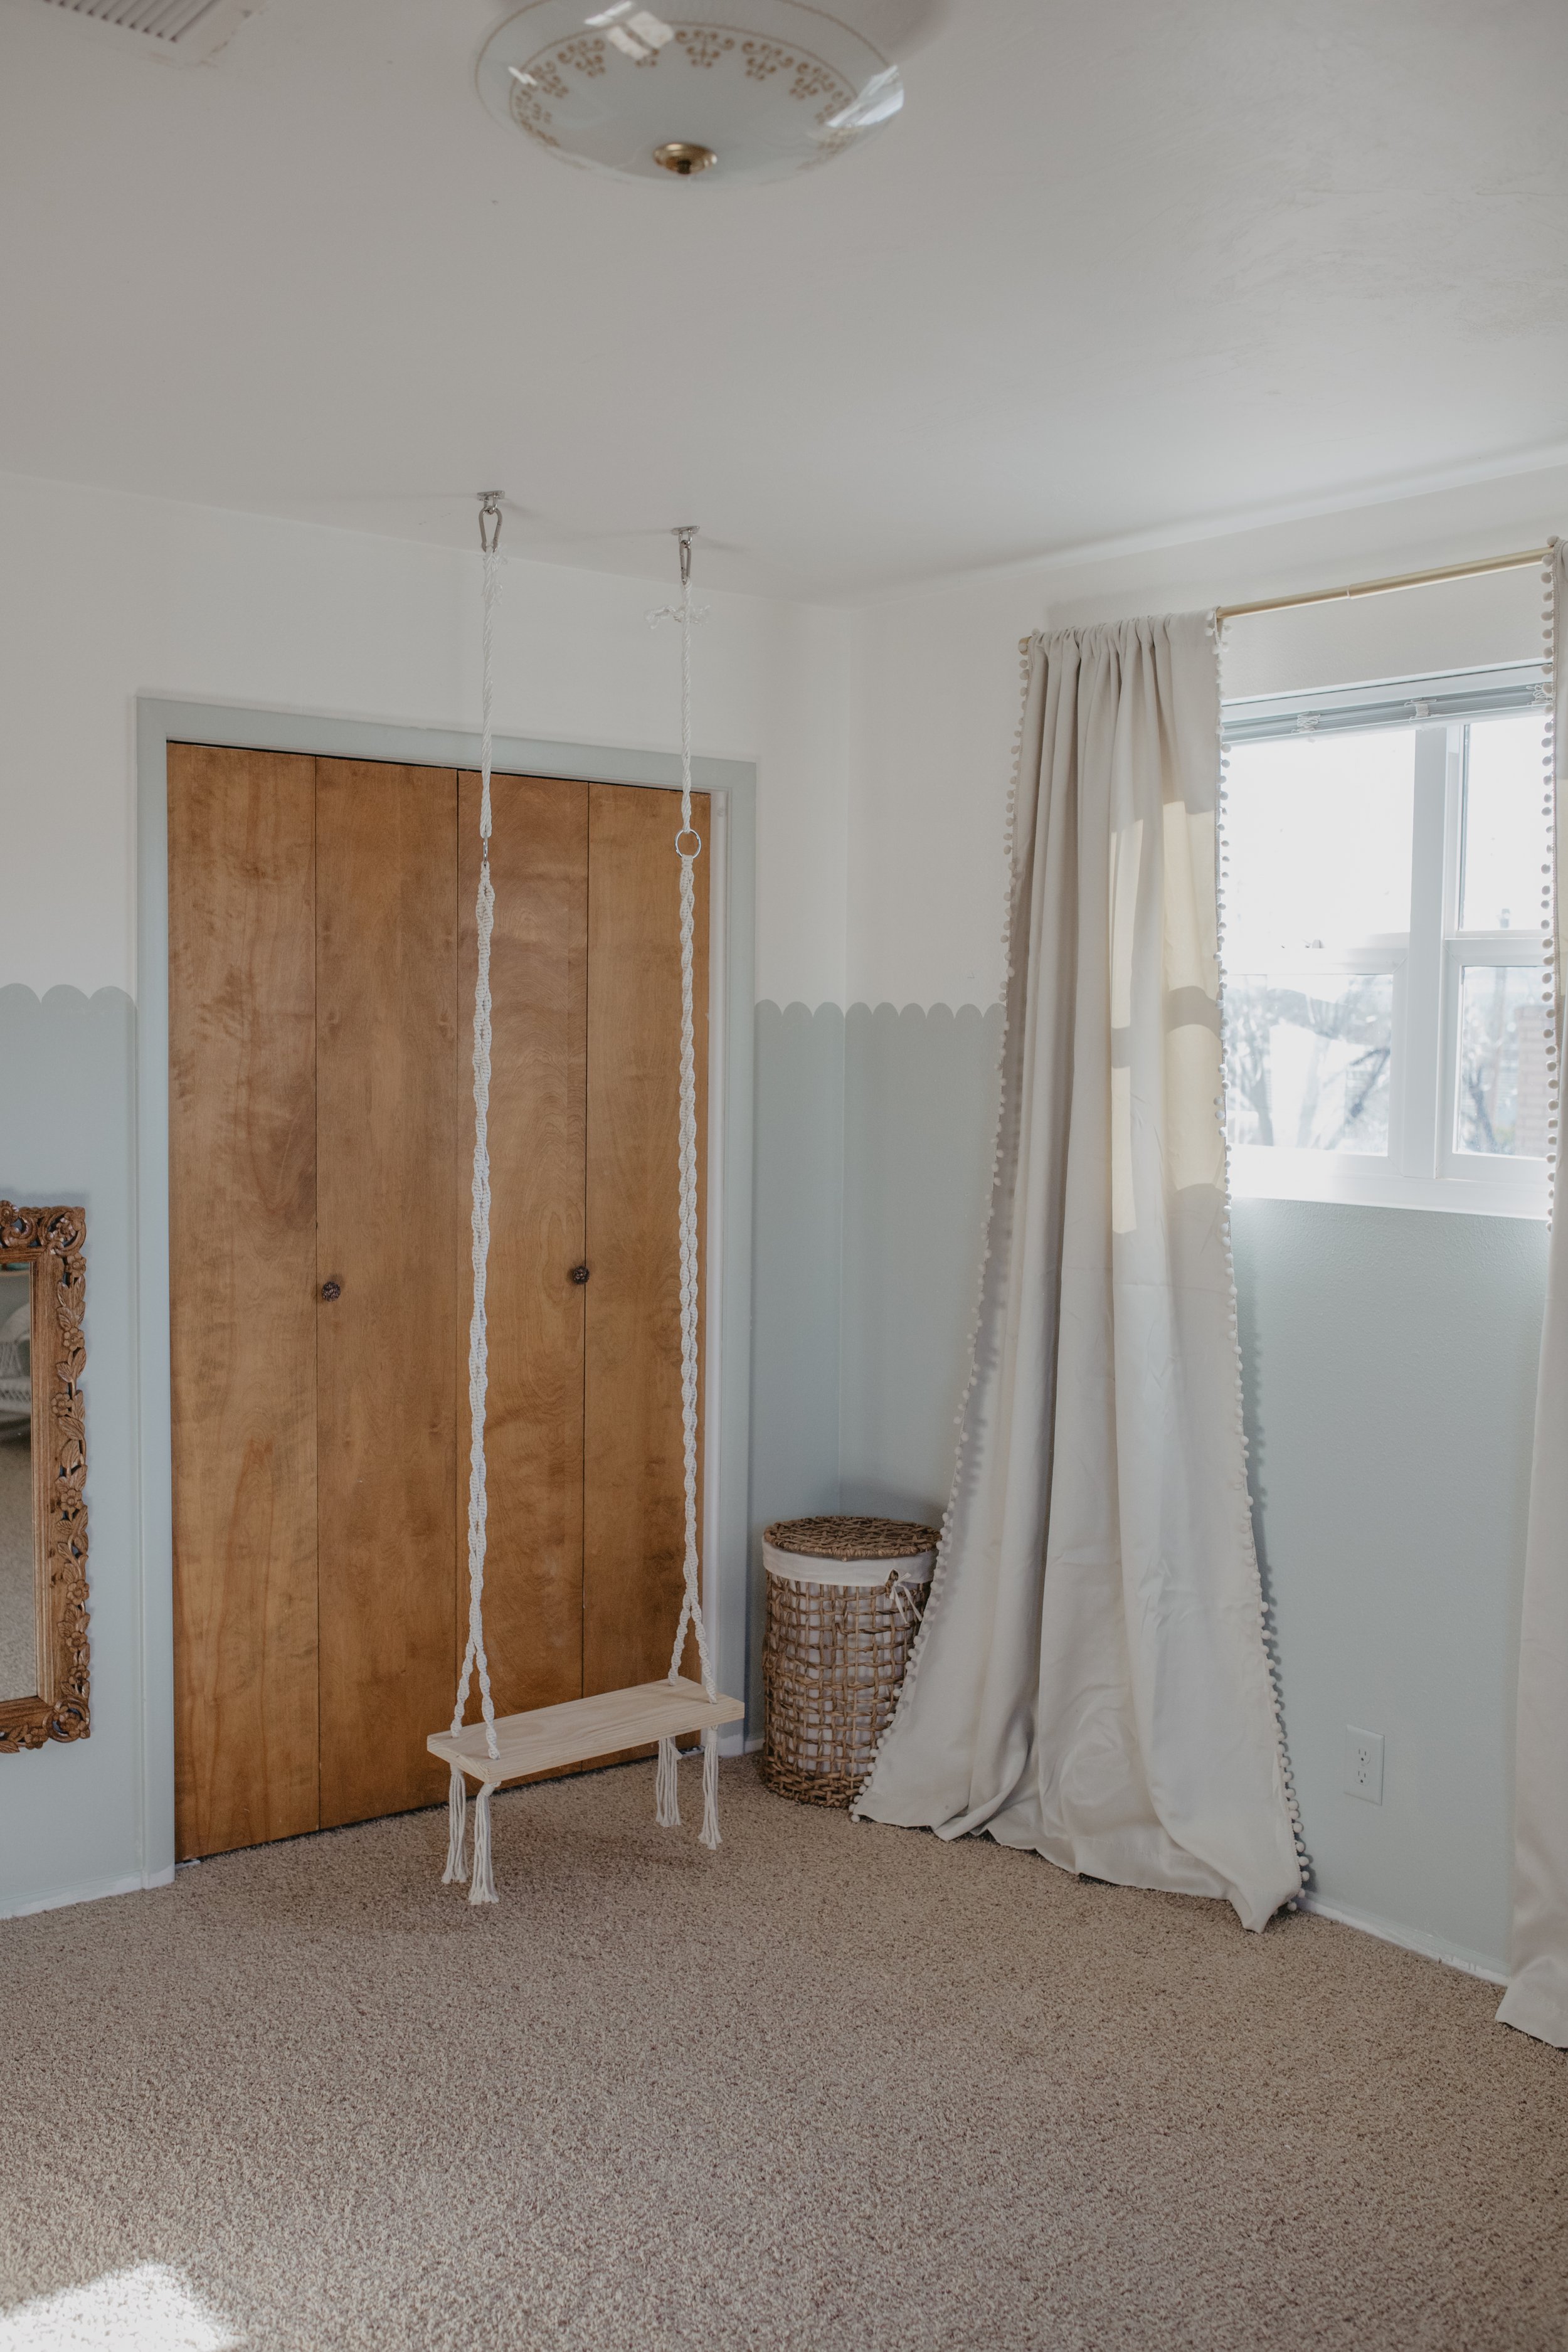
Her room has never felt complete to me and I knew I needed to focus on it start to end. I’ve been trying to be more intentional with my projects and seeing them through to completion. Here’s what her room looked like before I started!
BEFORE:
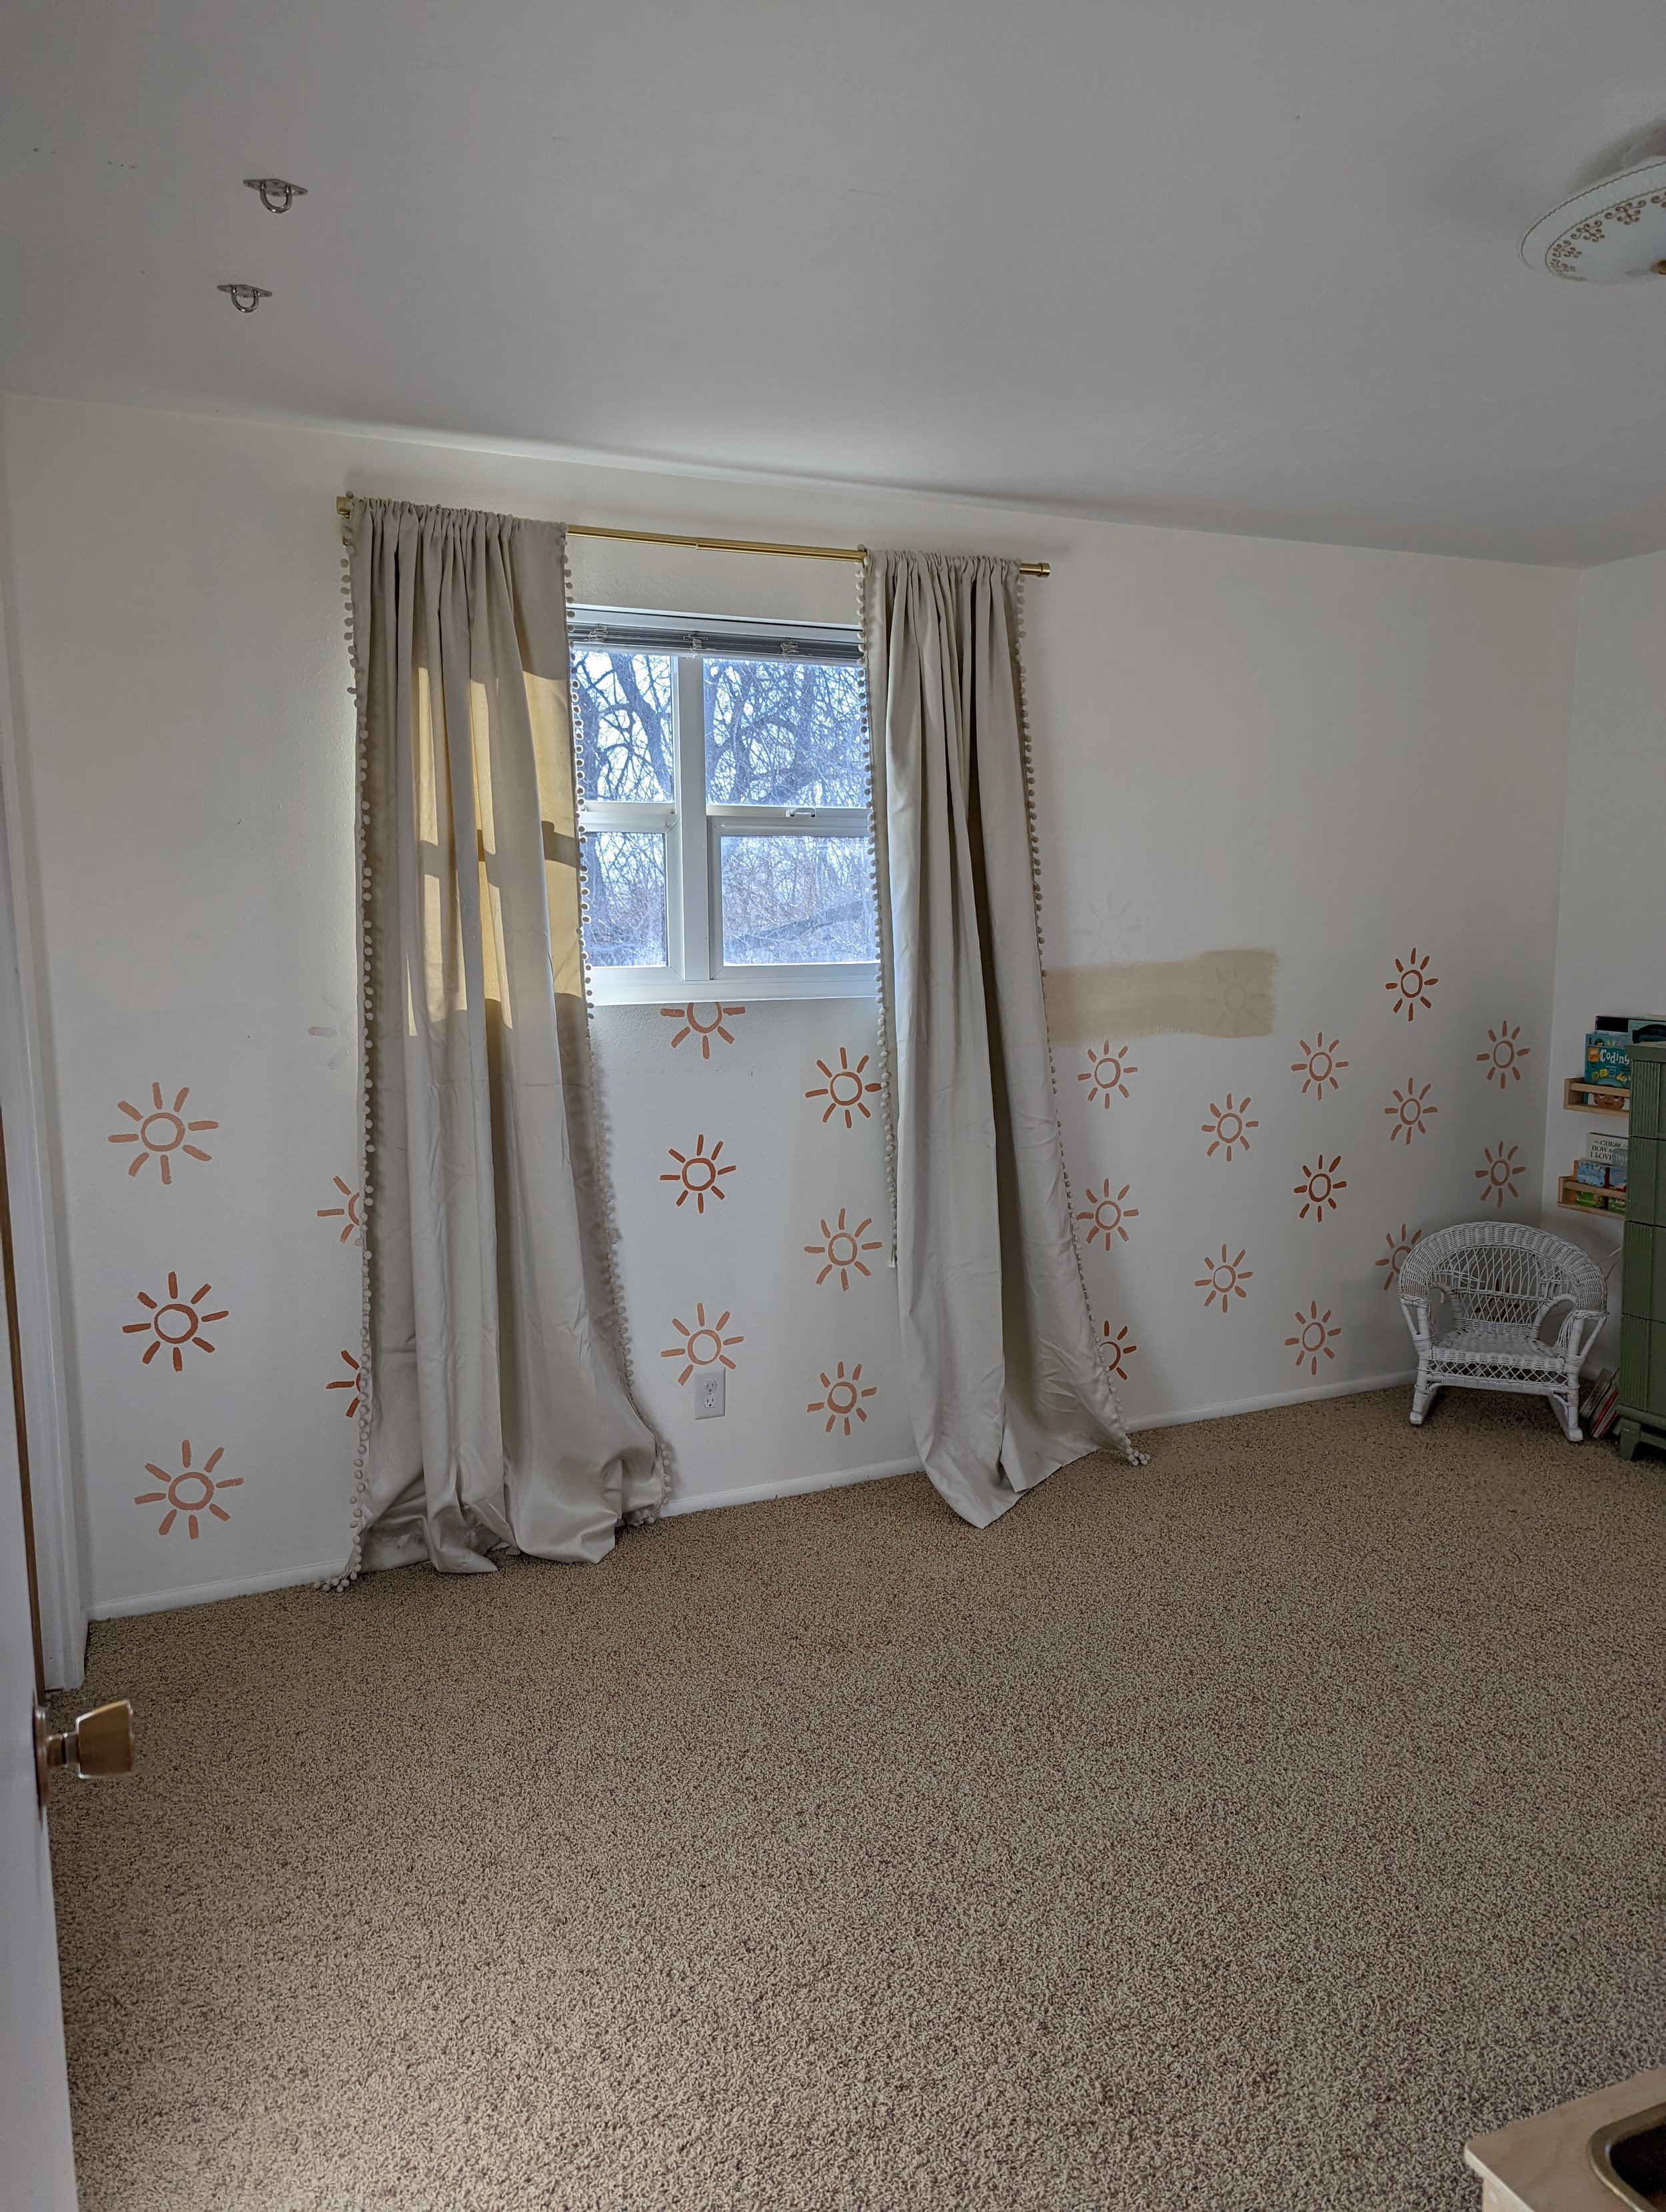

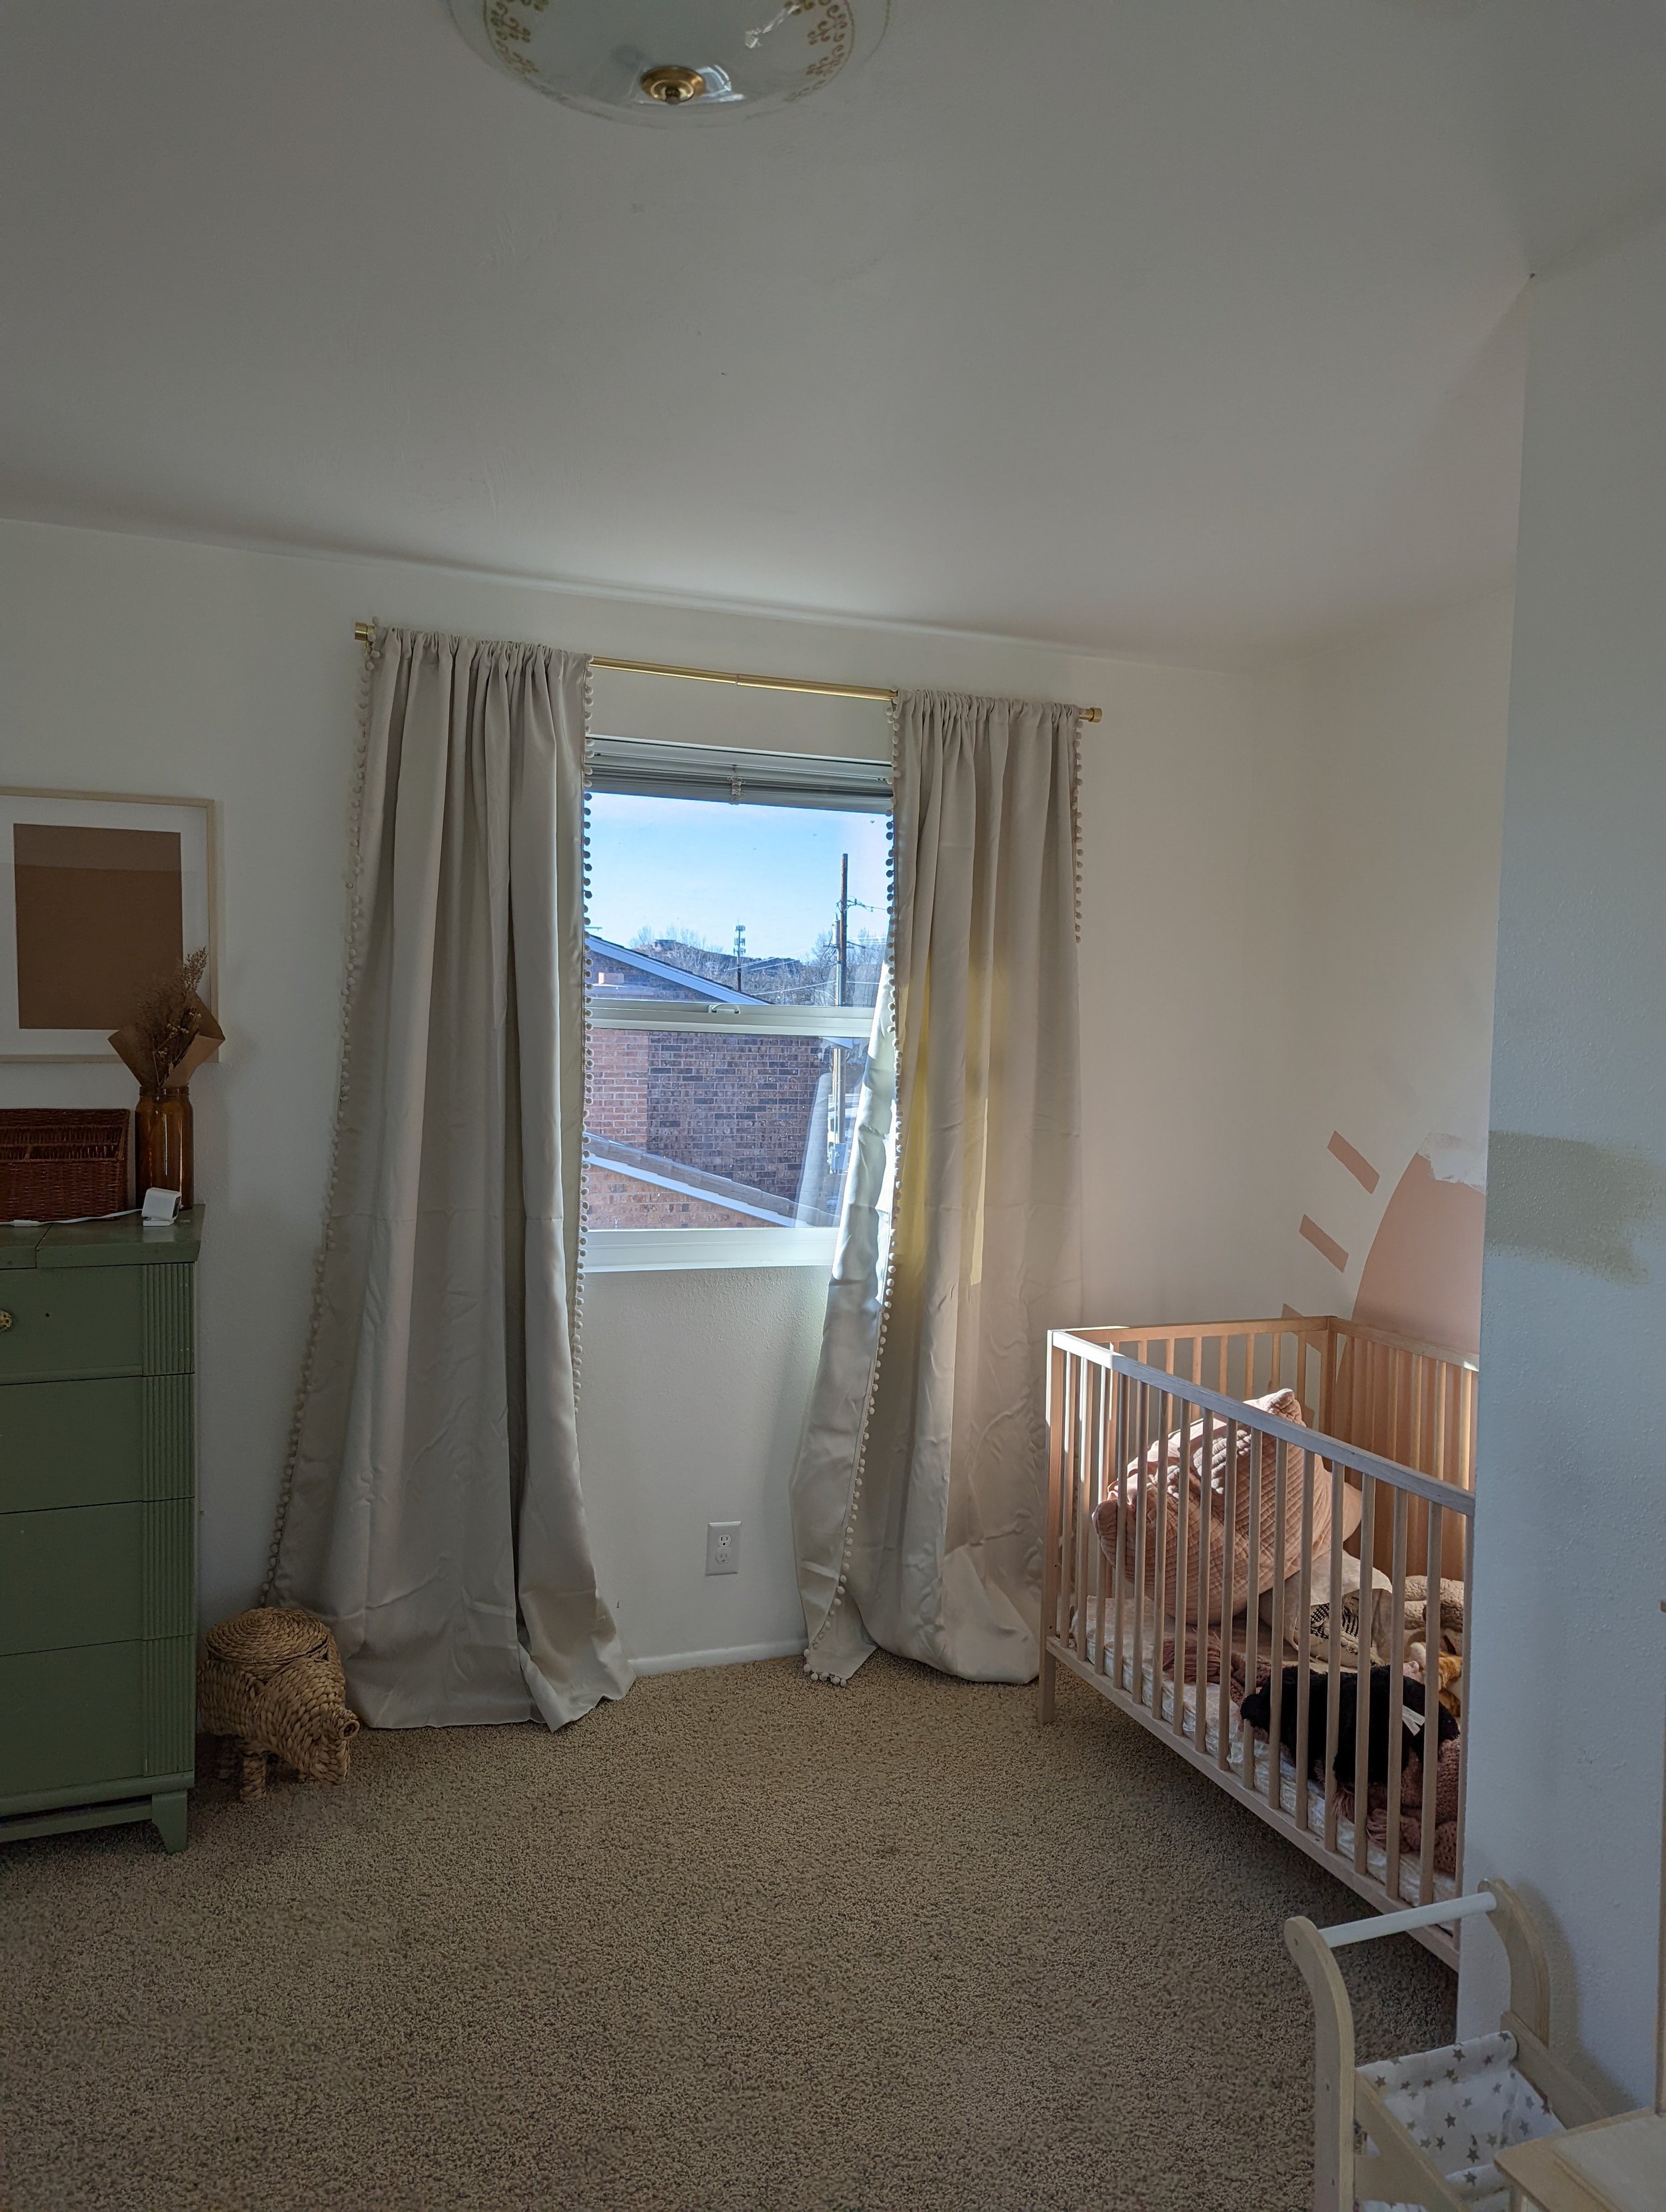
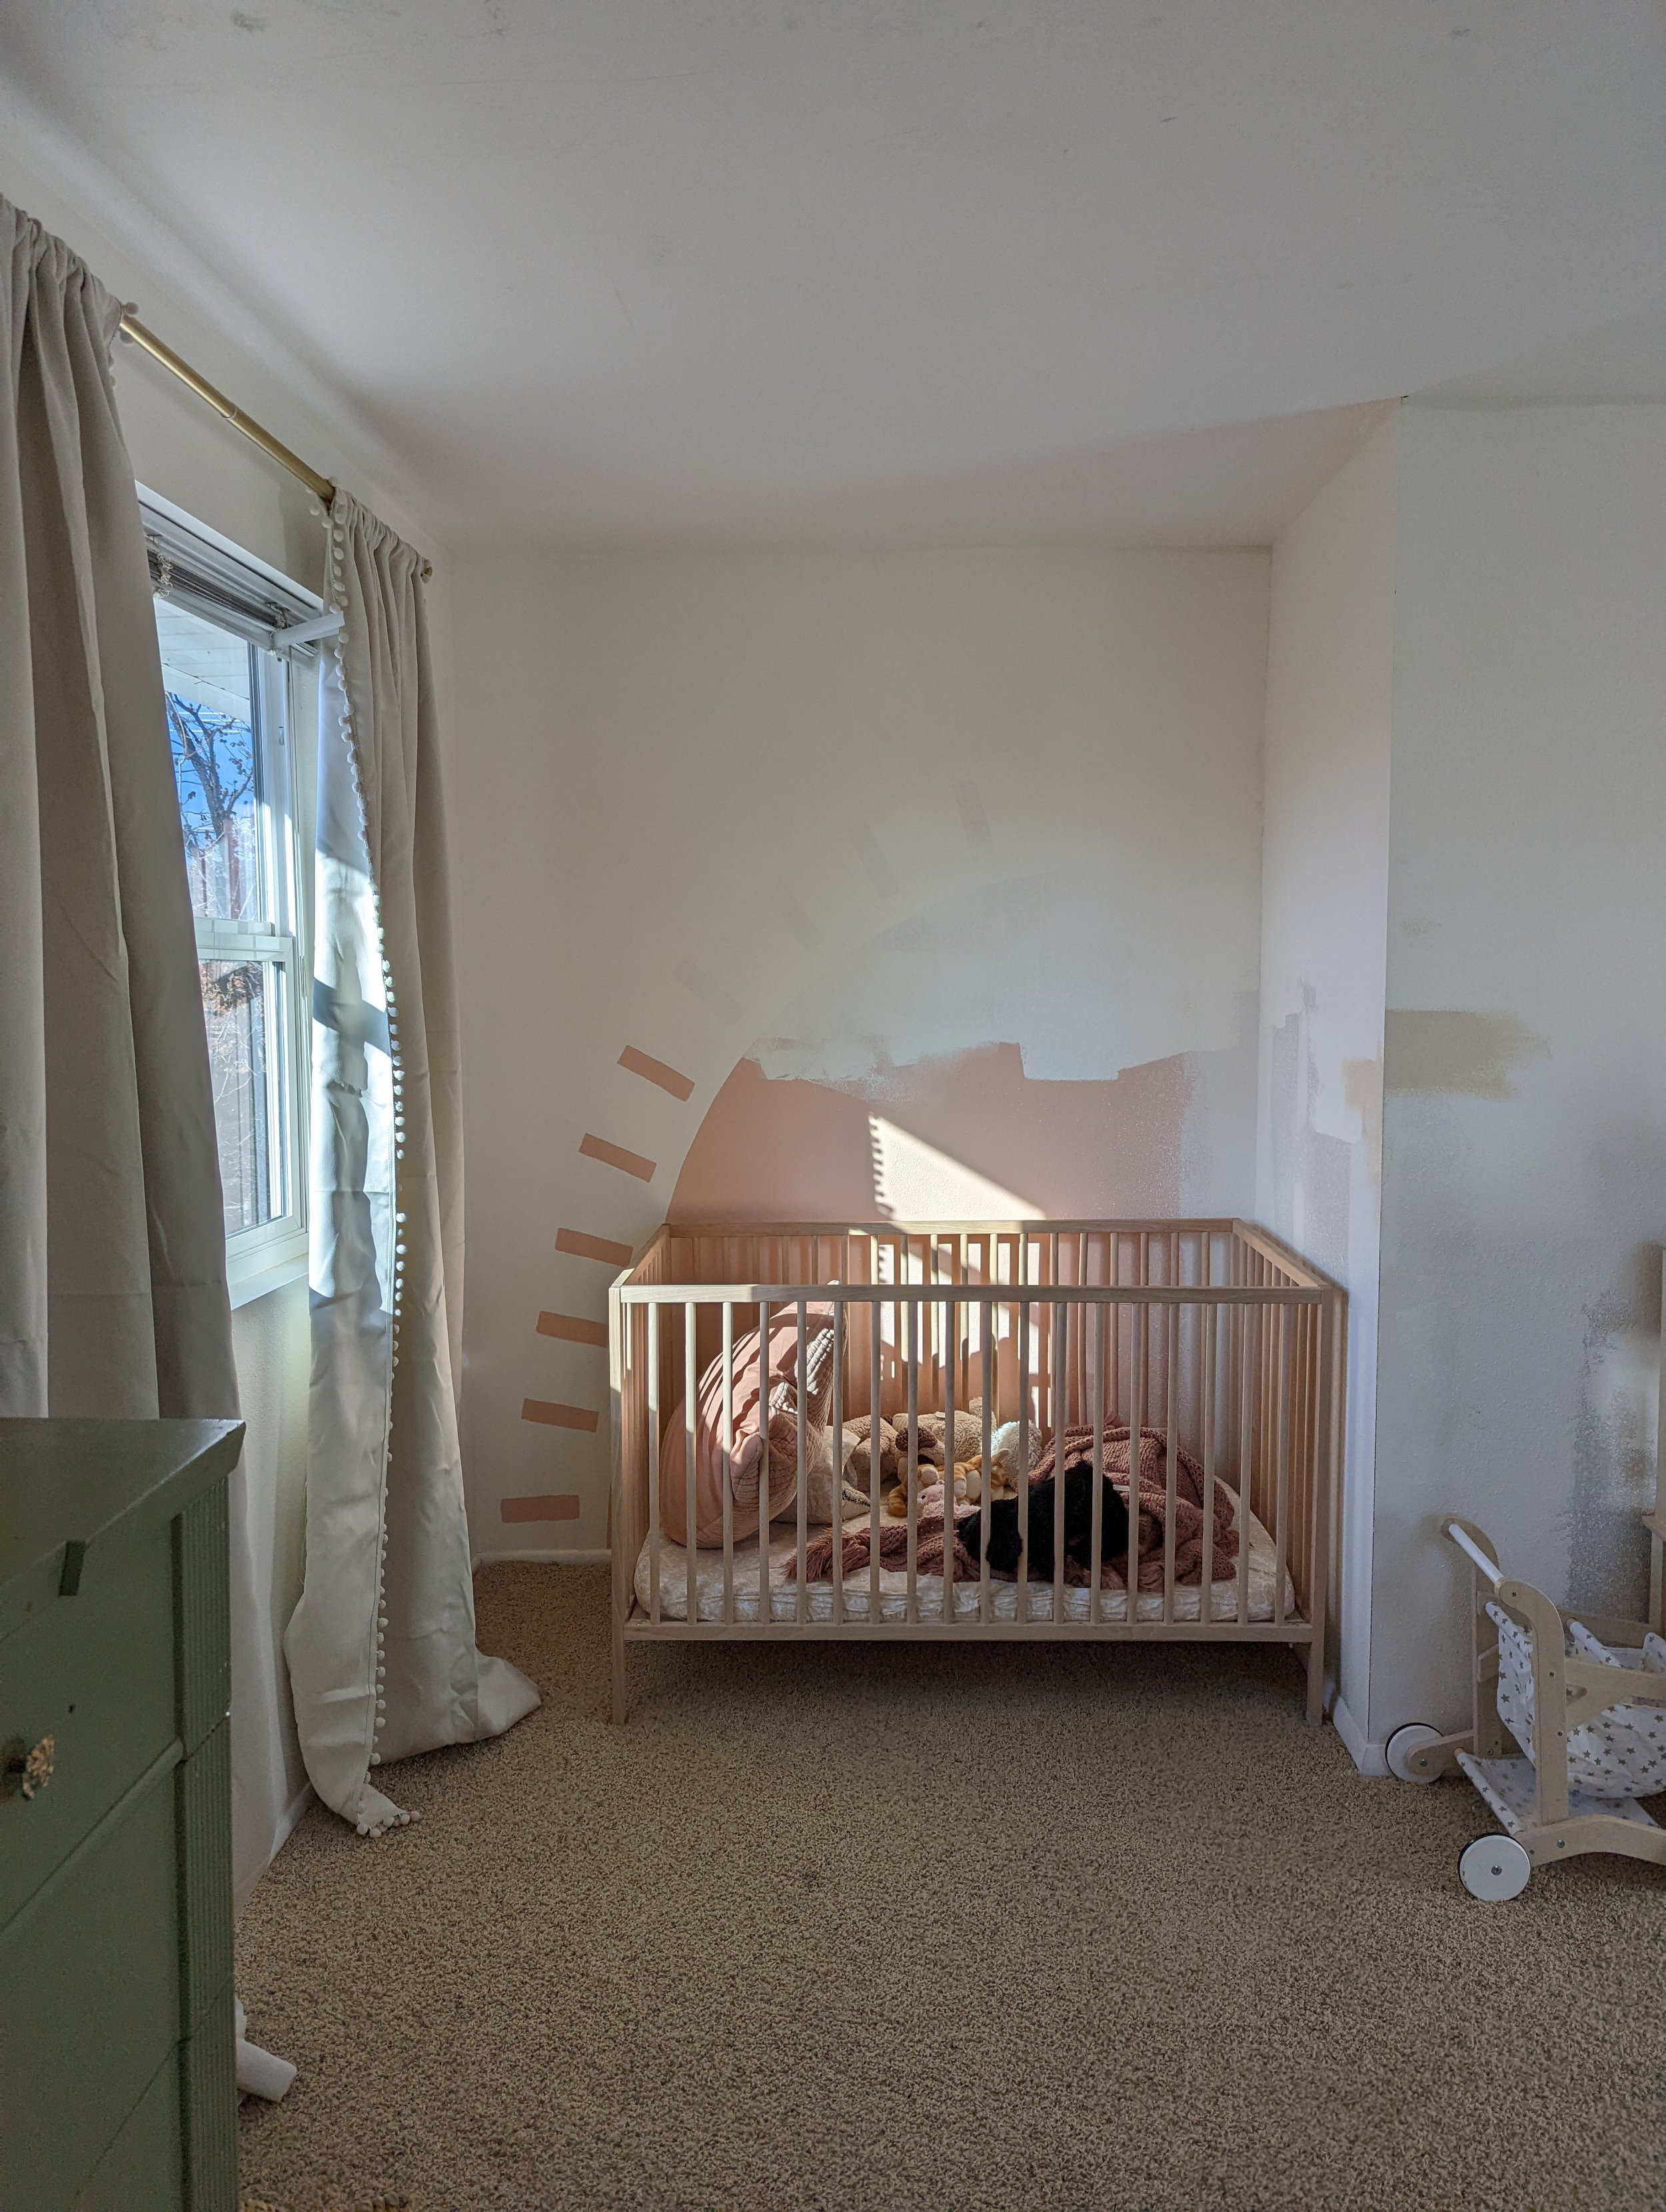
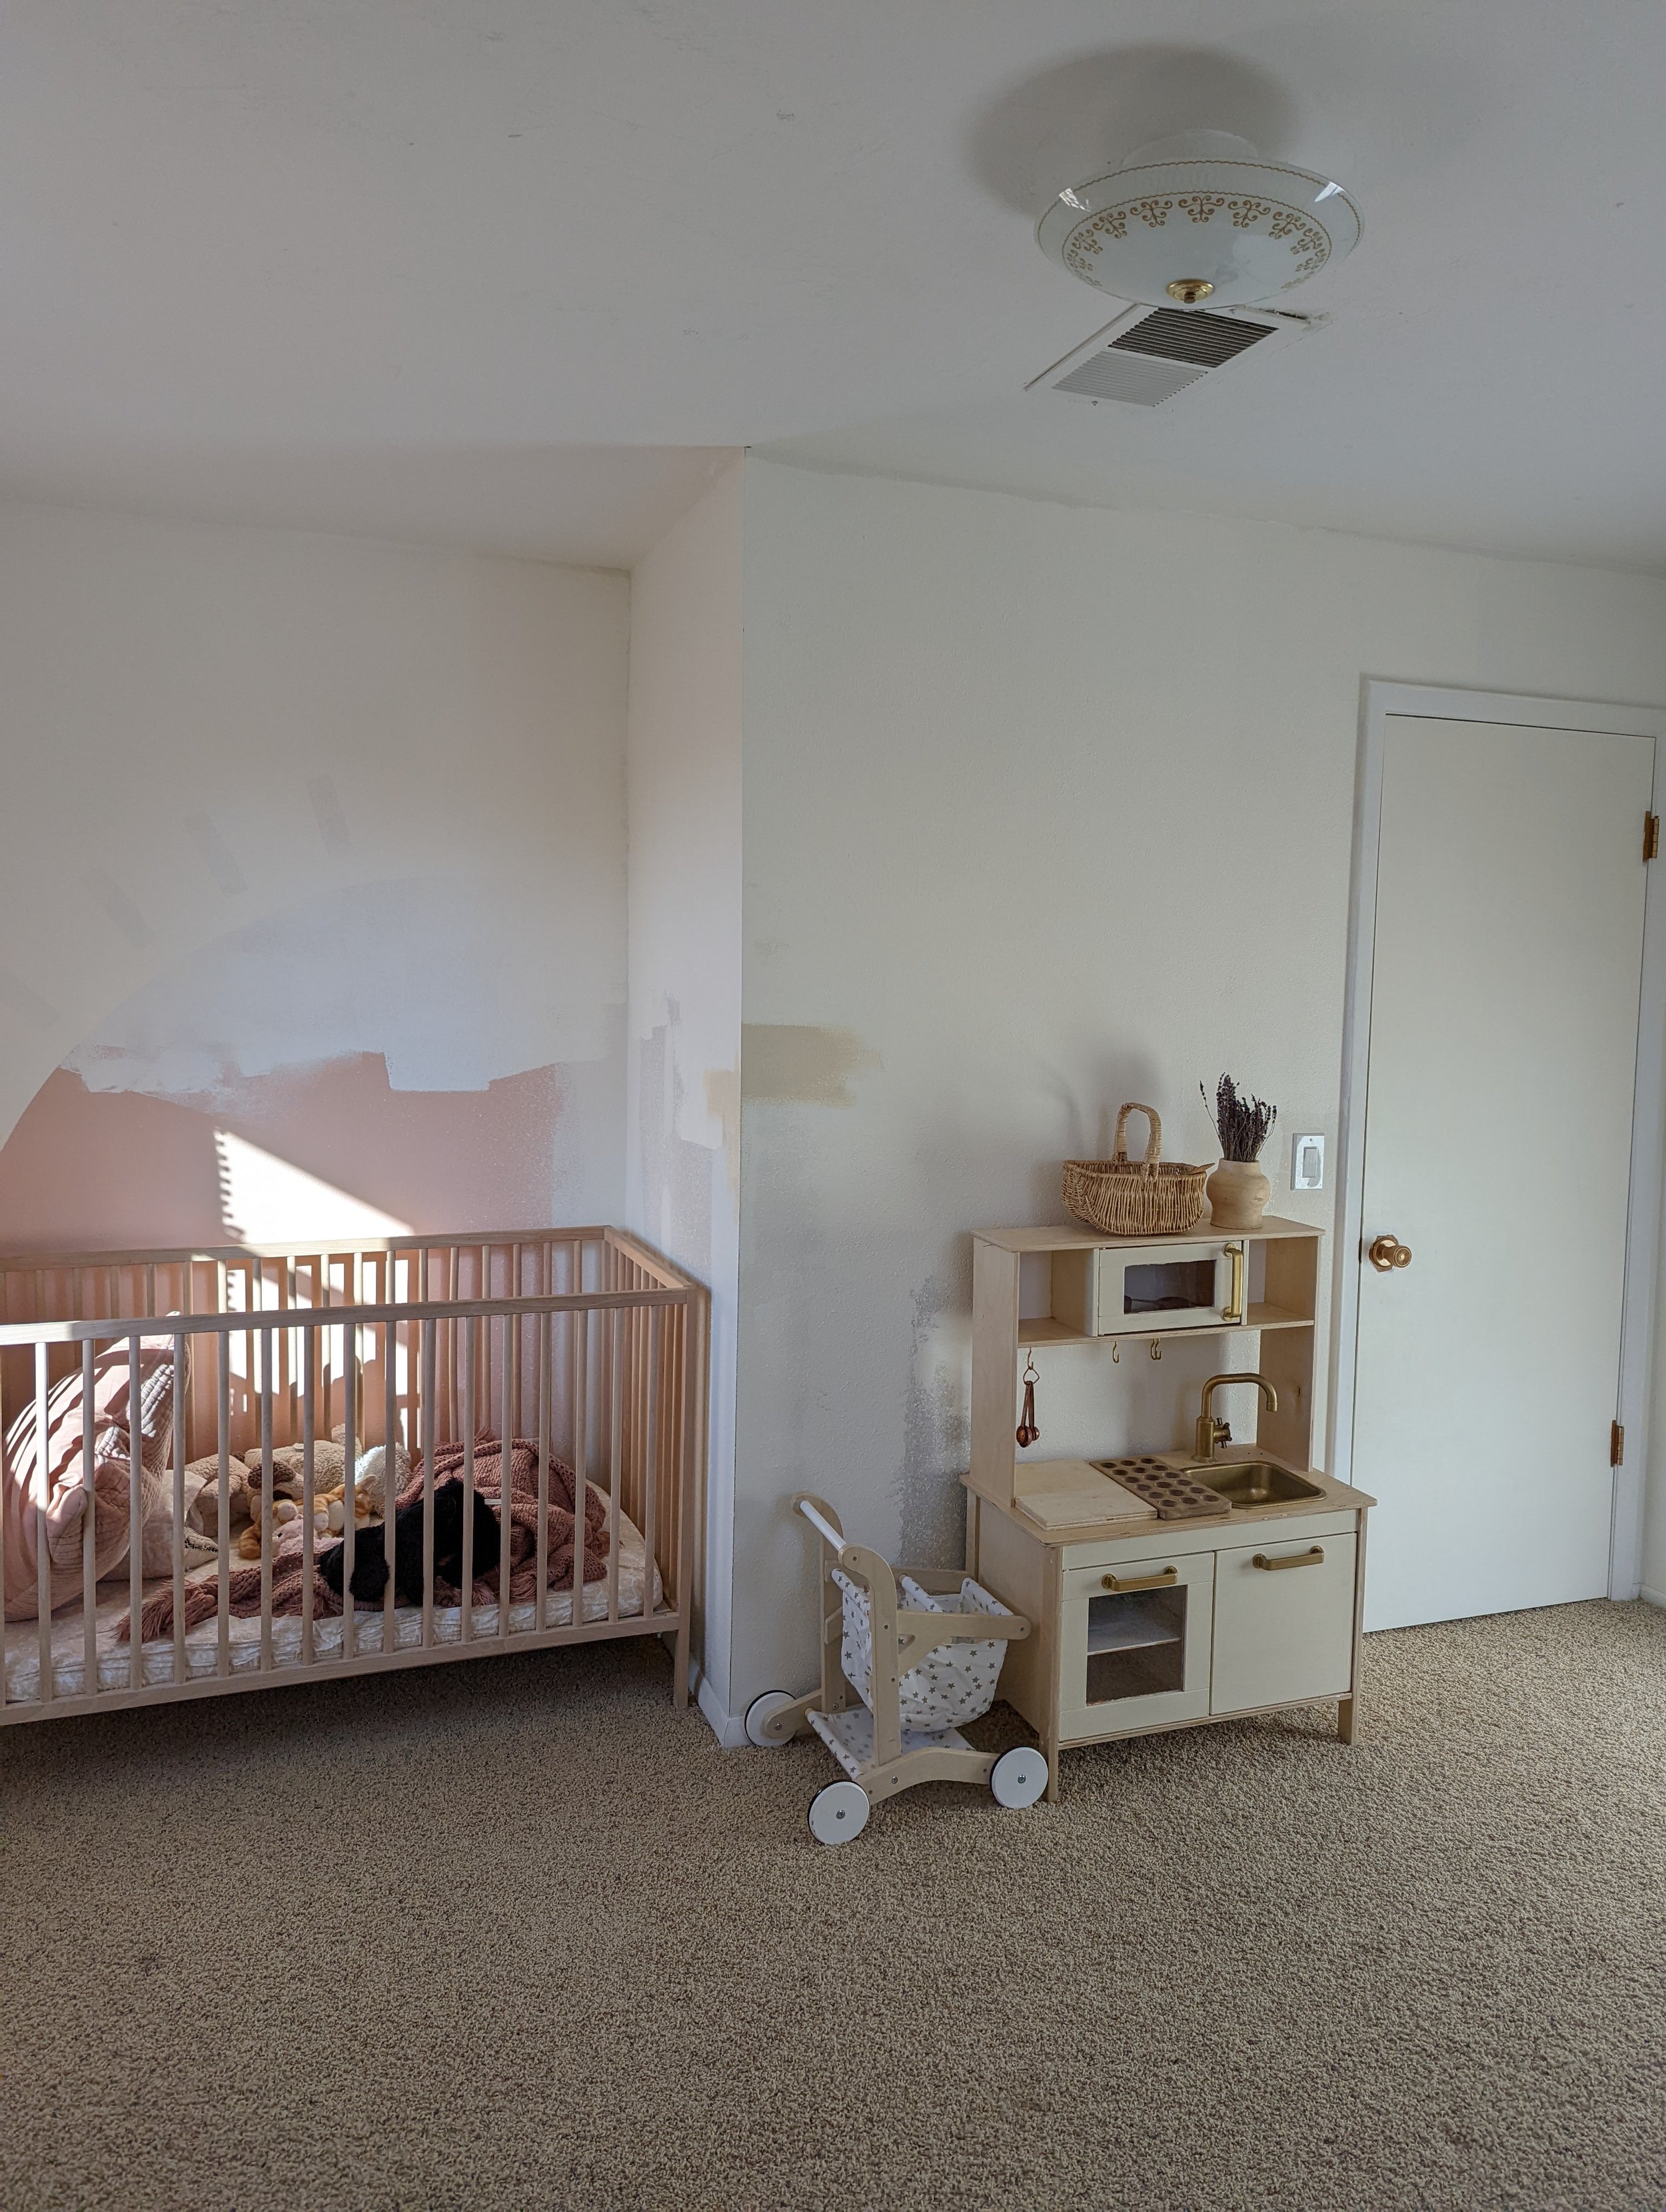
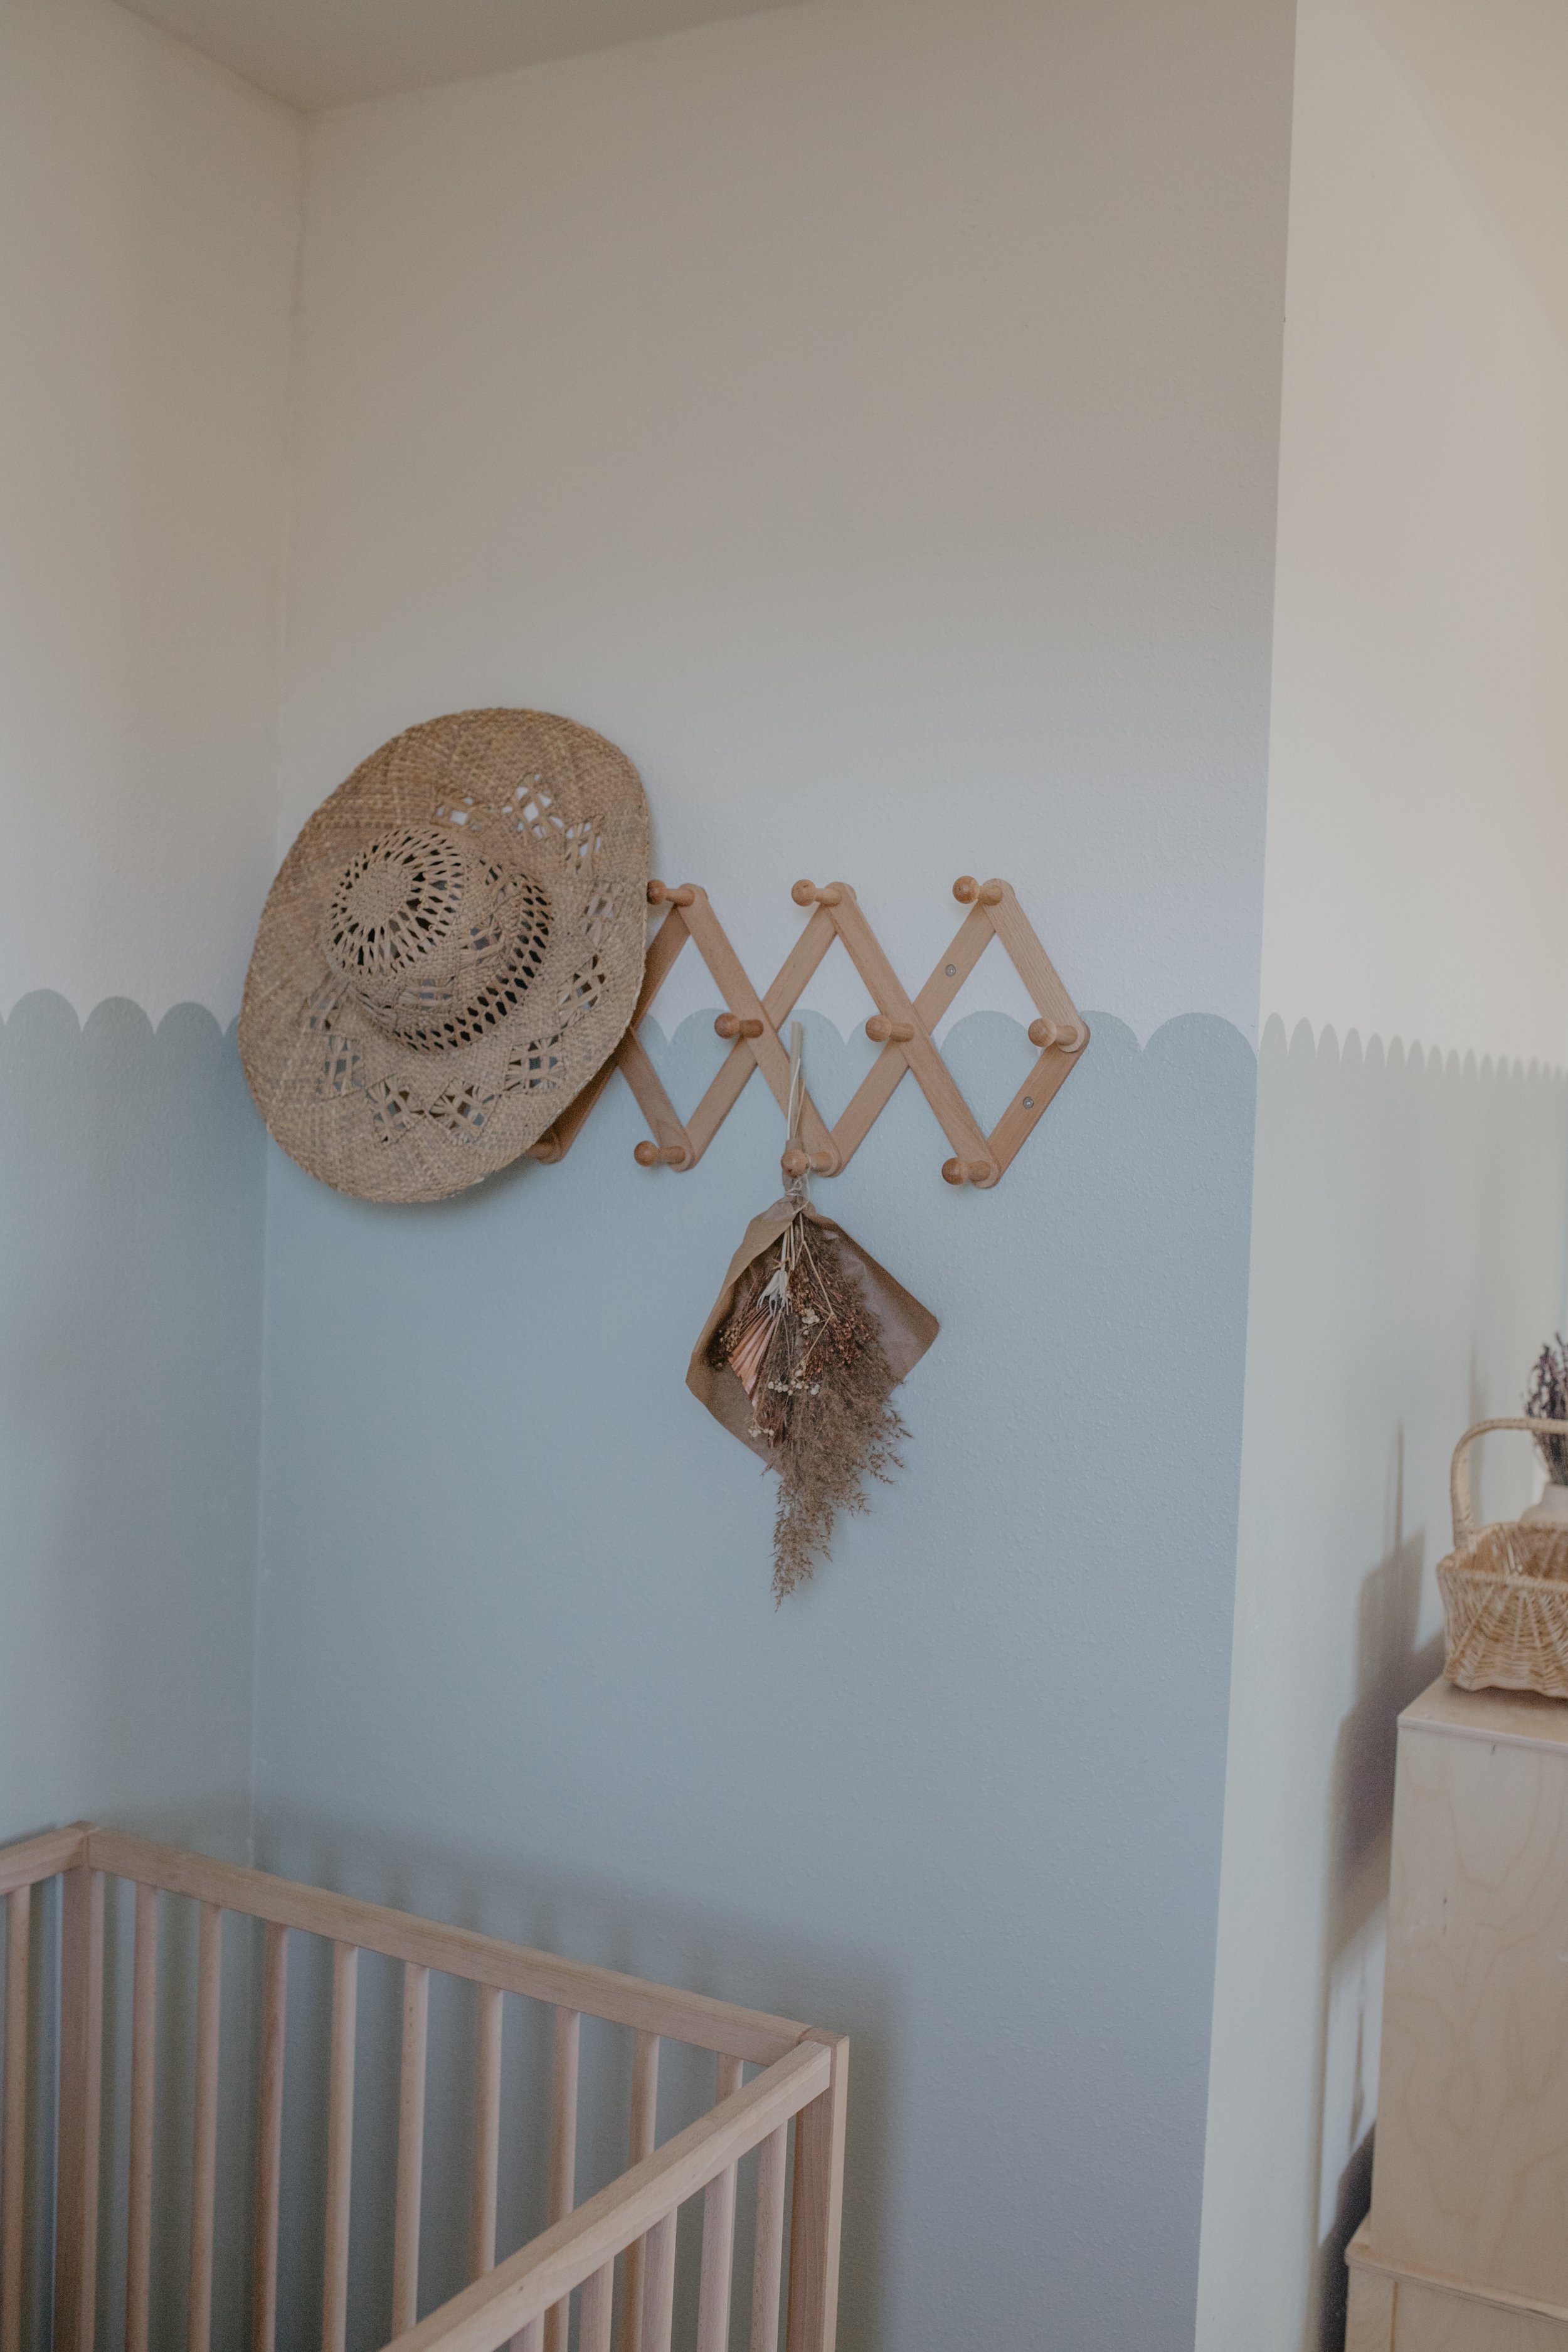
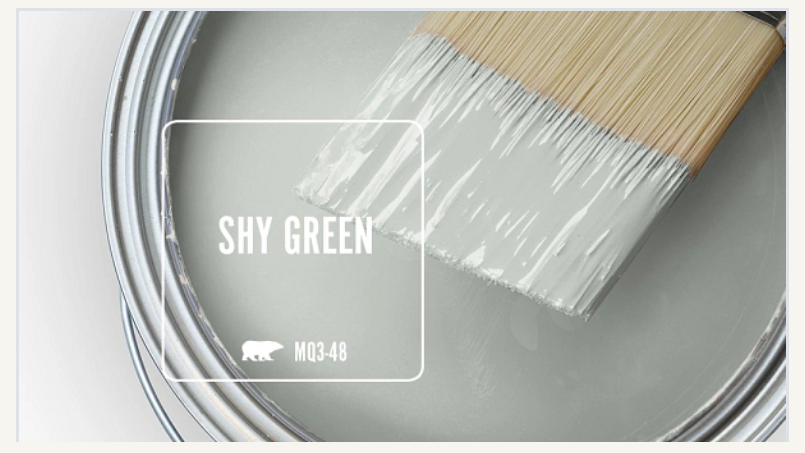
Do you love the half sun wall and all of the taupe test strips? I debated on a paint color for a while and picked “SHY GREEN”- by Behr which is a beautiful combo of soft blue/green that looks different depending on the time of day. The soft white color with slight warmth throughout the rest of my house is “SLEEK WHITE”- by Behr.
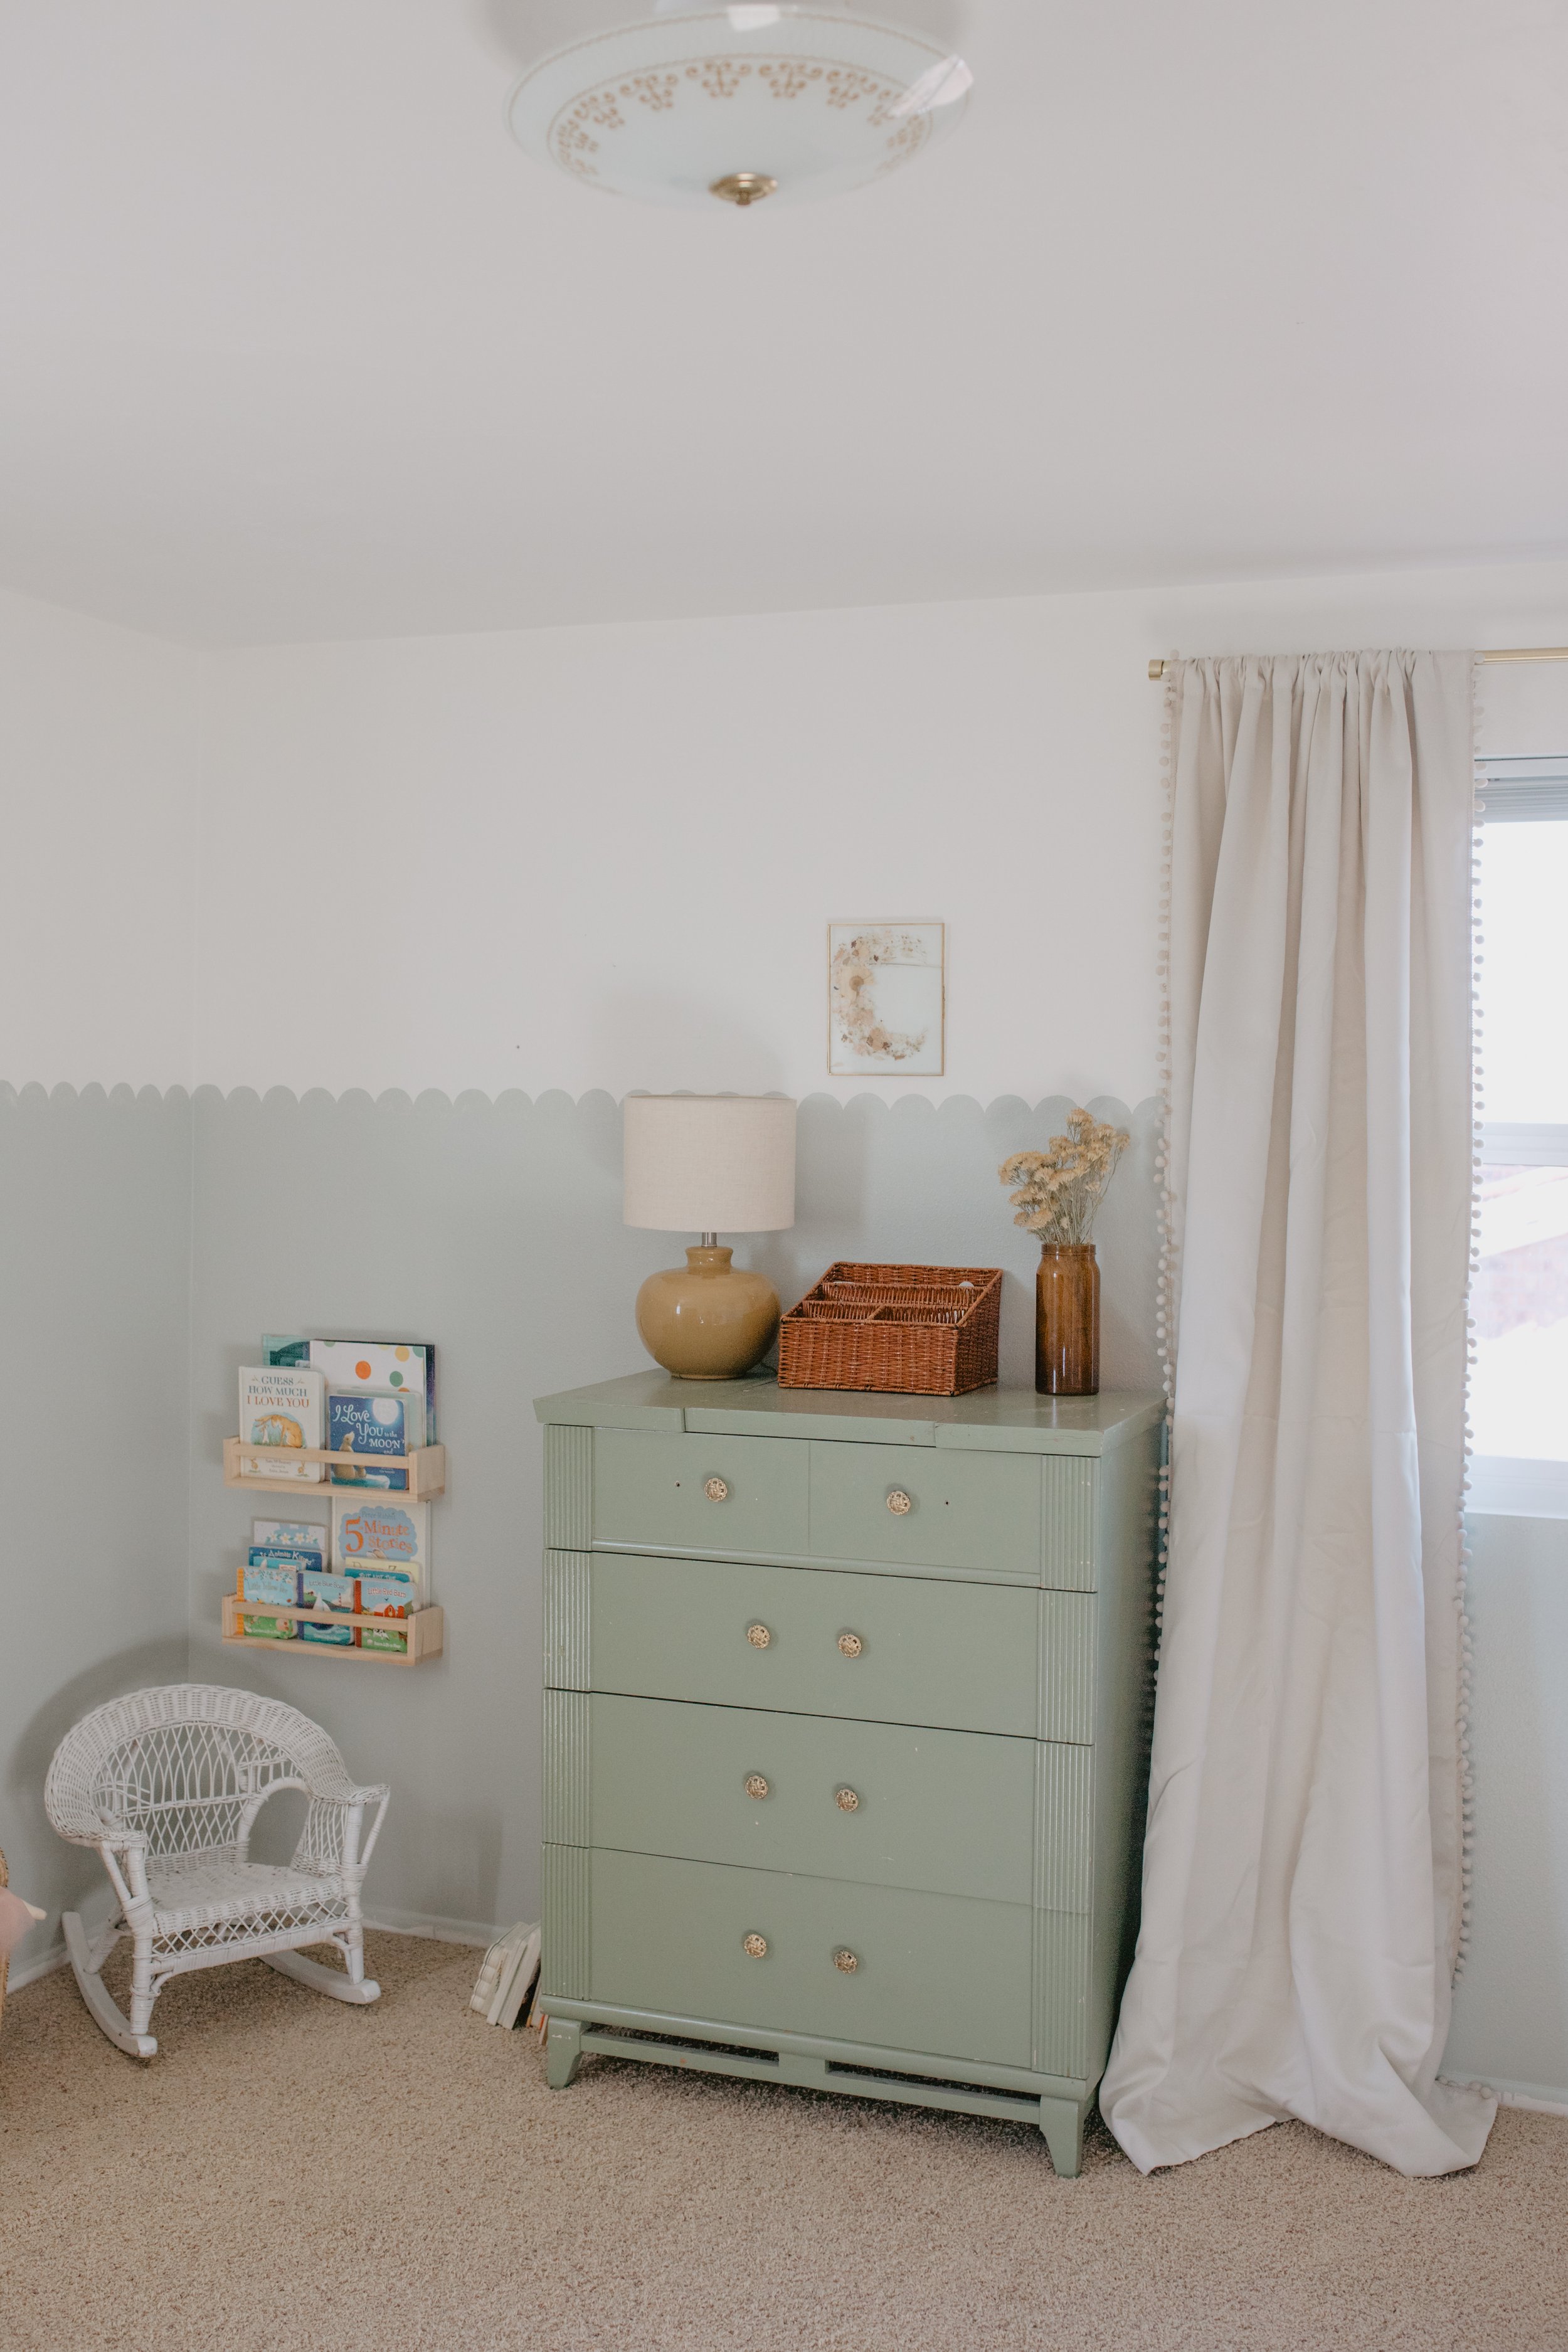
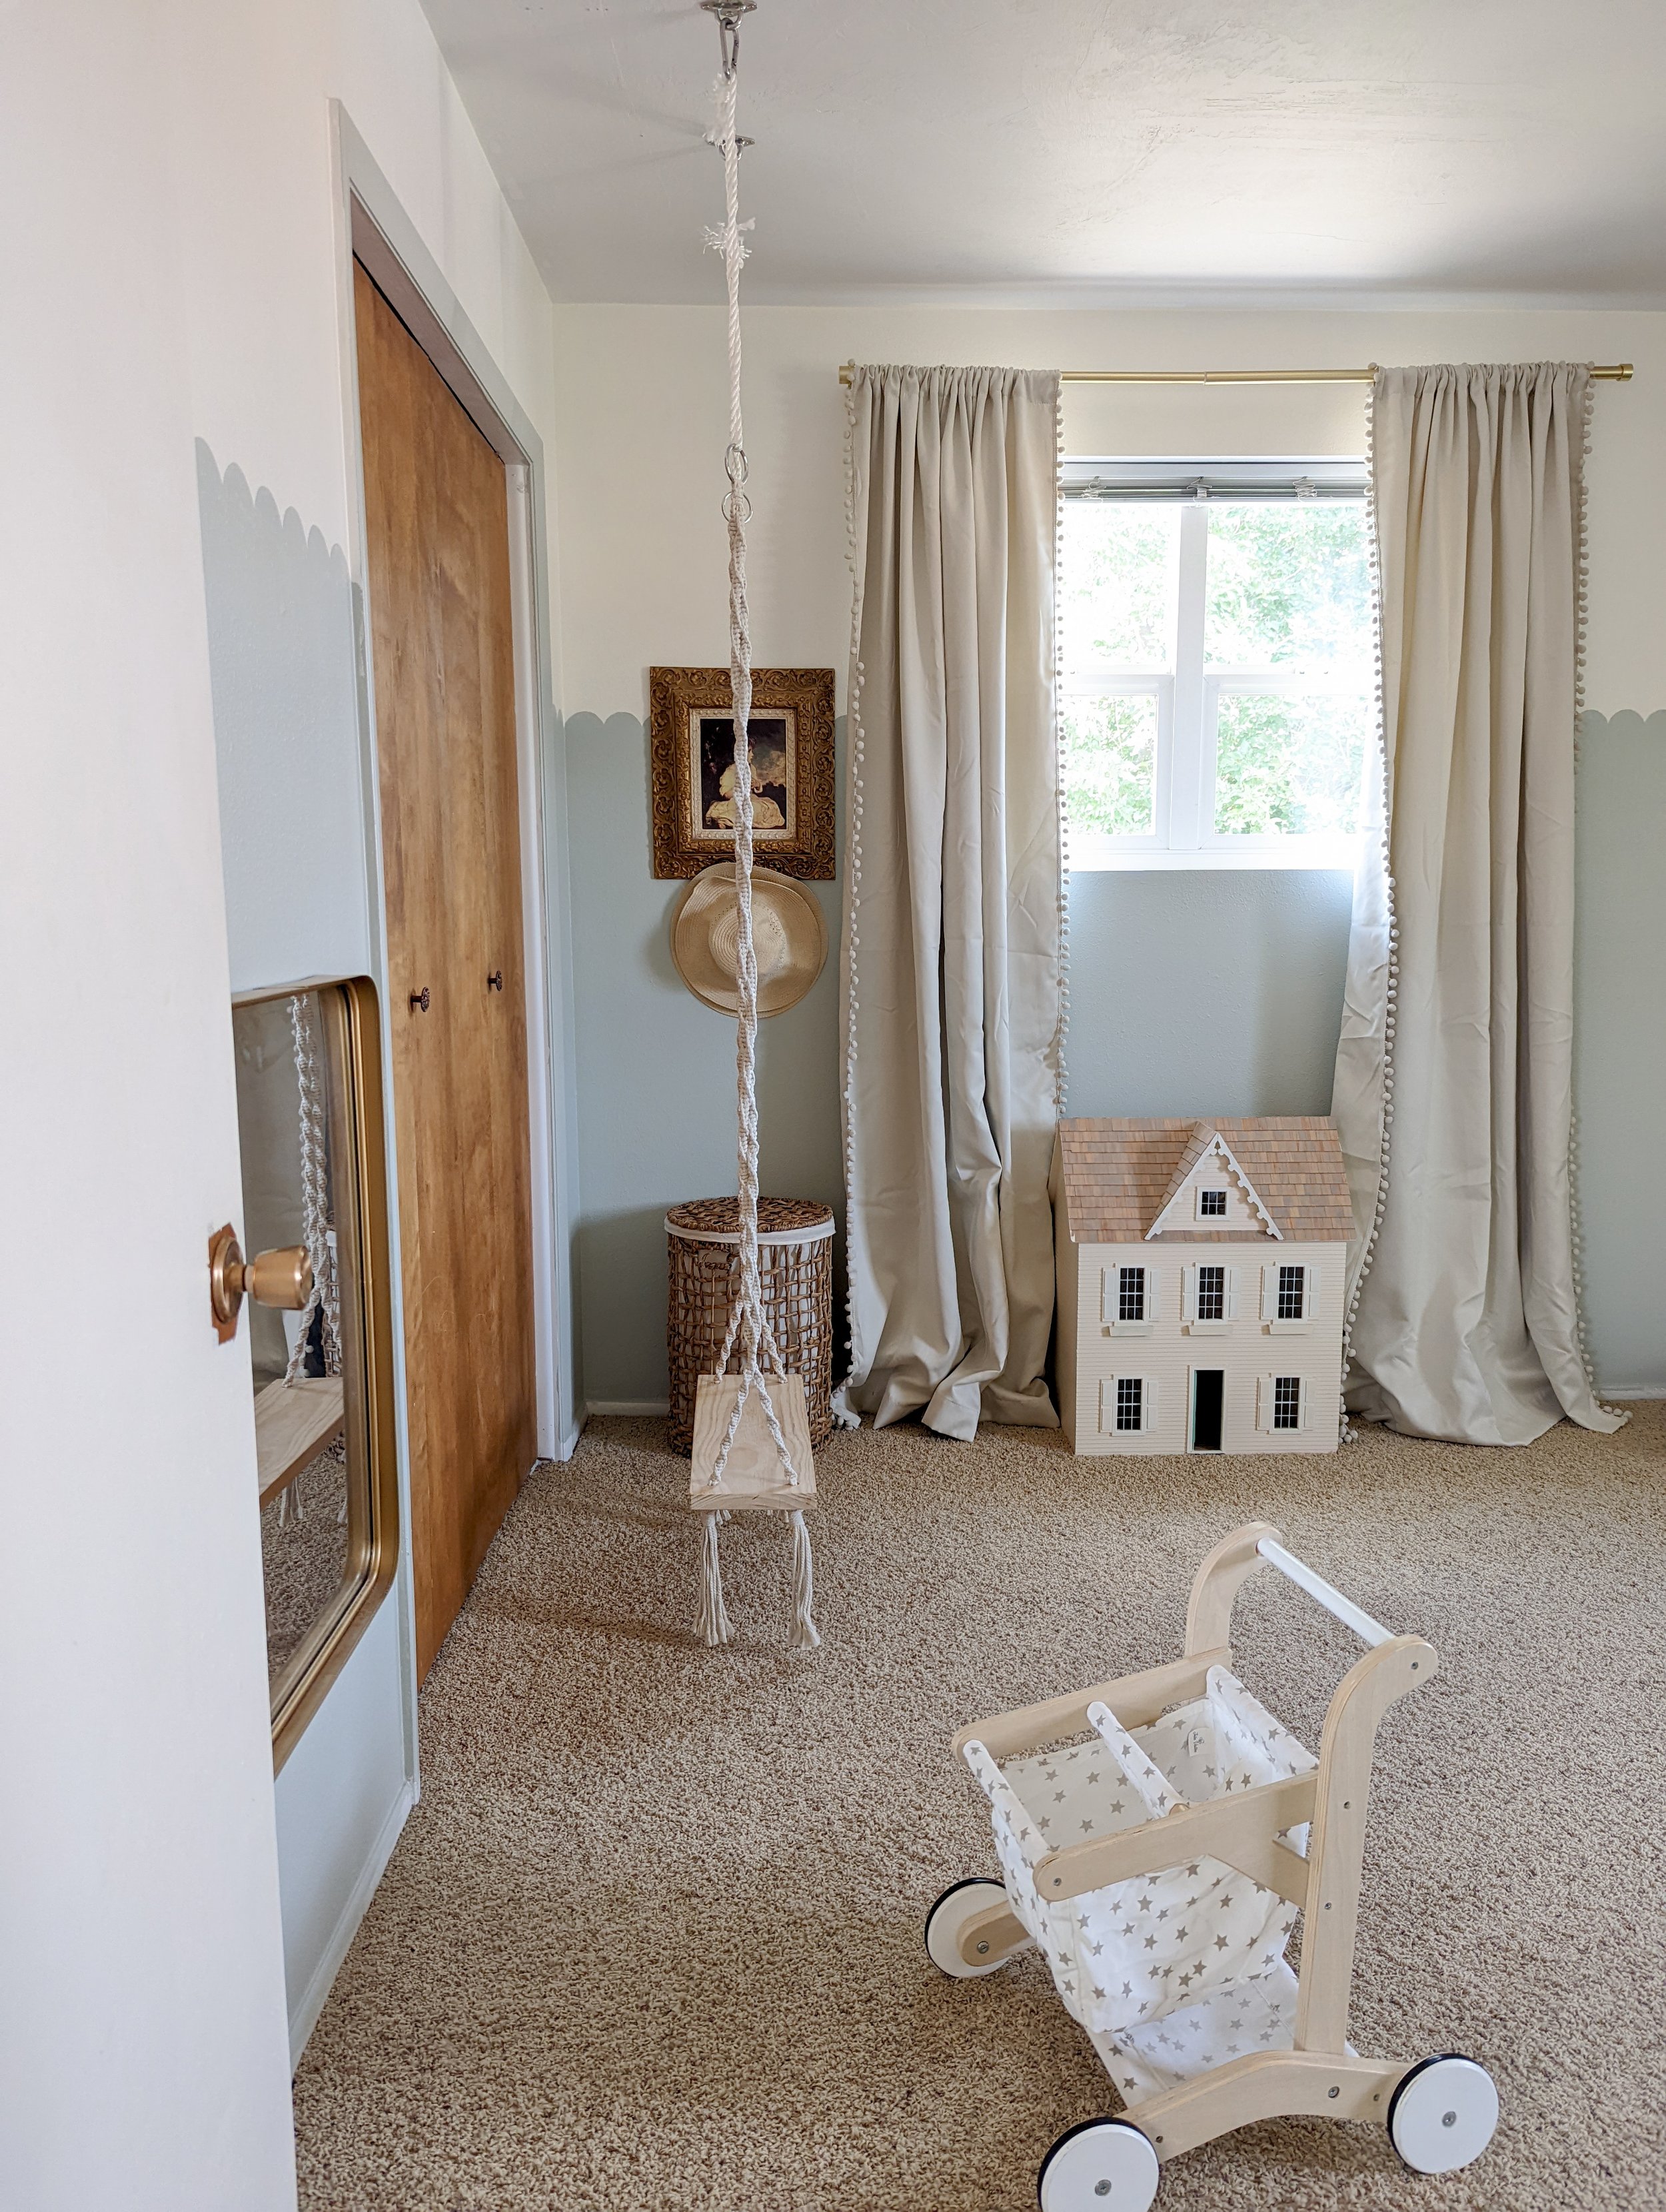
AFTER:
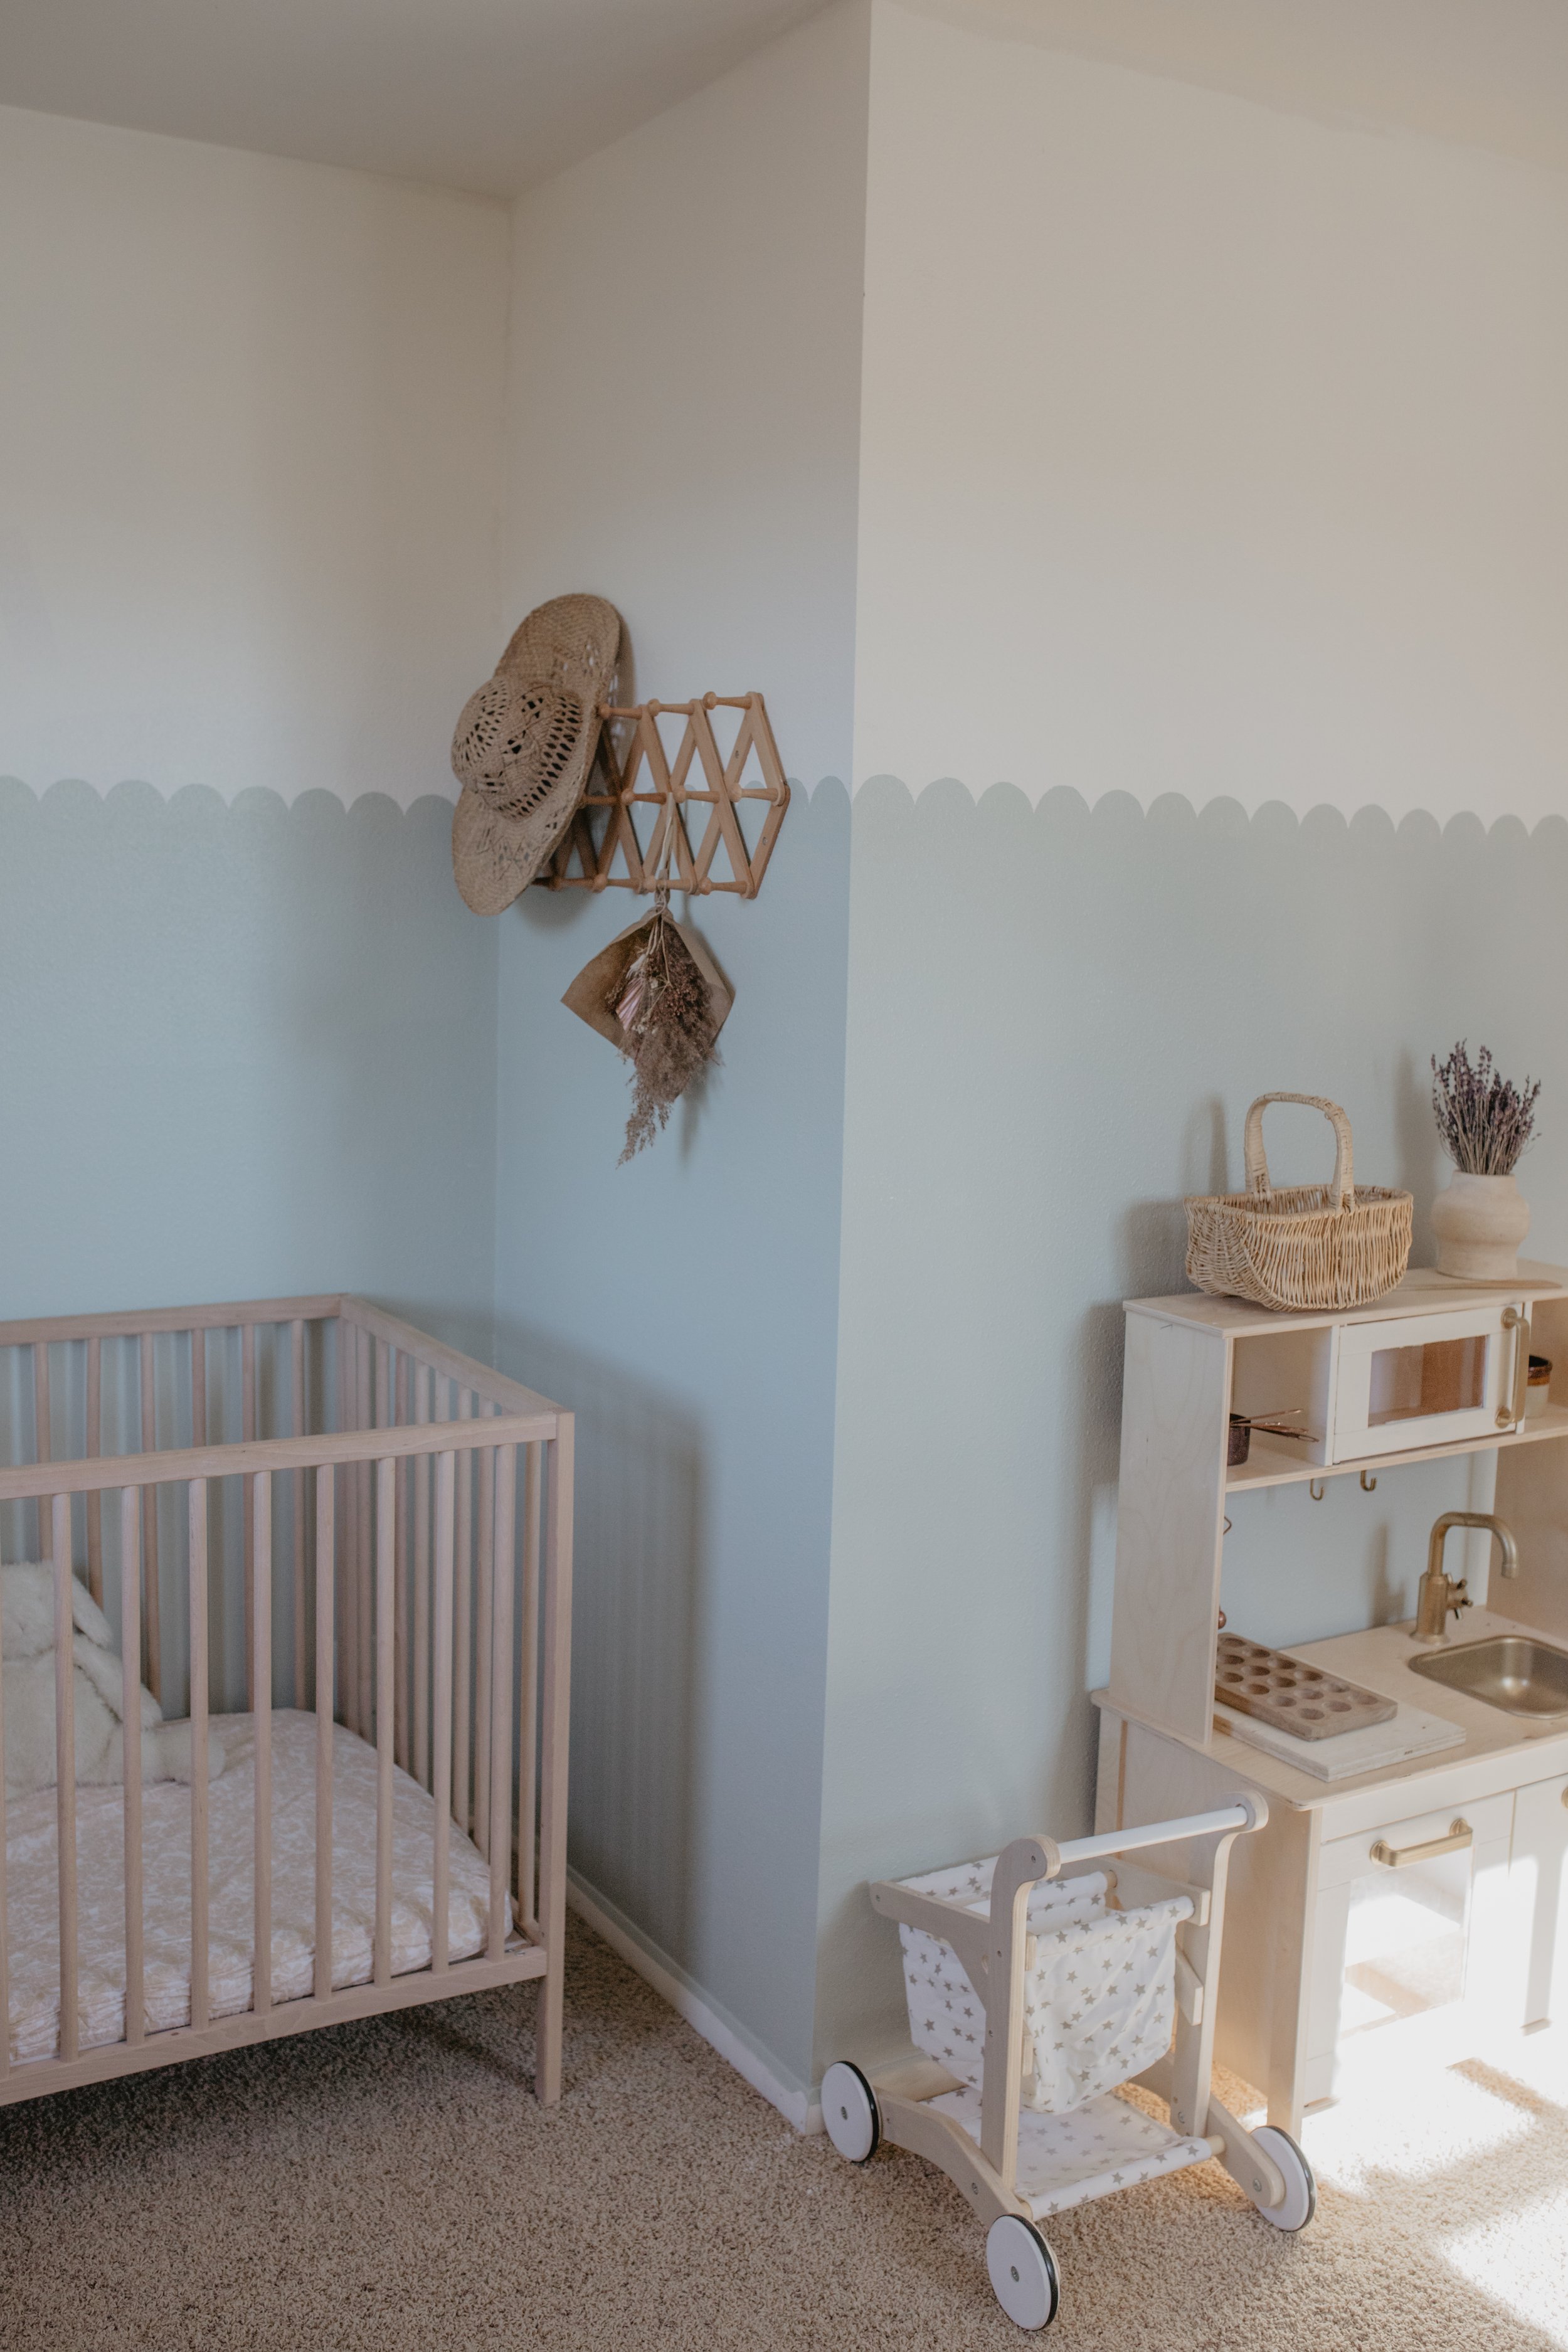
Let me walk you through how to do a scalloped wall because it’s the easiest painting project that can have a HUGE impact!
To make the scalloped wall:
What you’ll need:
Paint Tray
Paint Roller
Roller Stick Extension
Cup
Paint Brush for fine detail
How To:
STEP ONE: I measured the height I wanted the design to go up to (I did 60” tall on my 95” wall).
STEP TWO: Use a piece of wood, ruler, or leveler to connect previous measurements to create your border around the whole room.
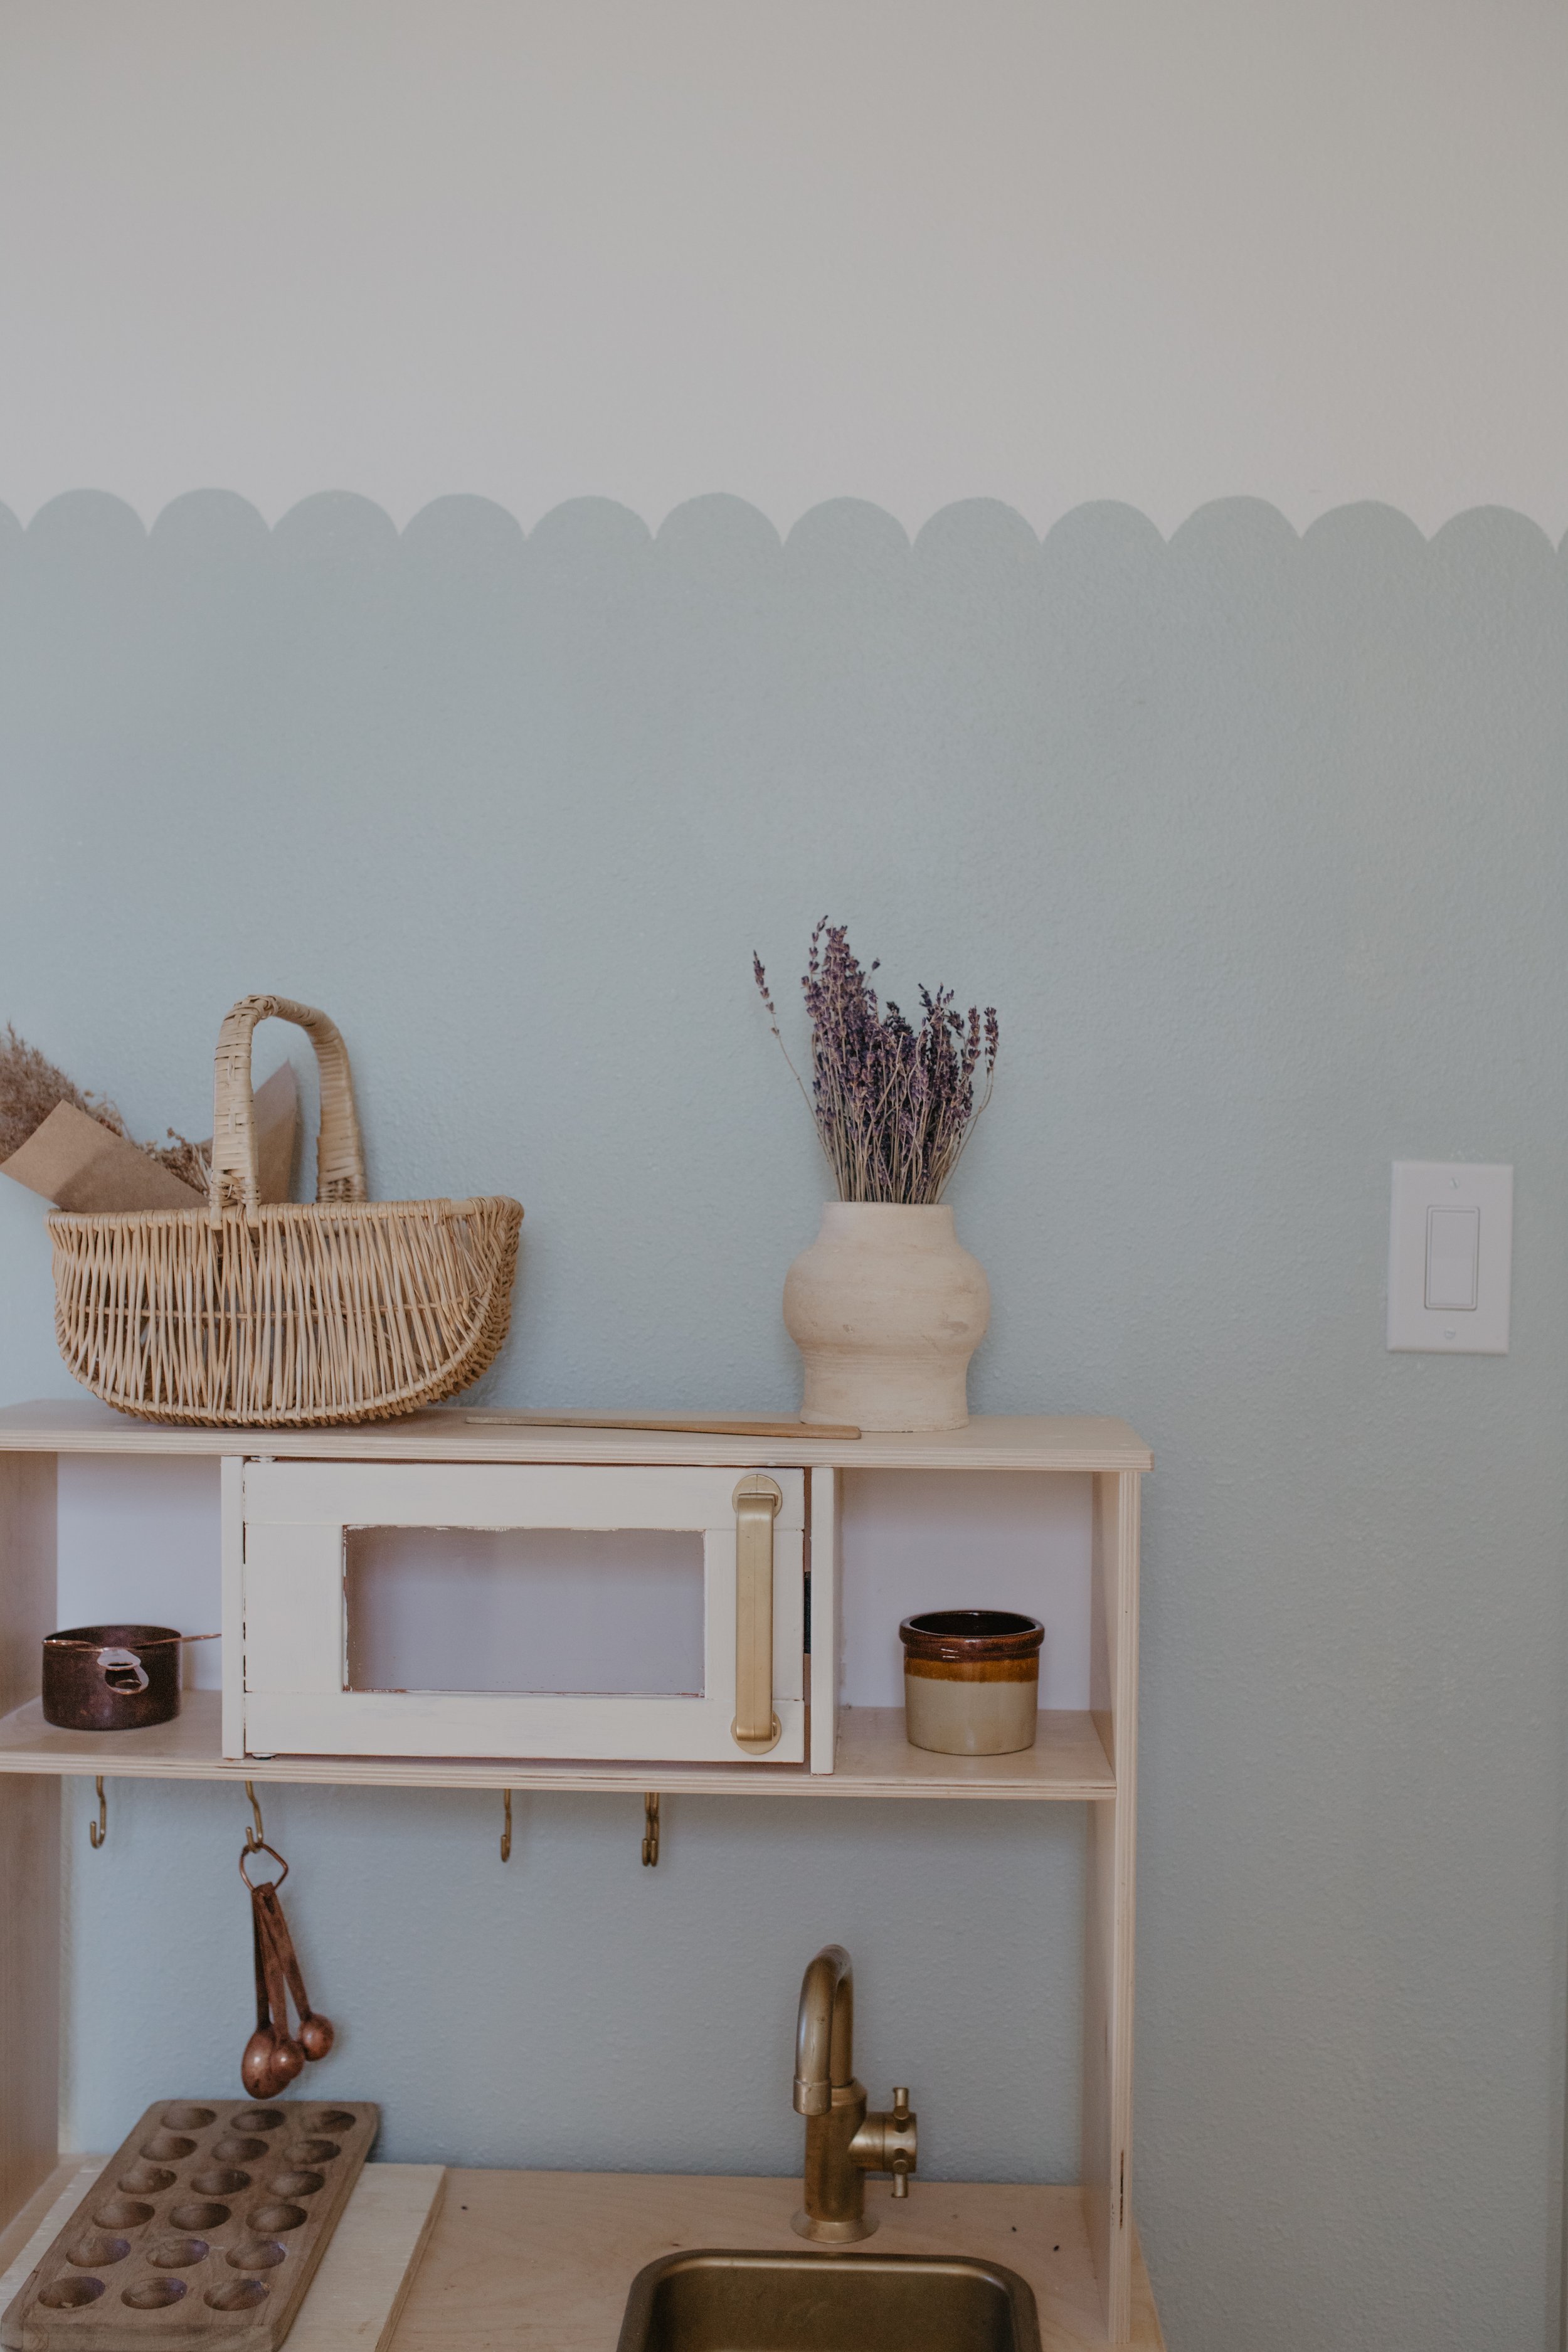
STEP THREE: Use a cup or bowl (depending on how big you want your scallops) and tape across the opening of the cup. Line up the tape with the line on the wall to trace around the cup and create scallop/half circle design.

STEP FOUR: Free hand painting along the scalloped tracing. I personally think that the less perfect they are the more character they get so I didn’t try to be flawless.

Once you go around the room and establish your scalloped border you’re ready for the roller! I just met up with the scalloped detail and it went quick since the scalloped detail was already done.

It took me about three hours start to finish and was just what her room needed to give it a soft and fun look! I also chose this color to be gender neutral in case we need to have multiple kids share a room.
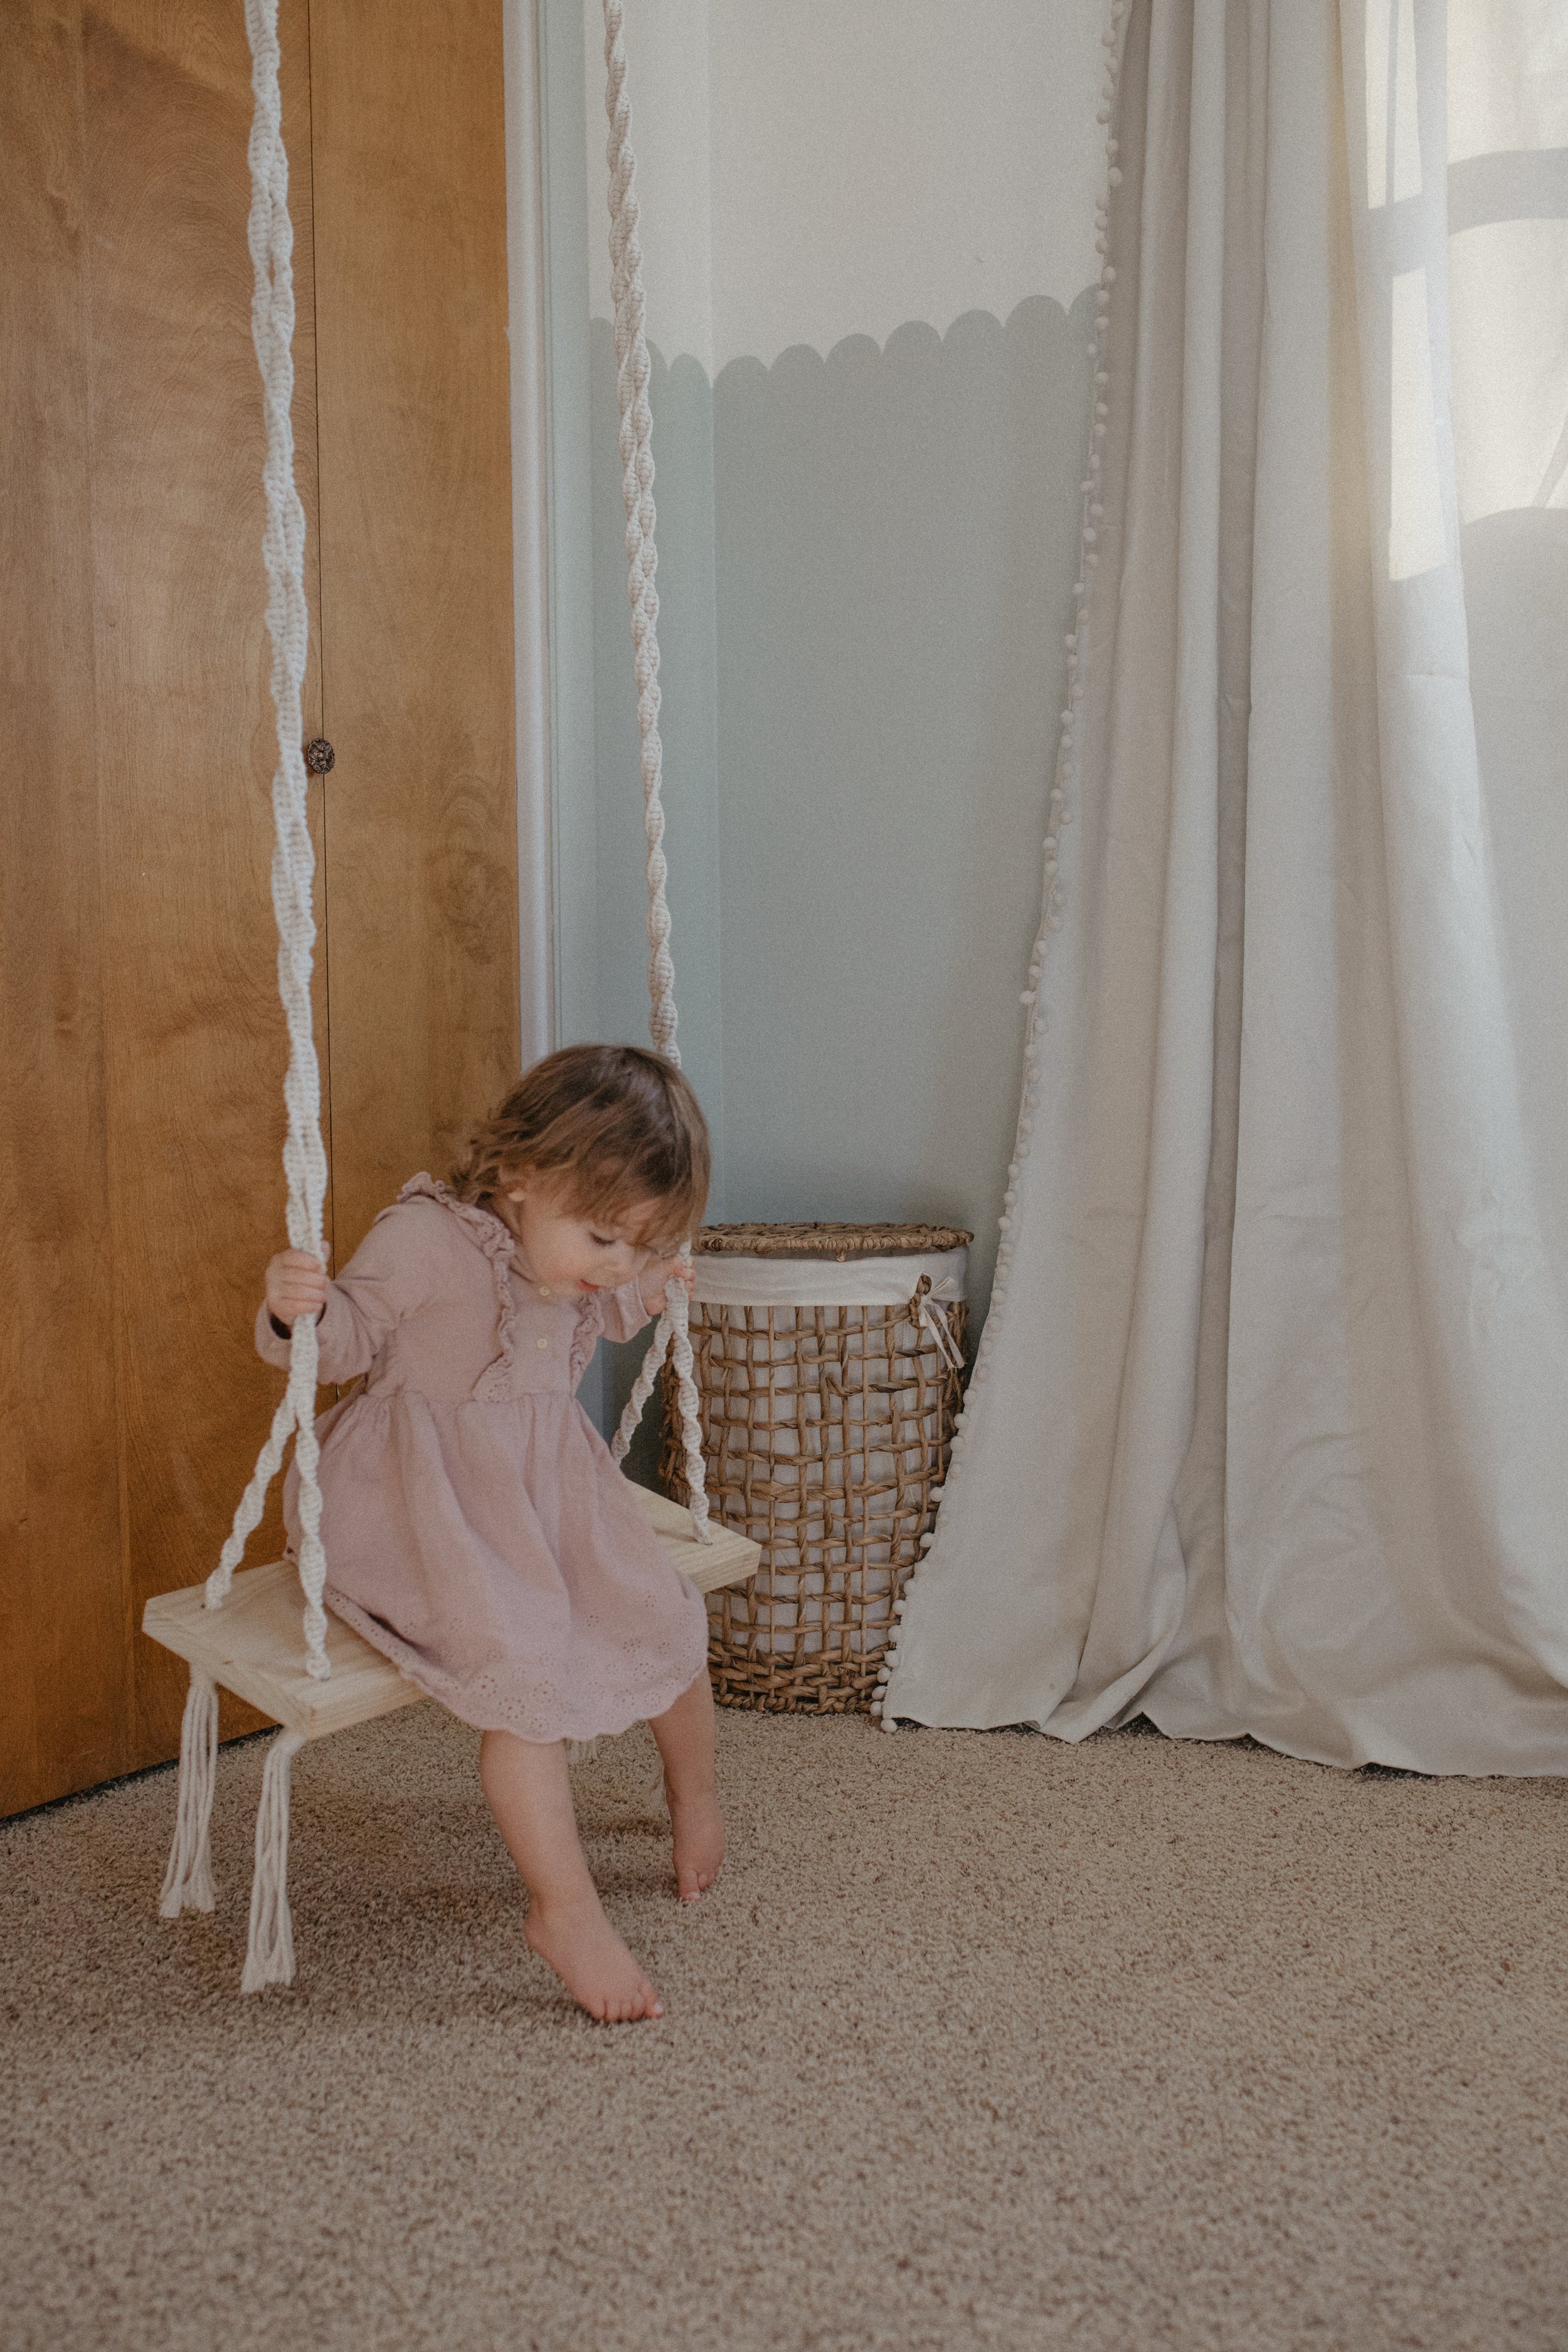

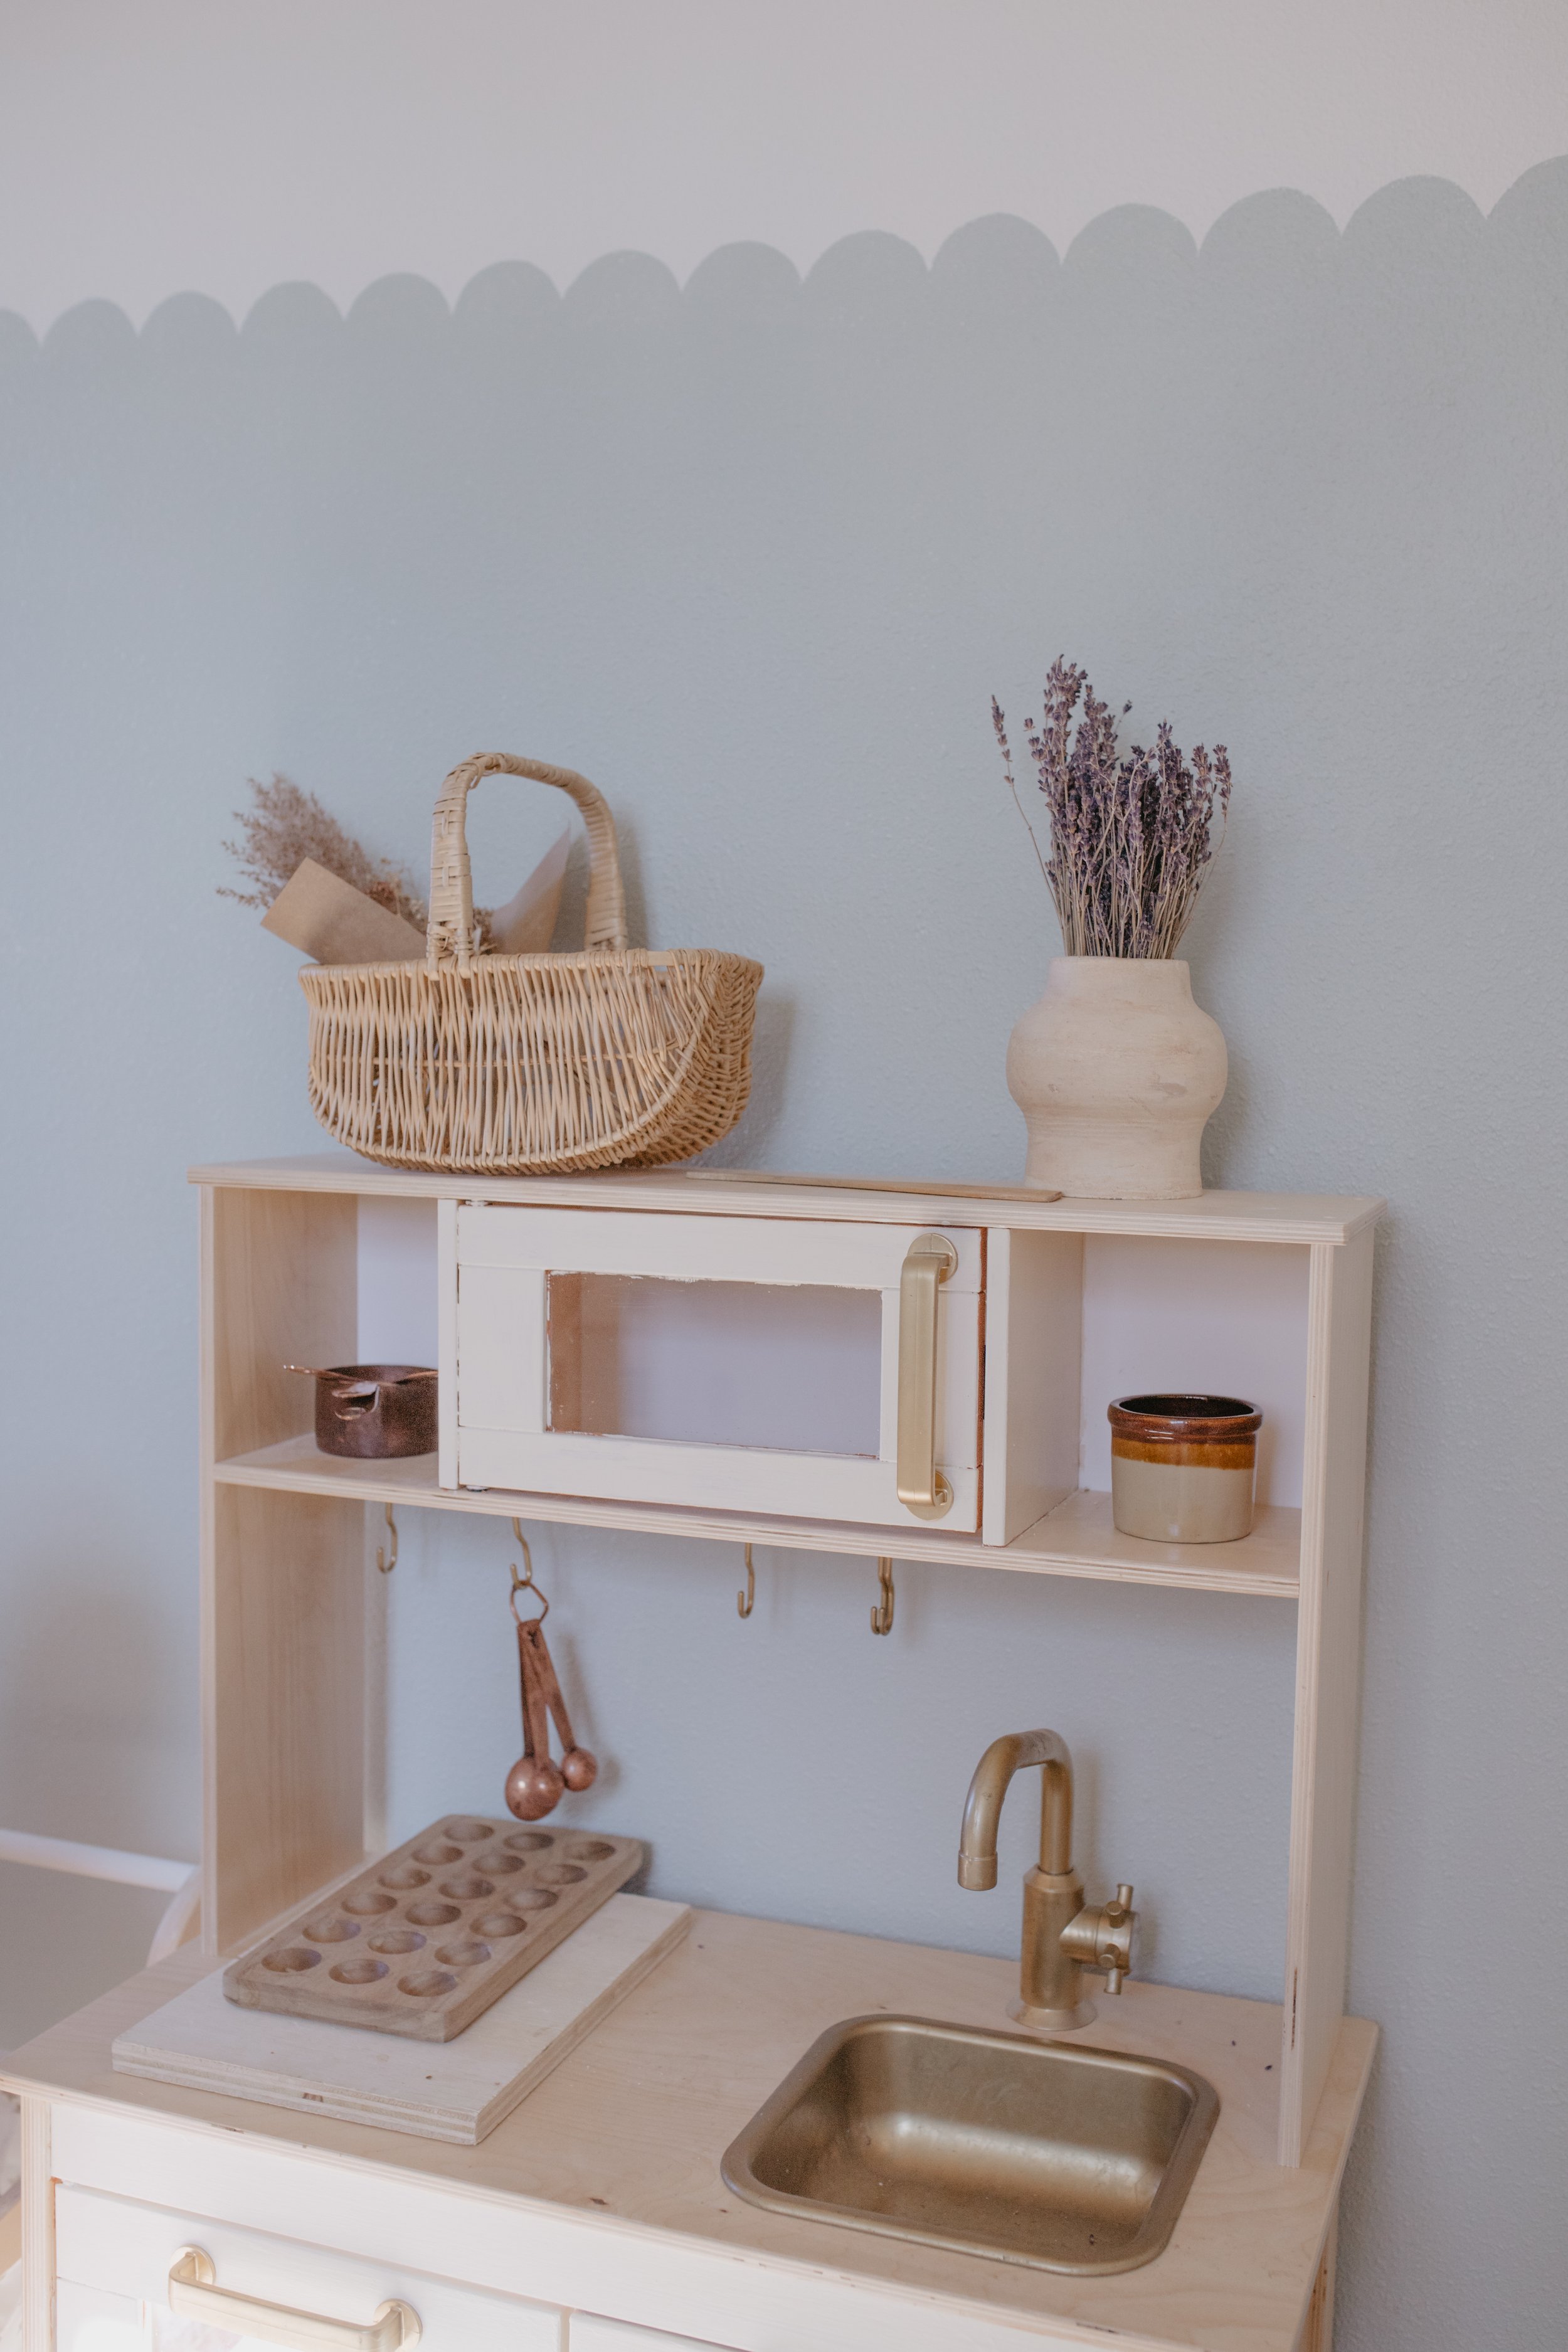
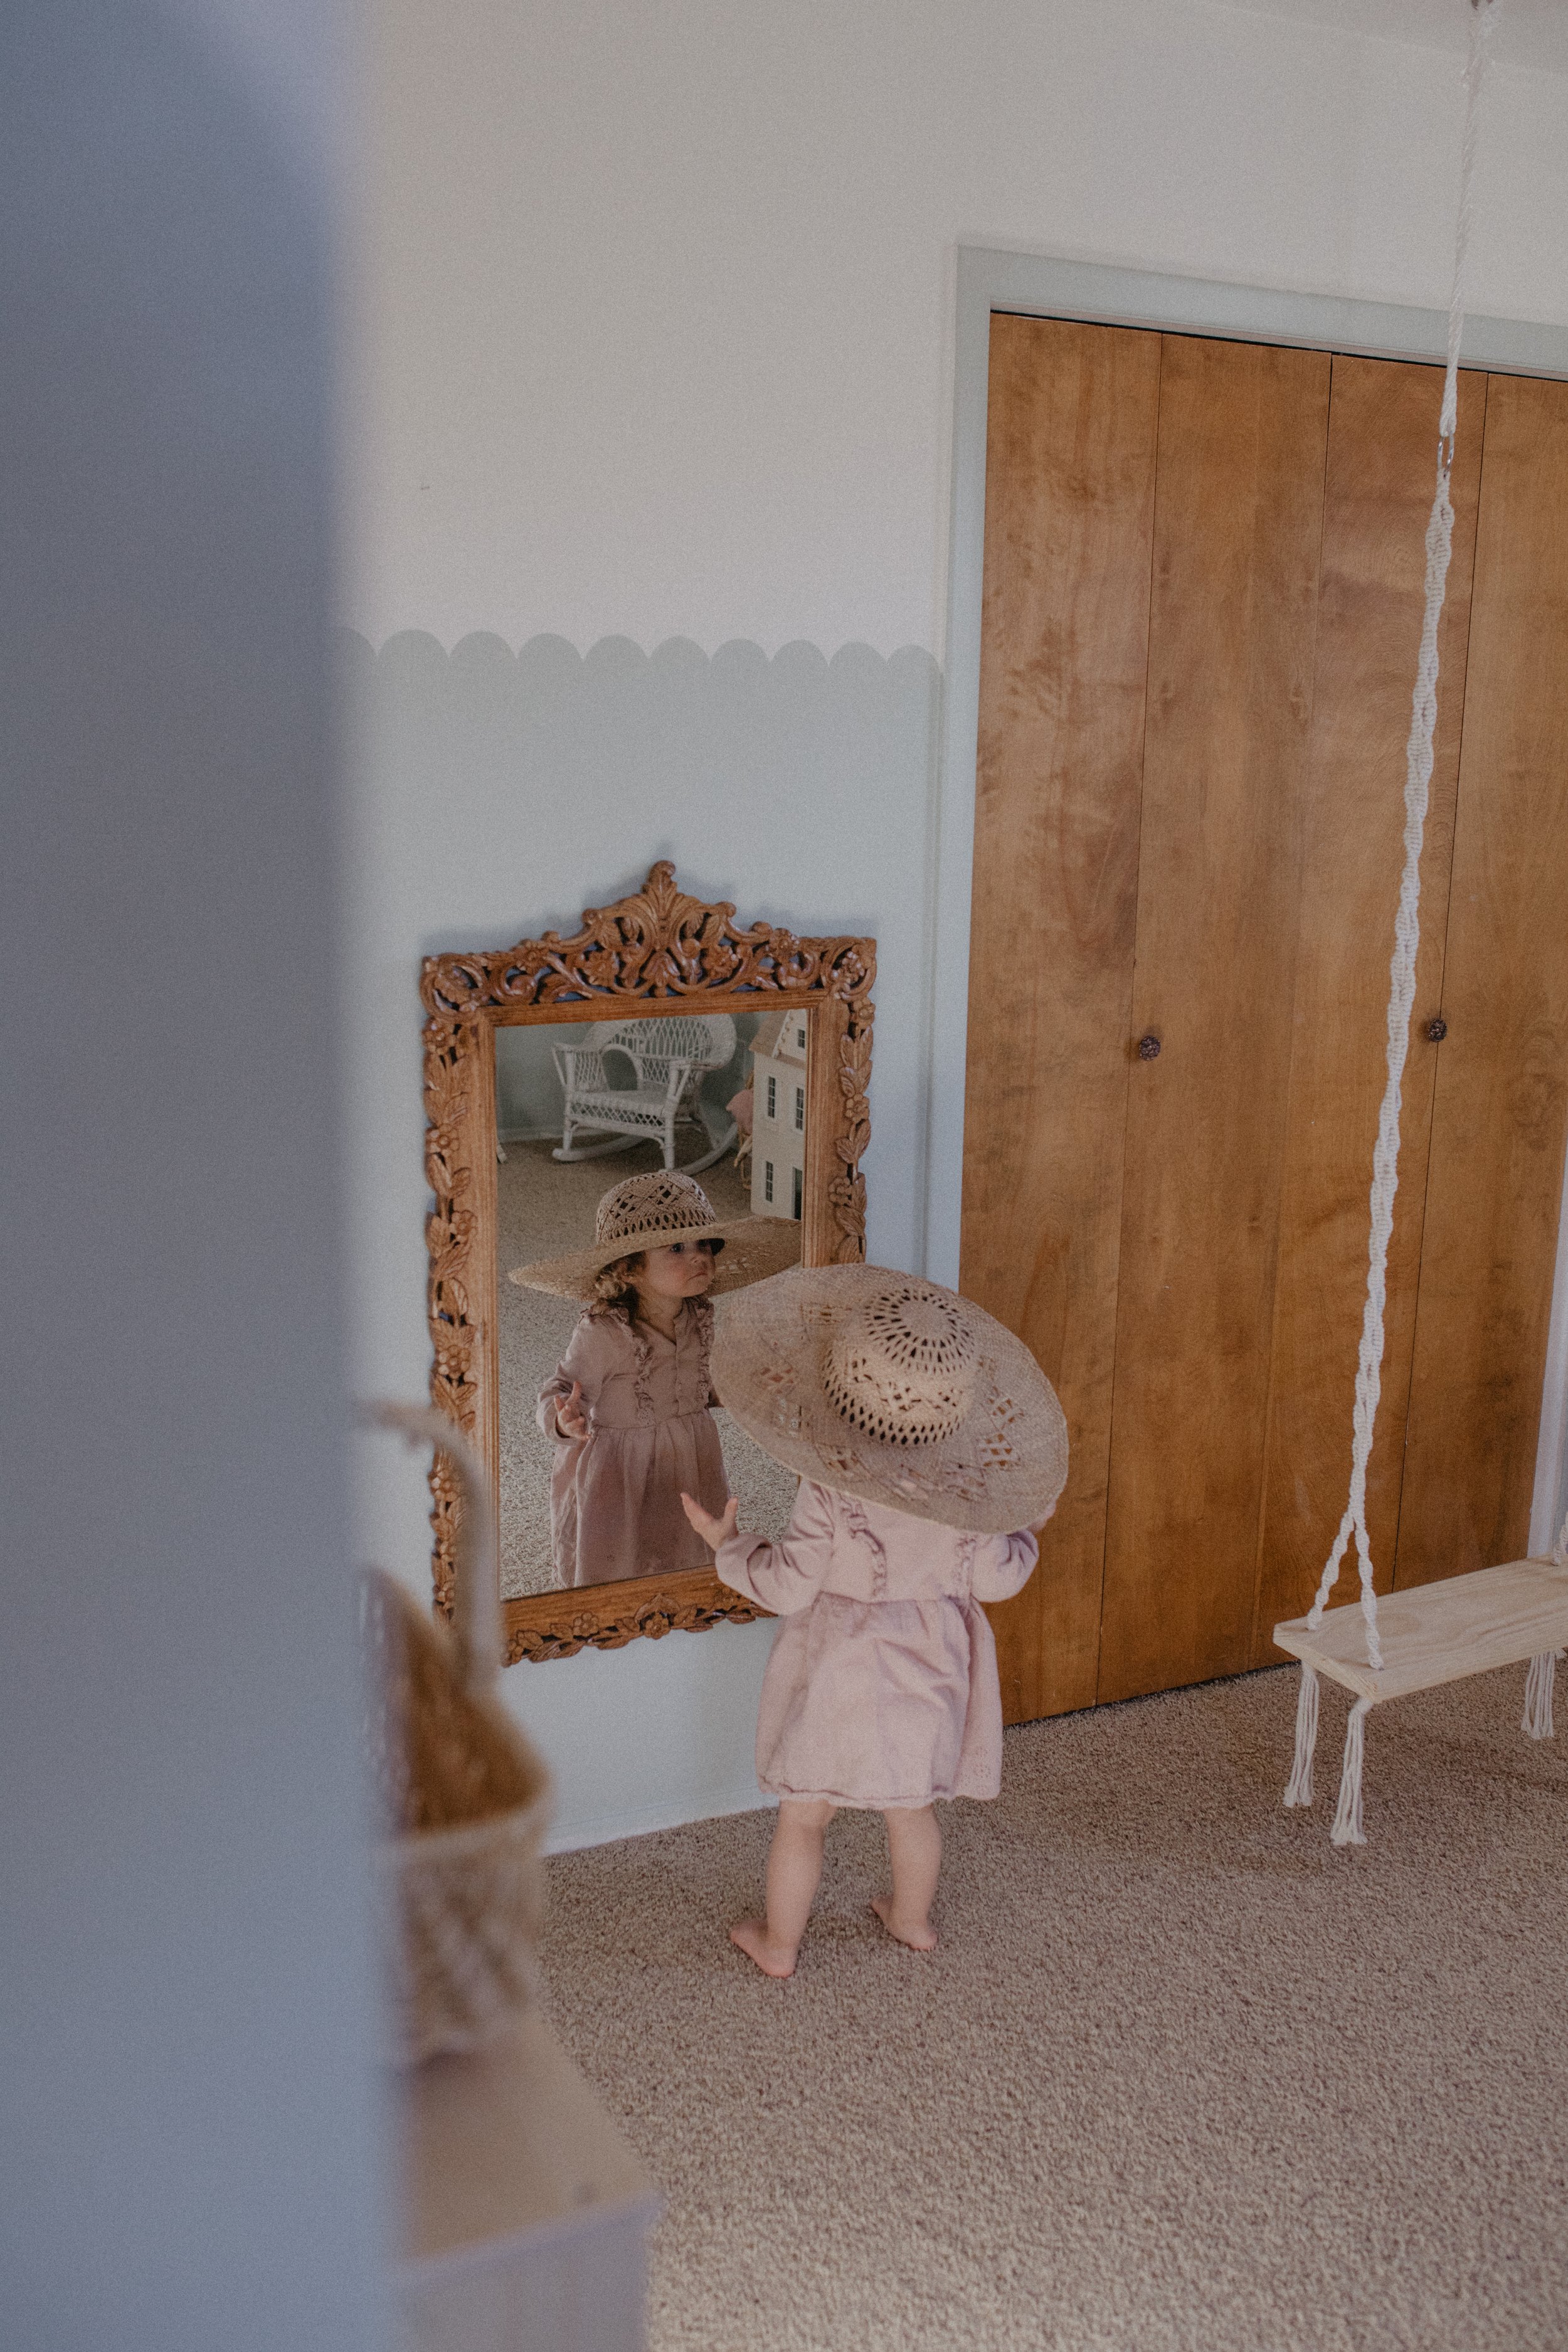
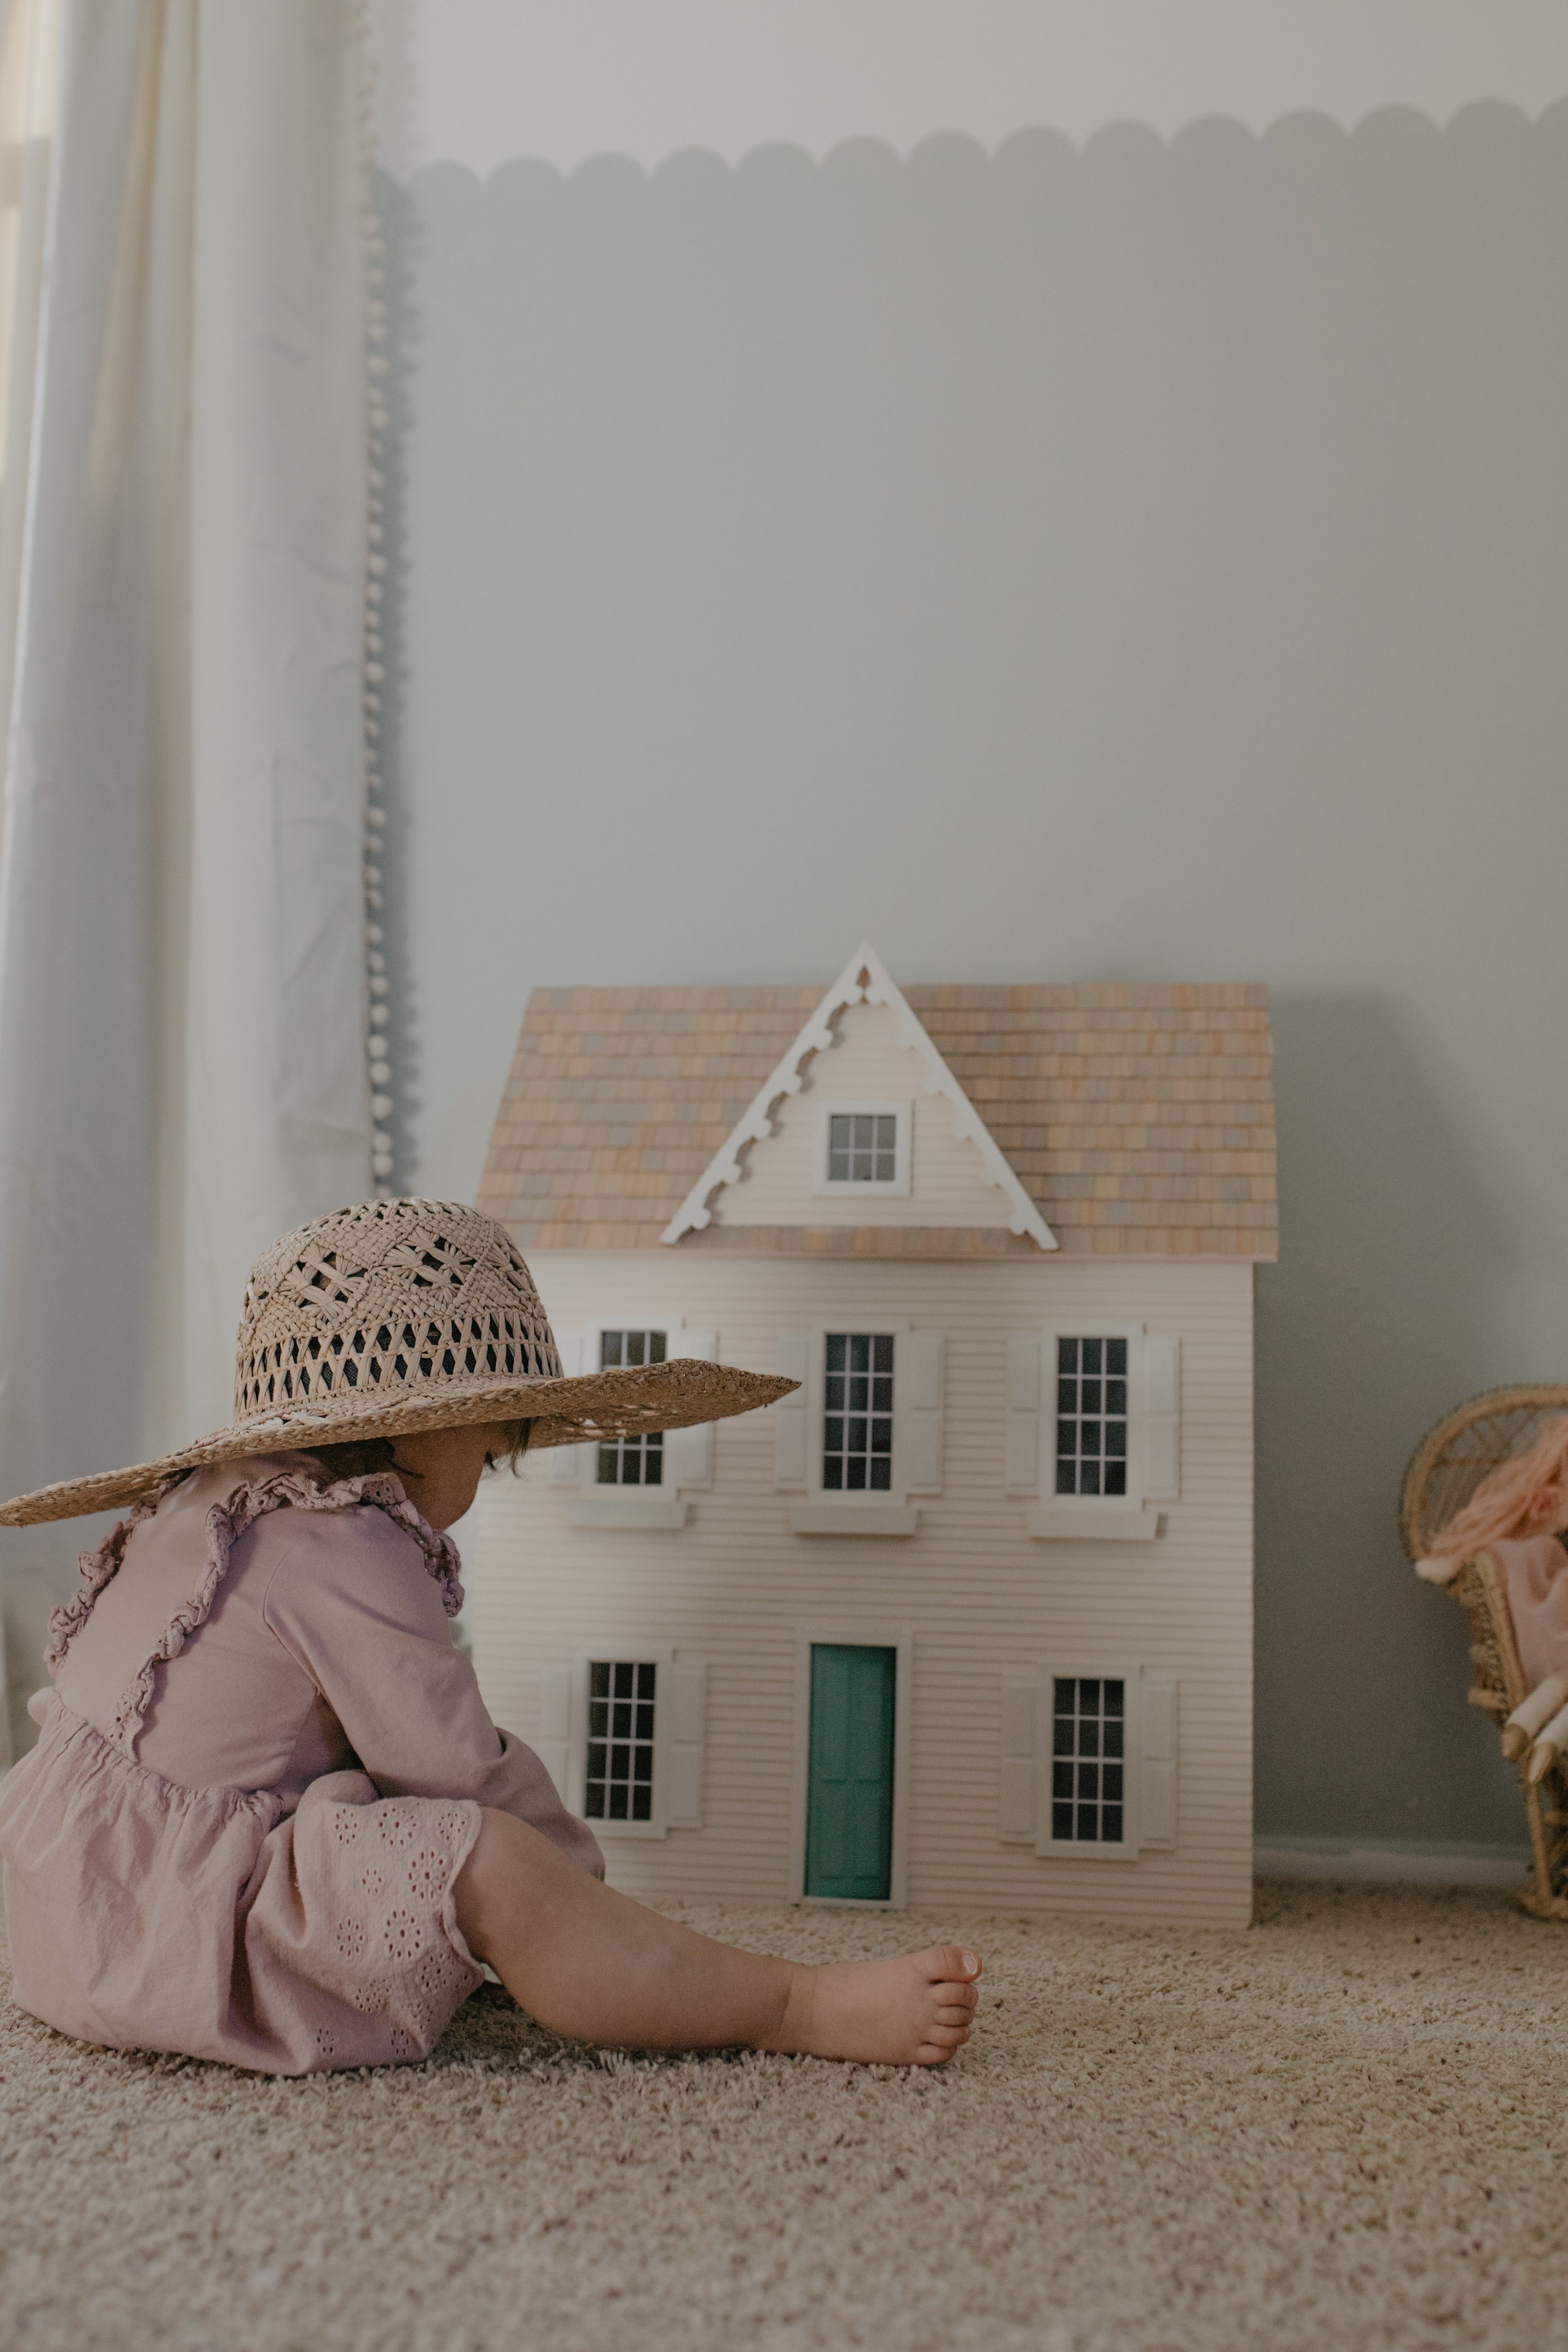
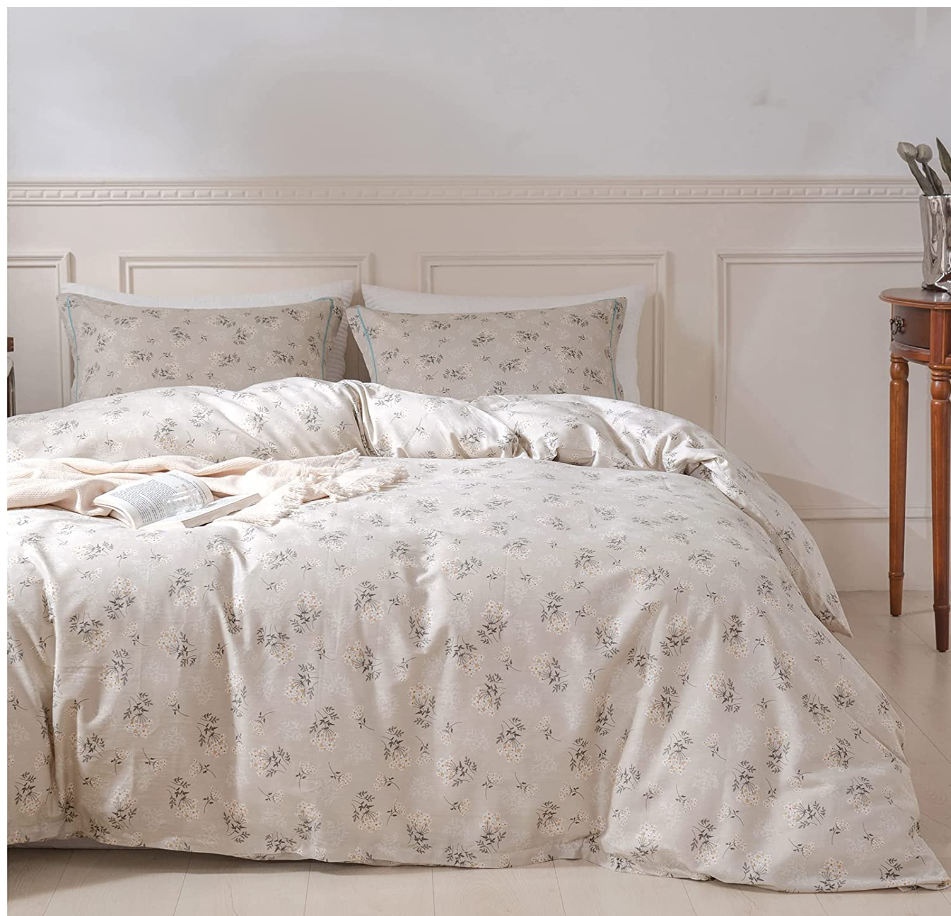
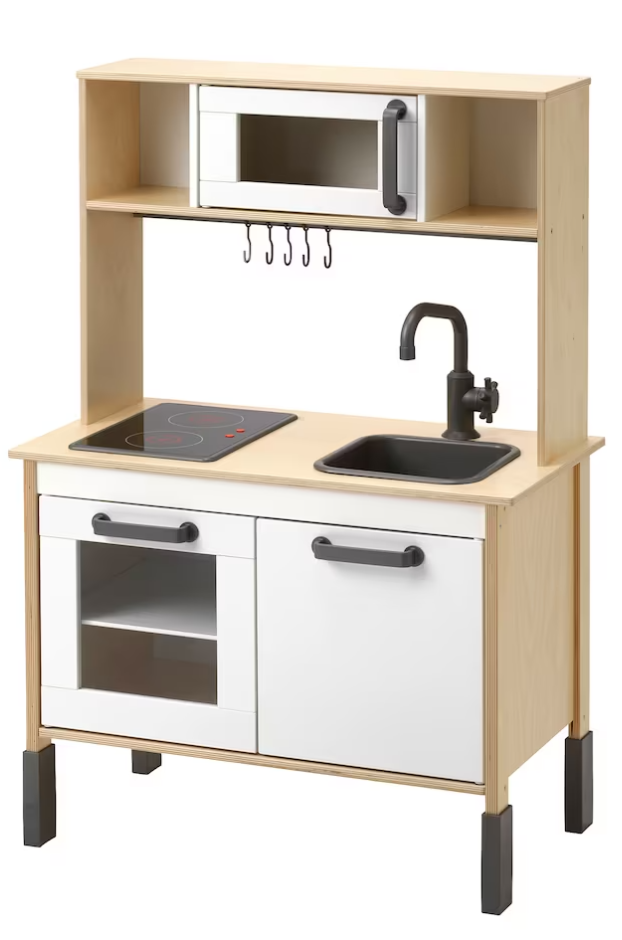
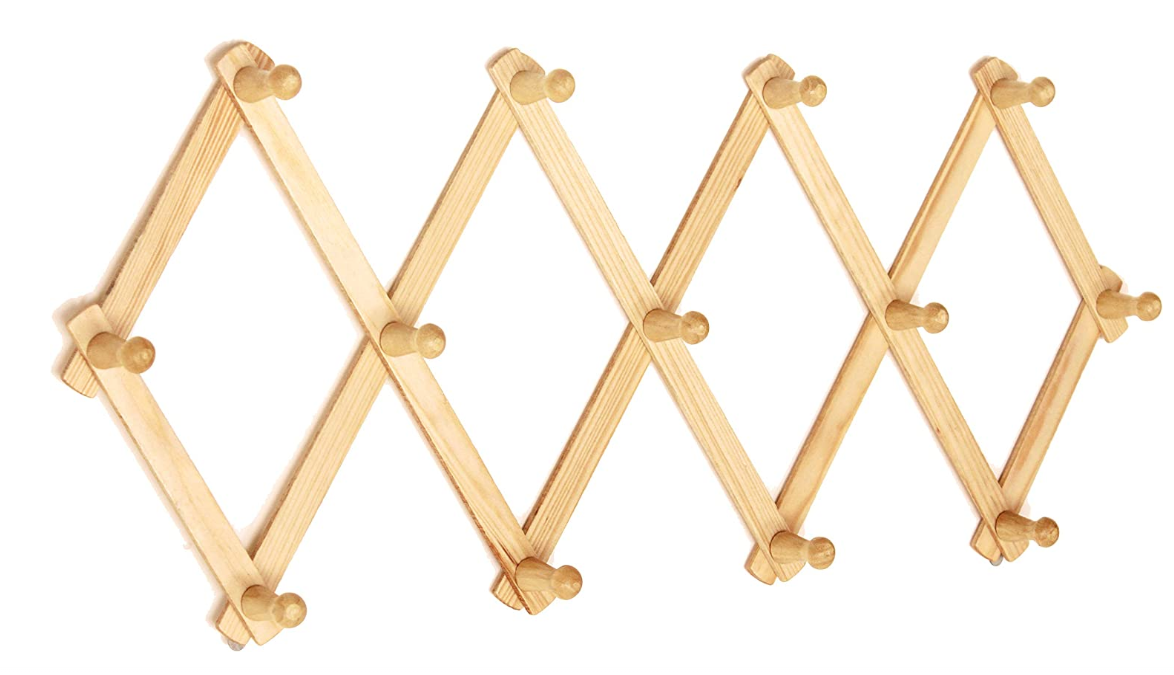
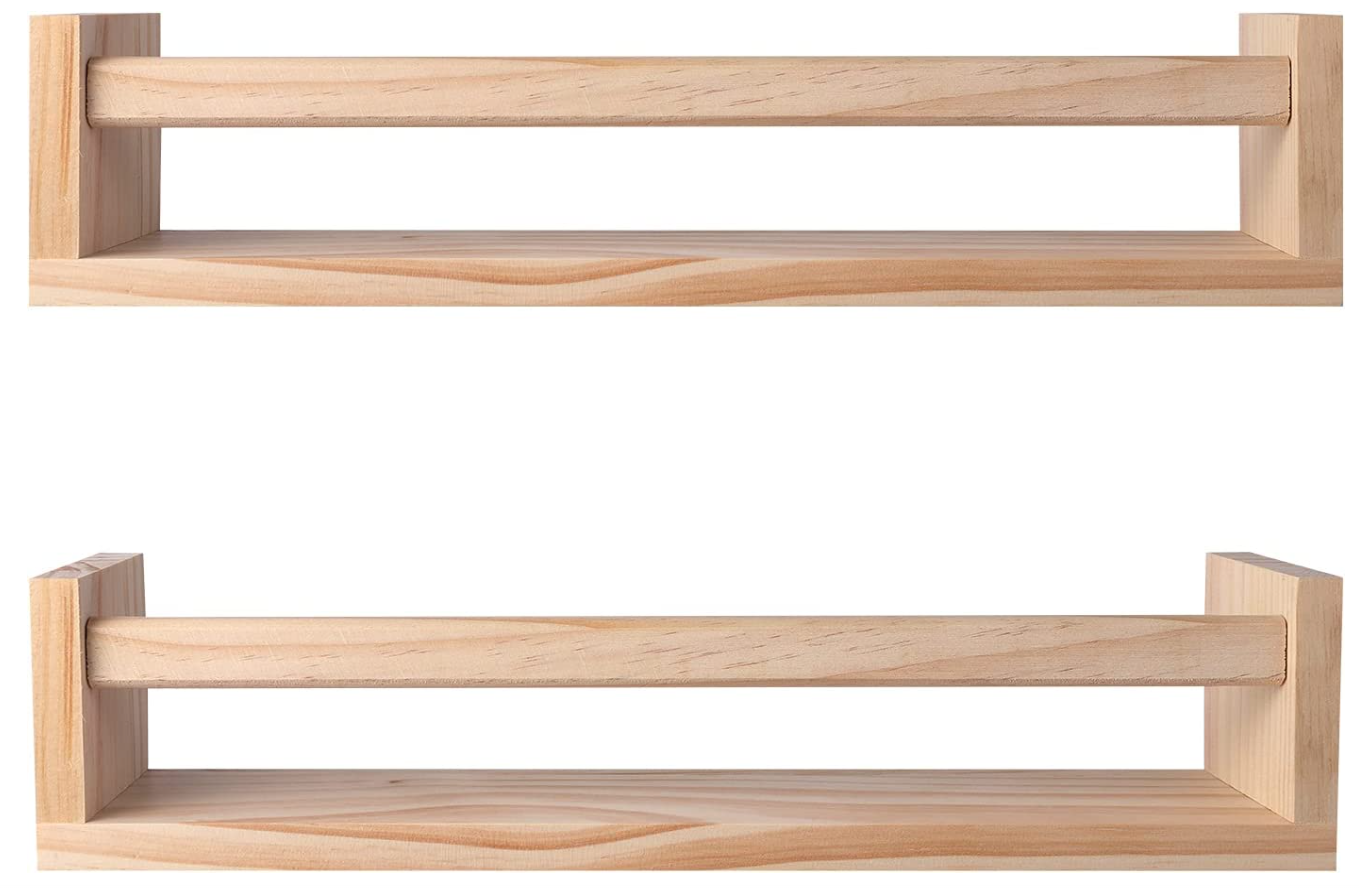
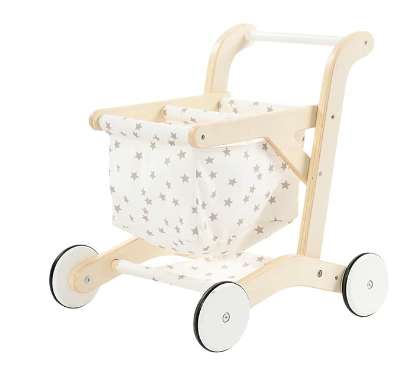
Some of my favorite things in her room are the adorable rope swing which just makes the room magical, her ikea kitchen that I painted, and her doll house that I found on Facebook marketplace!
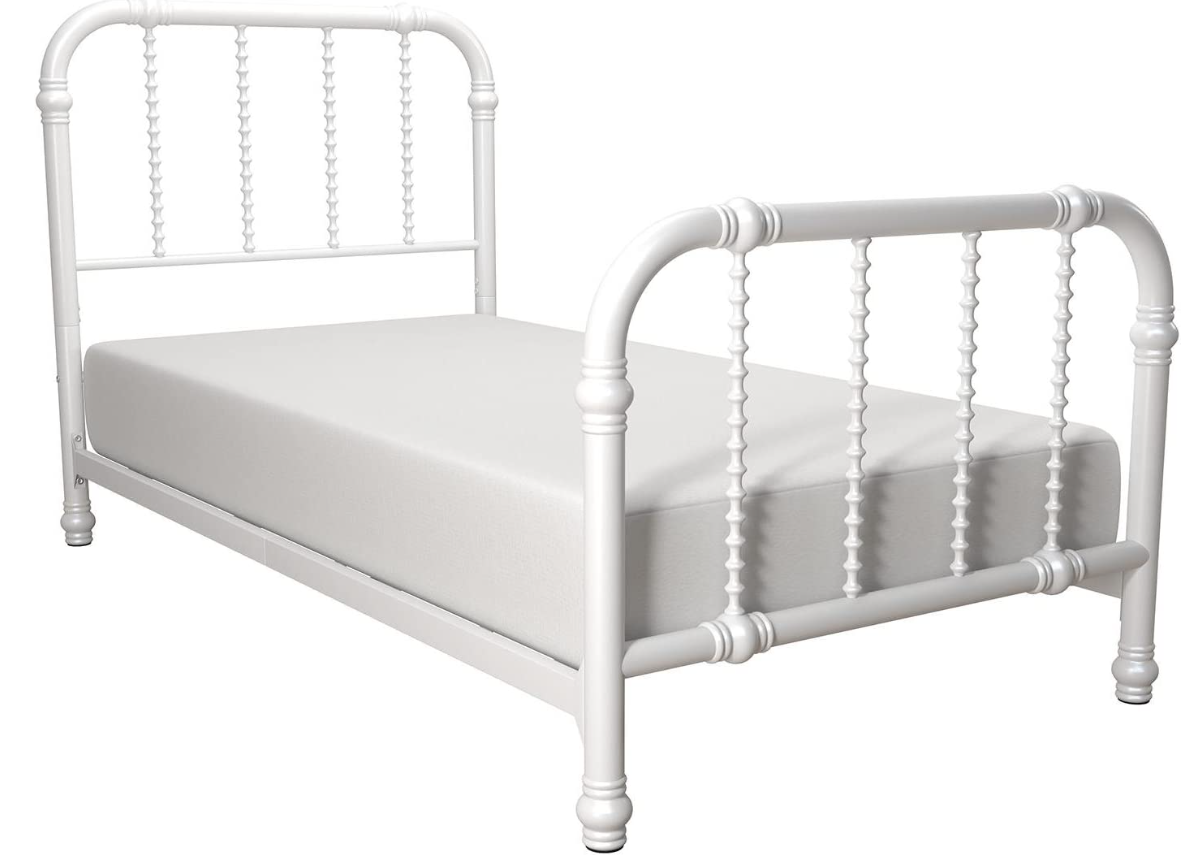
Other Sources for her room:


I hope you enjoyed this room makeover!
xoxo
