

Limewash Exterior Paint

If you're thinking of painting the exterior or interior of your home let me just be the one to help you decide…DO IT!
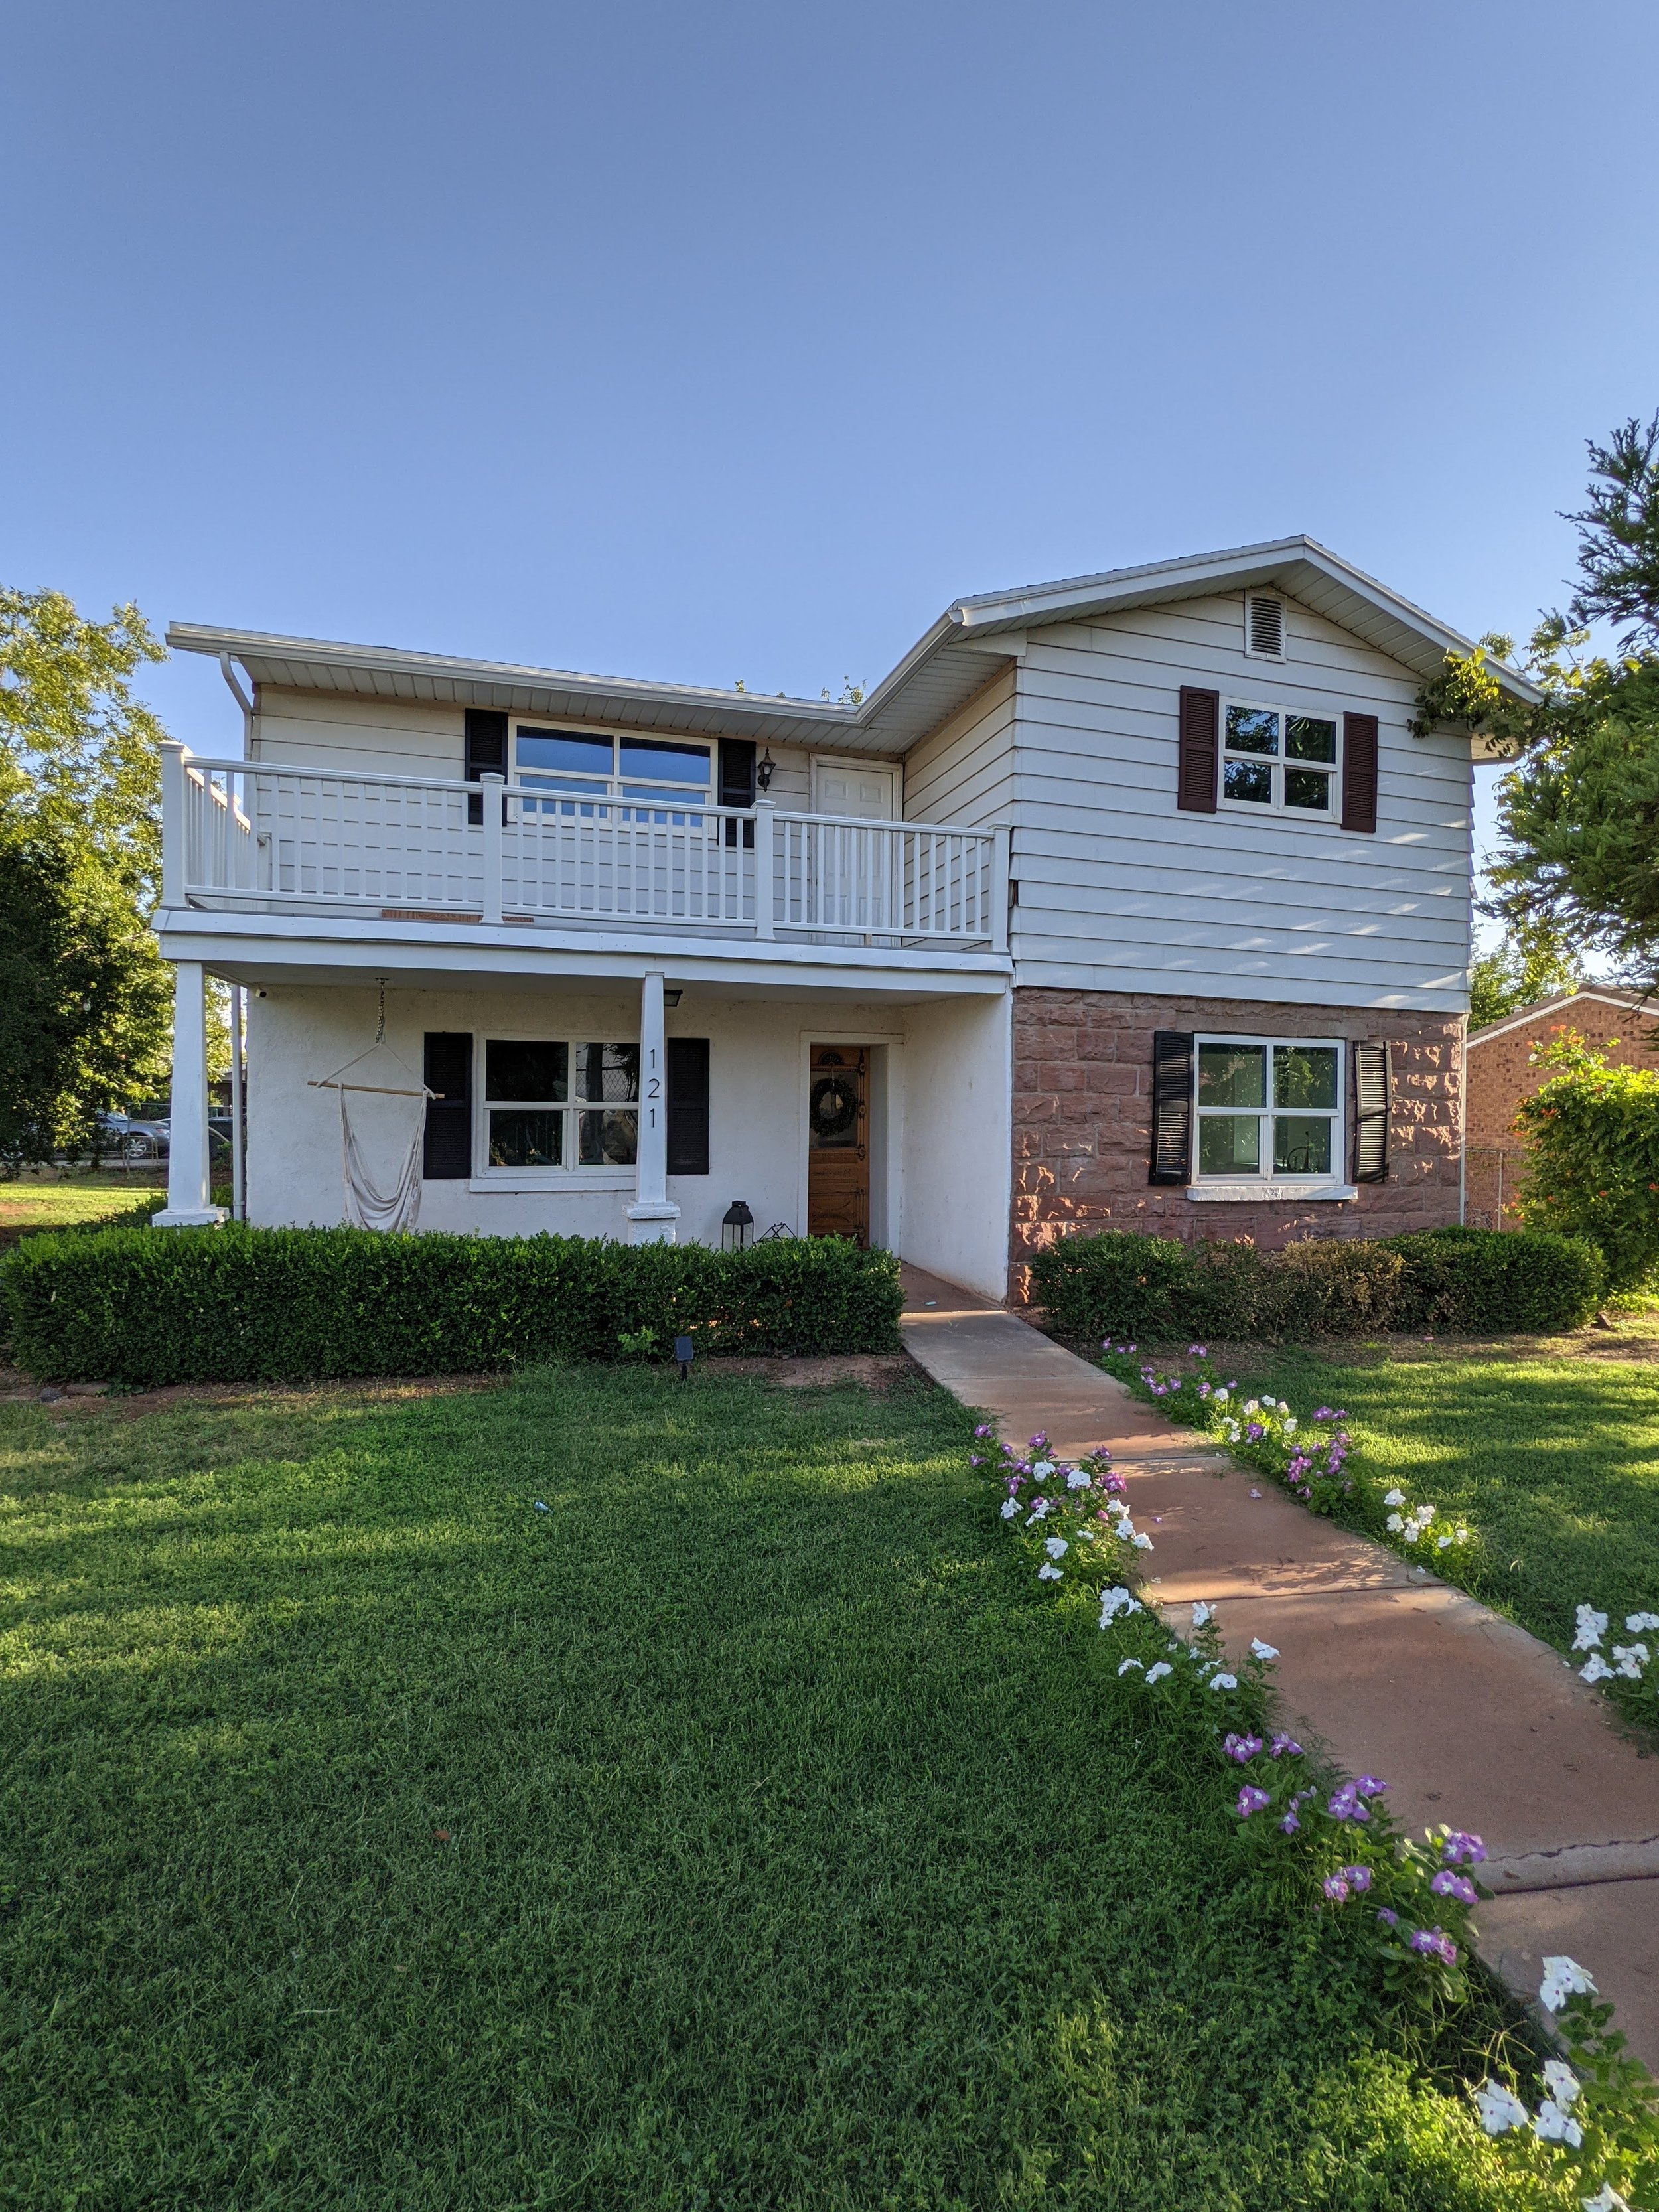
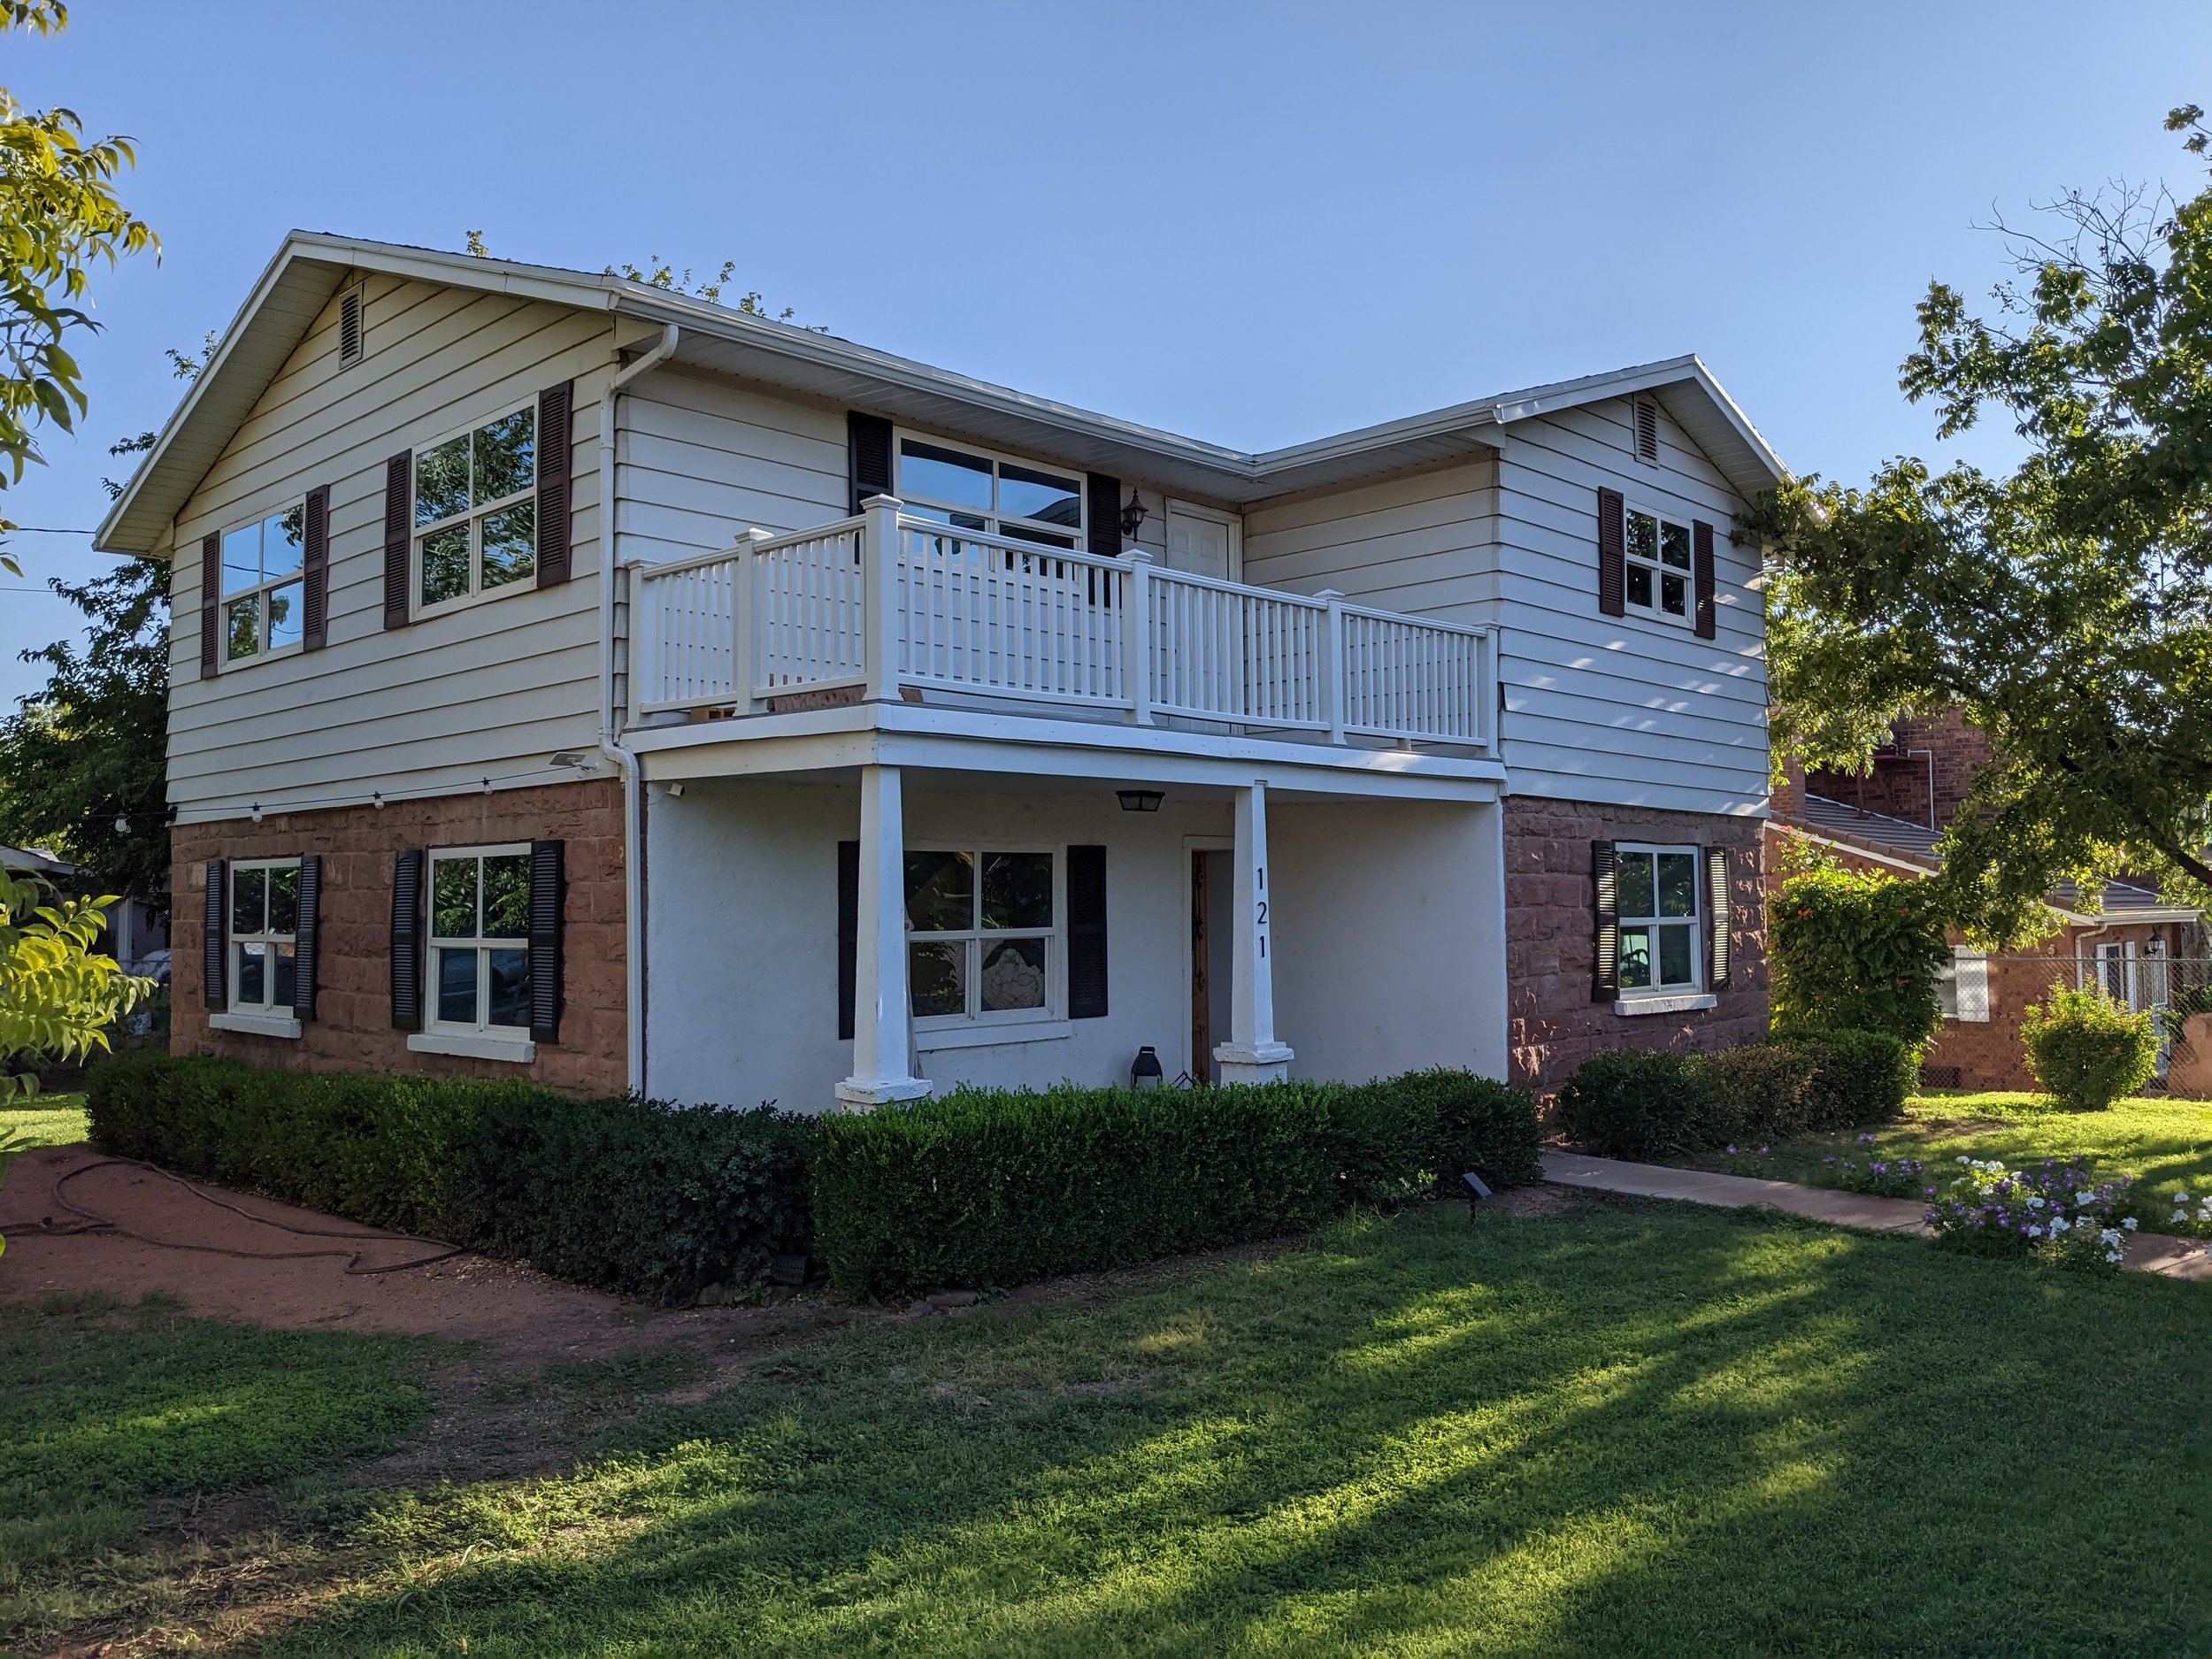
We painted/limewashed the bottom half of the house which was red stone and has a lot of history here in St. George but I knew painting it white would make it look cleaner and brighter! The bottom floor was built in the 1880's and the top floor was added in the 1970's hence the paneling on the top half. The shutters have been a crazy process and that's a whole other story including buying the wrong color and now I can't decide, but once I get that figured out it'll look complete! I did lots of research on limewash paint vs traditional paint, the best materials to use, and the whole process.
Here are some f a c t s:
It took us only one day to limewash paint all of the stone which surrounds our whole home!
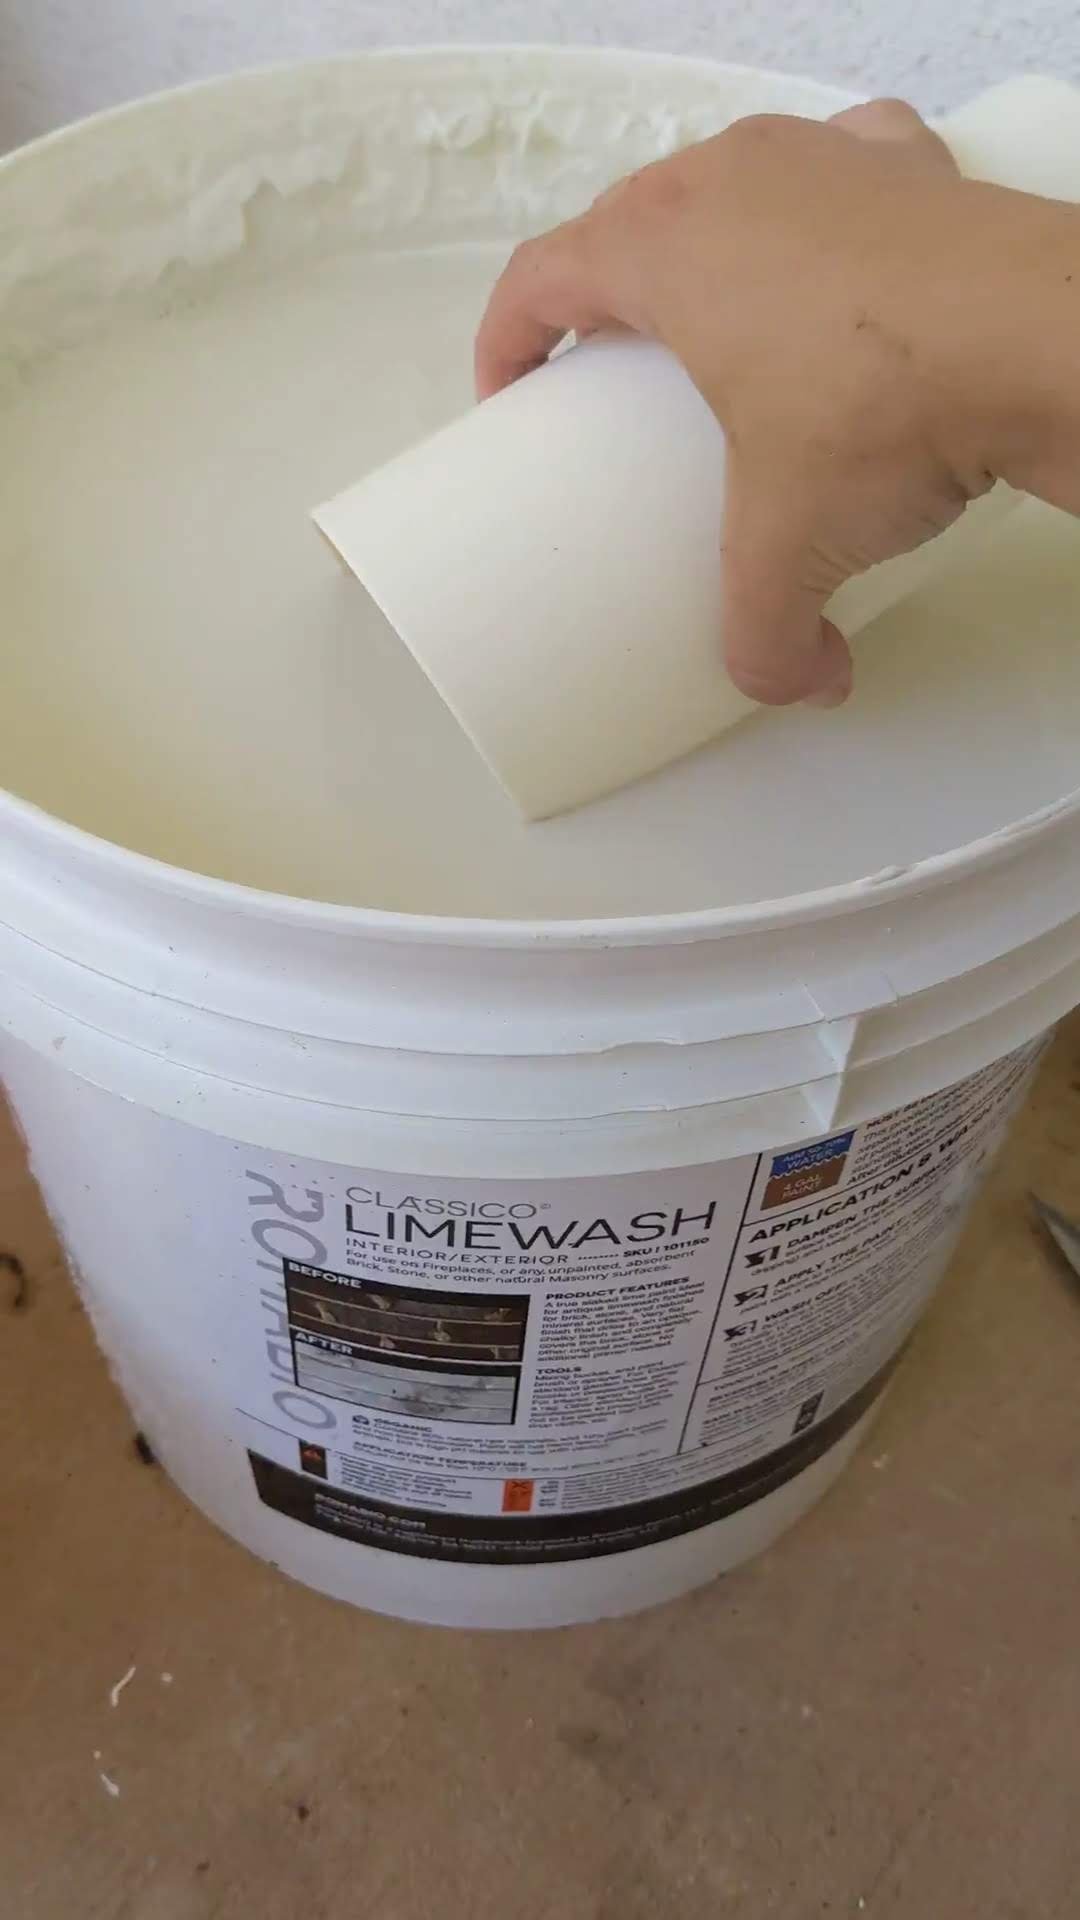
We purchased a 5 gallon bucket of limewash that is about $265 including tax
We used a paint sprayer for the whole thing!
I mean…can you EVEN with that before & after?!

Painting the outside of your house can sound scary or intimidating but if you have a paint sprayer it will be much more manageable and faster than you think!
Sooo let’s get started!!
What you'll need:
5 gallon bucket (for mixing the limewash) $5
Cement mixer (In your drywall section of Home Depot connects to your drill) $10
Measure cup/bucket $2
Water to add to Limewash
Masonry brush if you are going to paint by hand but I didn’t end up needing it
Cardboard pieces for spraying around windows instead of taping $1 each
*I already had the power washer, paint sprayer, and power drill
TOTAL: $283

What Is Limewash?
Limewash is a paint made for stone, brick, stucco, or slate that gives it a natural look. Limewash is also eco-friendly, mineral based, and has a nuanced texture. Our stone after being painted has no sheen or effect on it, but looks more matte finish like it's always been this color.
It comes as a clay-like consistency and needs to be watered down which makes it go a bit farther! We even had some left over afterwards which I was not expecting but am so happy about so we wouldn't have to order more. It's ordered through Home depot and takes a week or two to be delivered but was free shipping!
As you put on your limewash you'll want to have the hose ready to spray your surface and then paint immediately after a.k.a. spray while wet. Limewash doesn't exactly “dry” but “cures” instead. Supposedly, it cures more and more overtime and becomes stronger lasting longer than paint. It can also be sprayed off any bushes, grass, or concrete if accidentally drips since it's a more natural product it won't ruin vegetation!
Limewash paint dates back to the Roman times where they burned or crushed limestone, mixed it with water to create a strong limewash paint! Since it dates back so long ago, it seemed fitting for our old house!
So how to get started??
Step 1: PICK A DESIRED COLOR
So when it comes to Limewash how do you know which color to pick? There are several shades:

I purchased Avario White because I wanted a softer white and not the brightest starkest white so I thought that would be a good choice given the options.
So let’s get started shall we?!
Step 2: PREP SURFACE
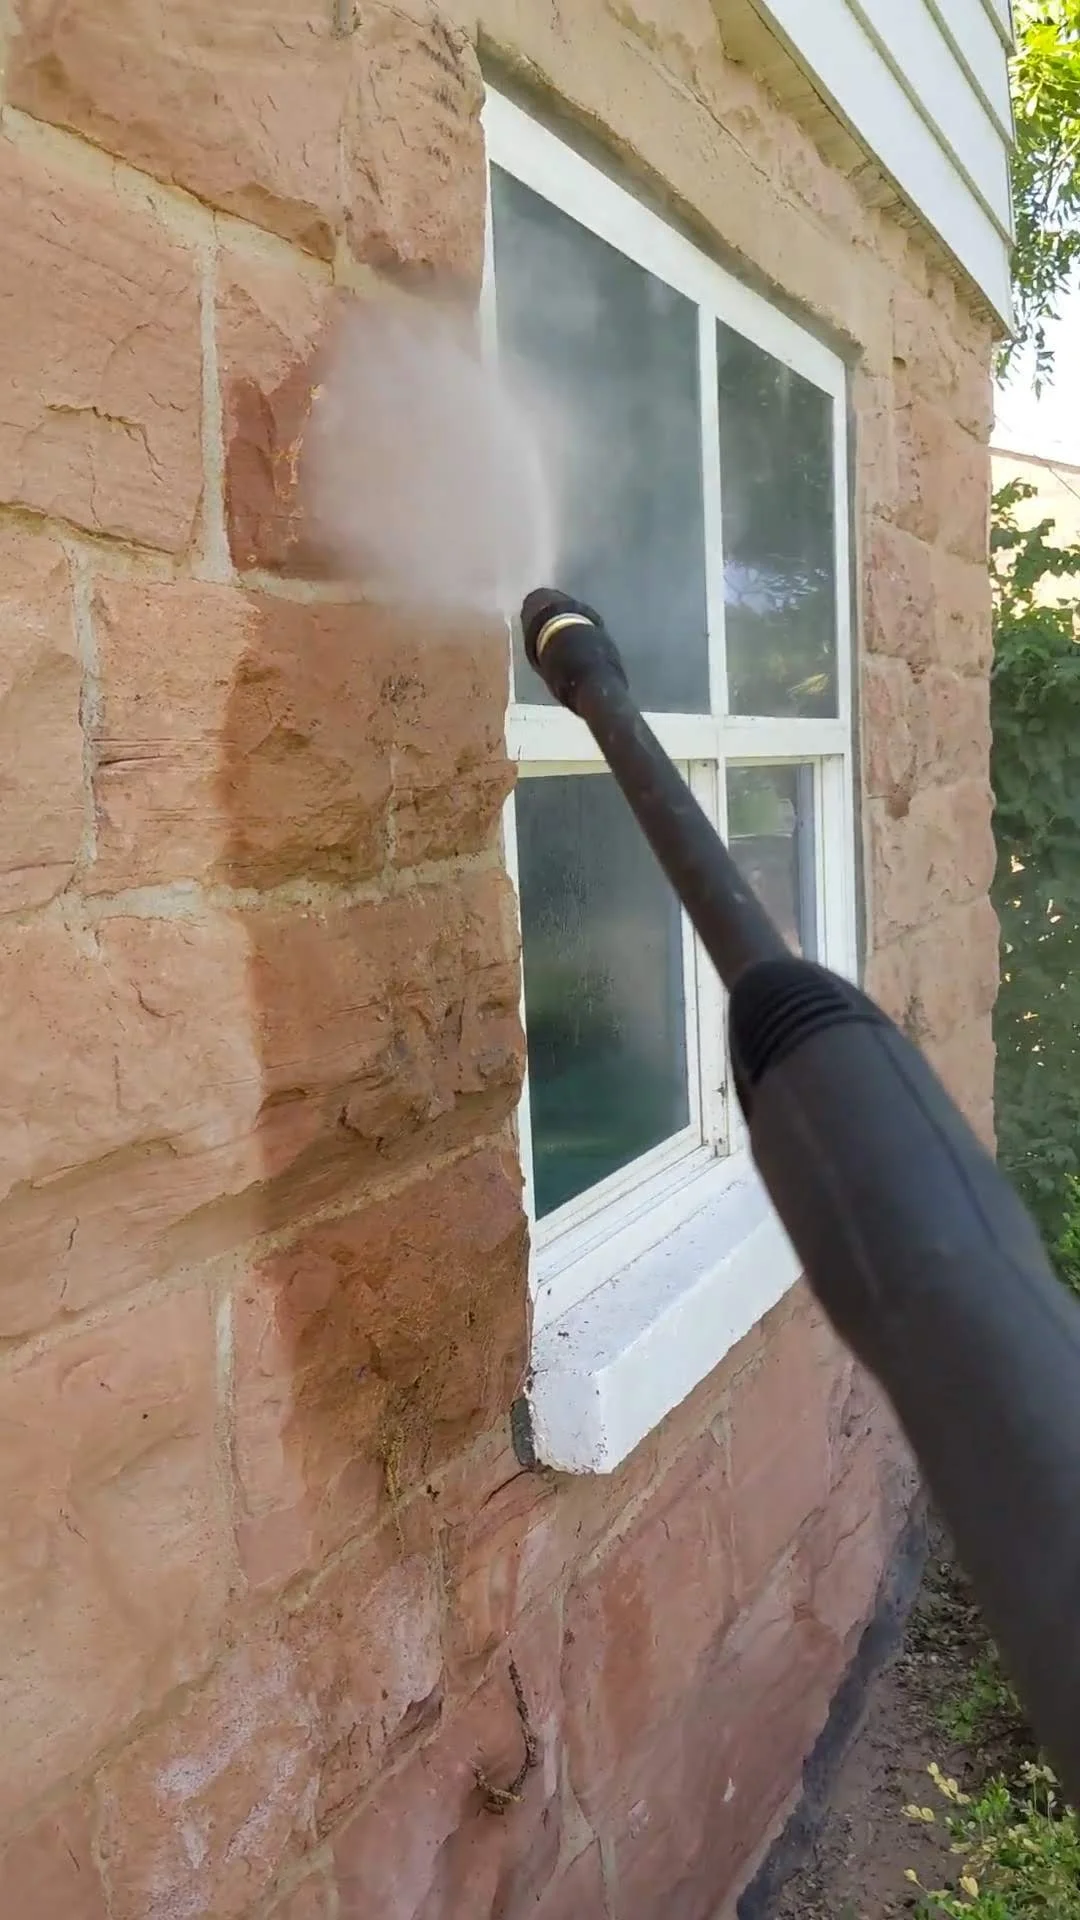
For my house I needed to remove the shutters attached to the house and spray all the webs off with my power washer. It was absolutely nasty with live and dead bugs. I'm so glad this project gave me a reason to clean the walls! Giving the house a good spray down can be good too, but you'll be wetting it as you go so no sense in doing it twice. Work smarter not harder, right?

This power washer has been the bomb.com and has saved me in basically all of my outdoor projects!
STEP 3: MIXING LIMEWASH PAINT
The best way to describe it is you want to dilute the clay-like limewash so that its consistency is similar to other paints. I did mine even a little more watered down so it wouldn't be thick and clog my sprayer.
To make things easier for you I created a conversion chart because I'm a visual learner and would have LOVED for something like this to help me so here you go! *note: The proper measurement of watering down 1 gallon is 16 cups of water but I only used 12 so it's good to add a little bit at a time than too much until you reach your desired limewash consistency.*


If you like to read instructions here you go!
This is where the small measuring bucket and the 5 gallon bucket come into play to mix everything. You can't add water to the limewash bucket because it's full and wouldn't be able to hold added water. I used a cup to scoop enough limewash into my measuring bucket until I reached the line which was 2 quarts.
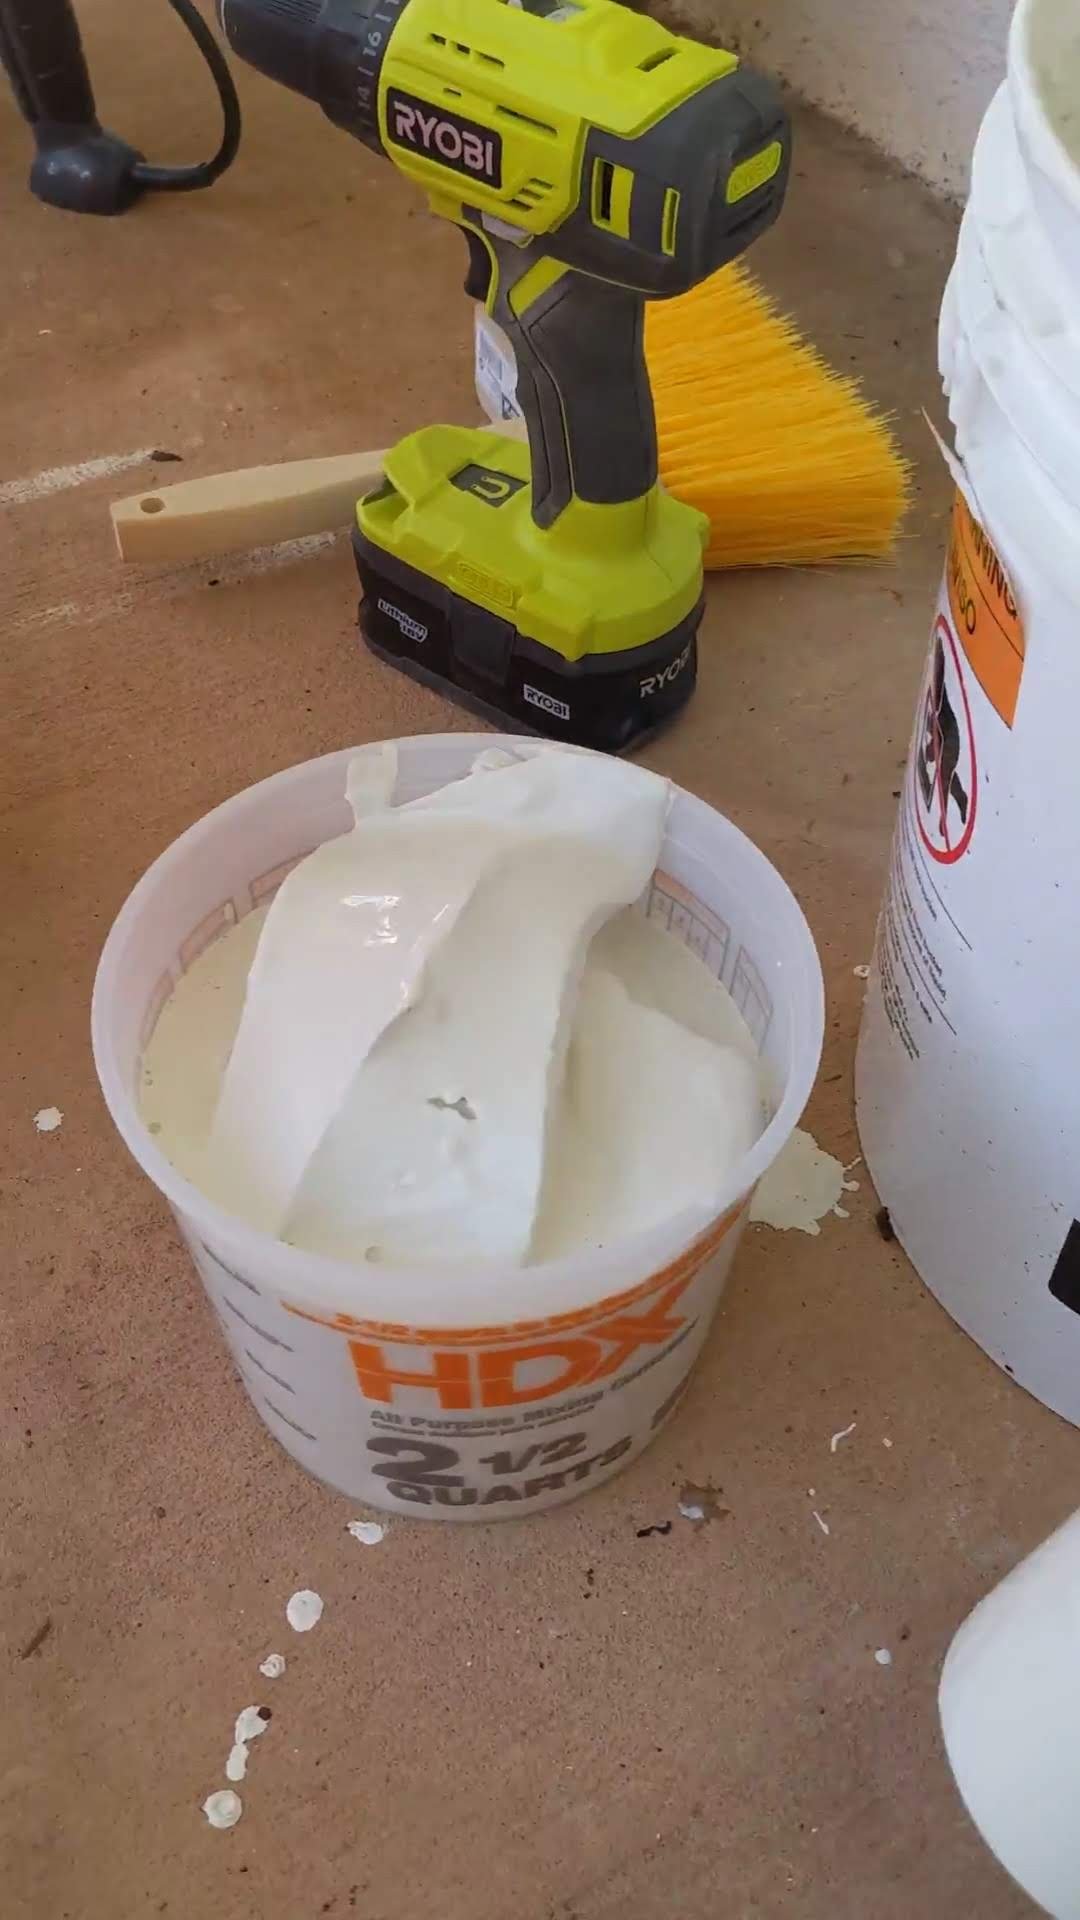
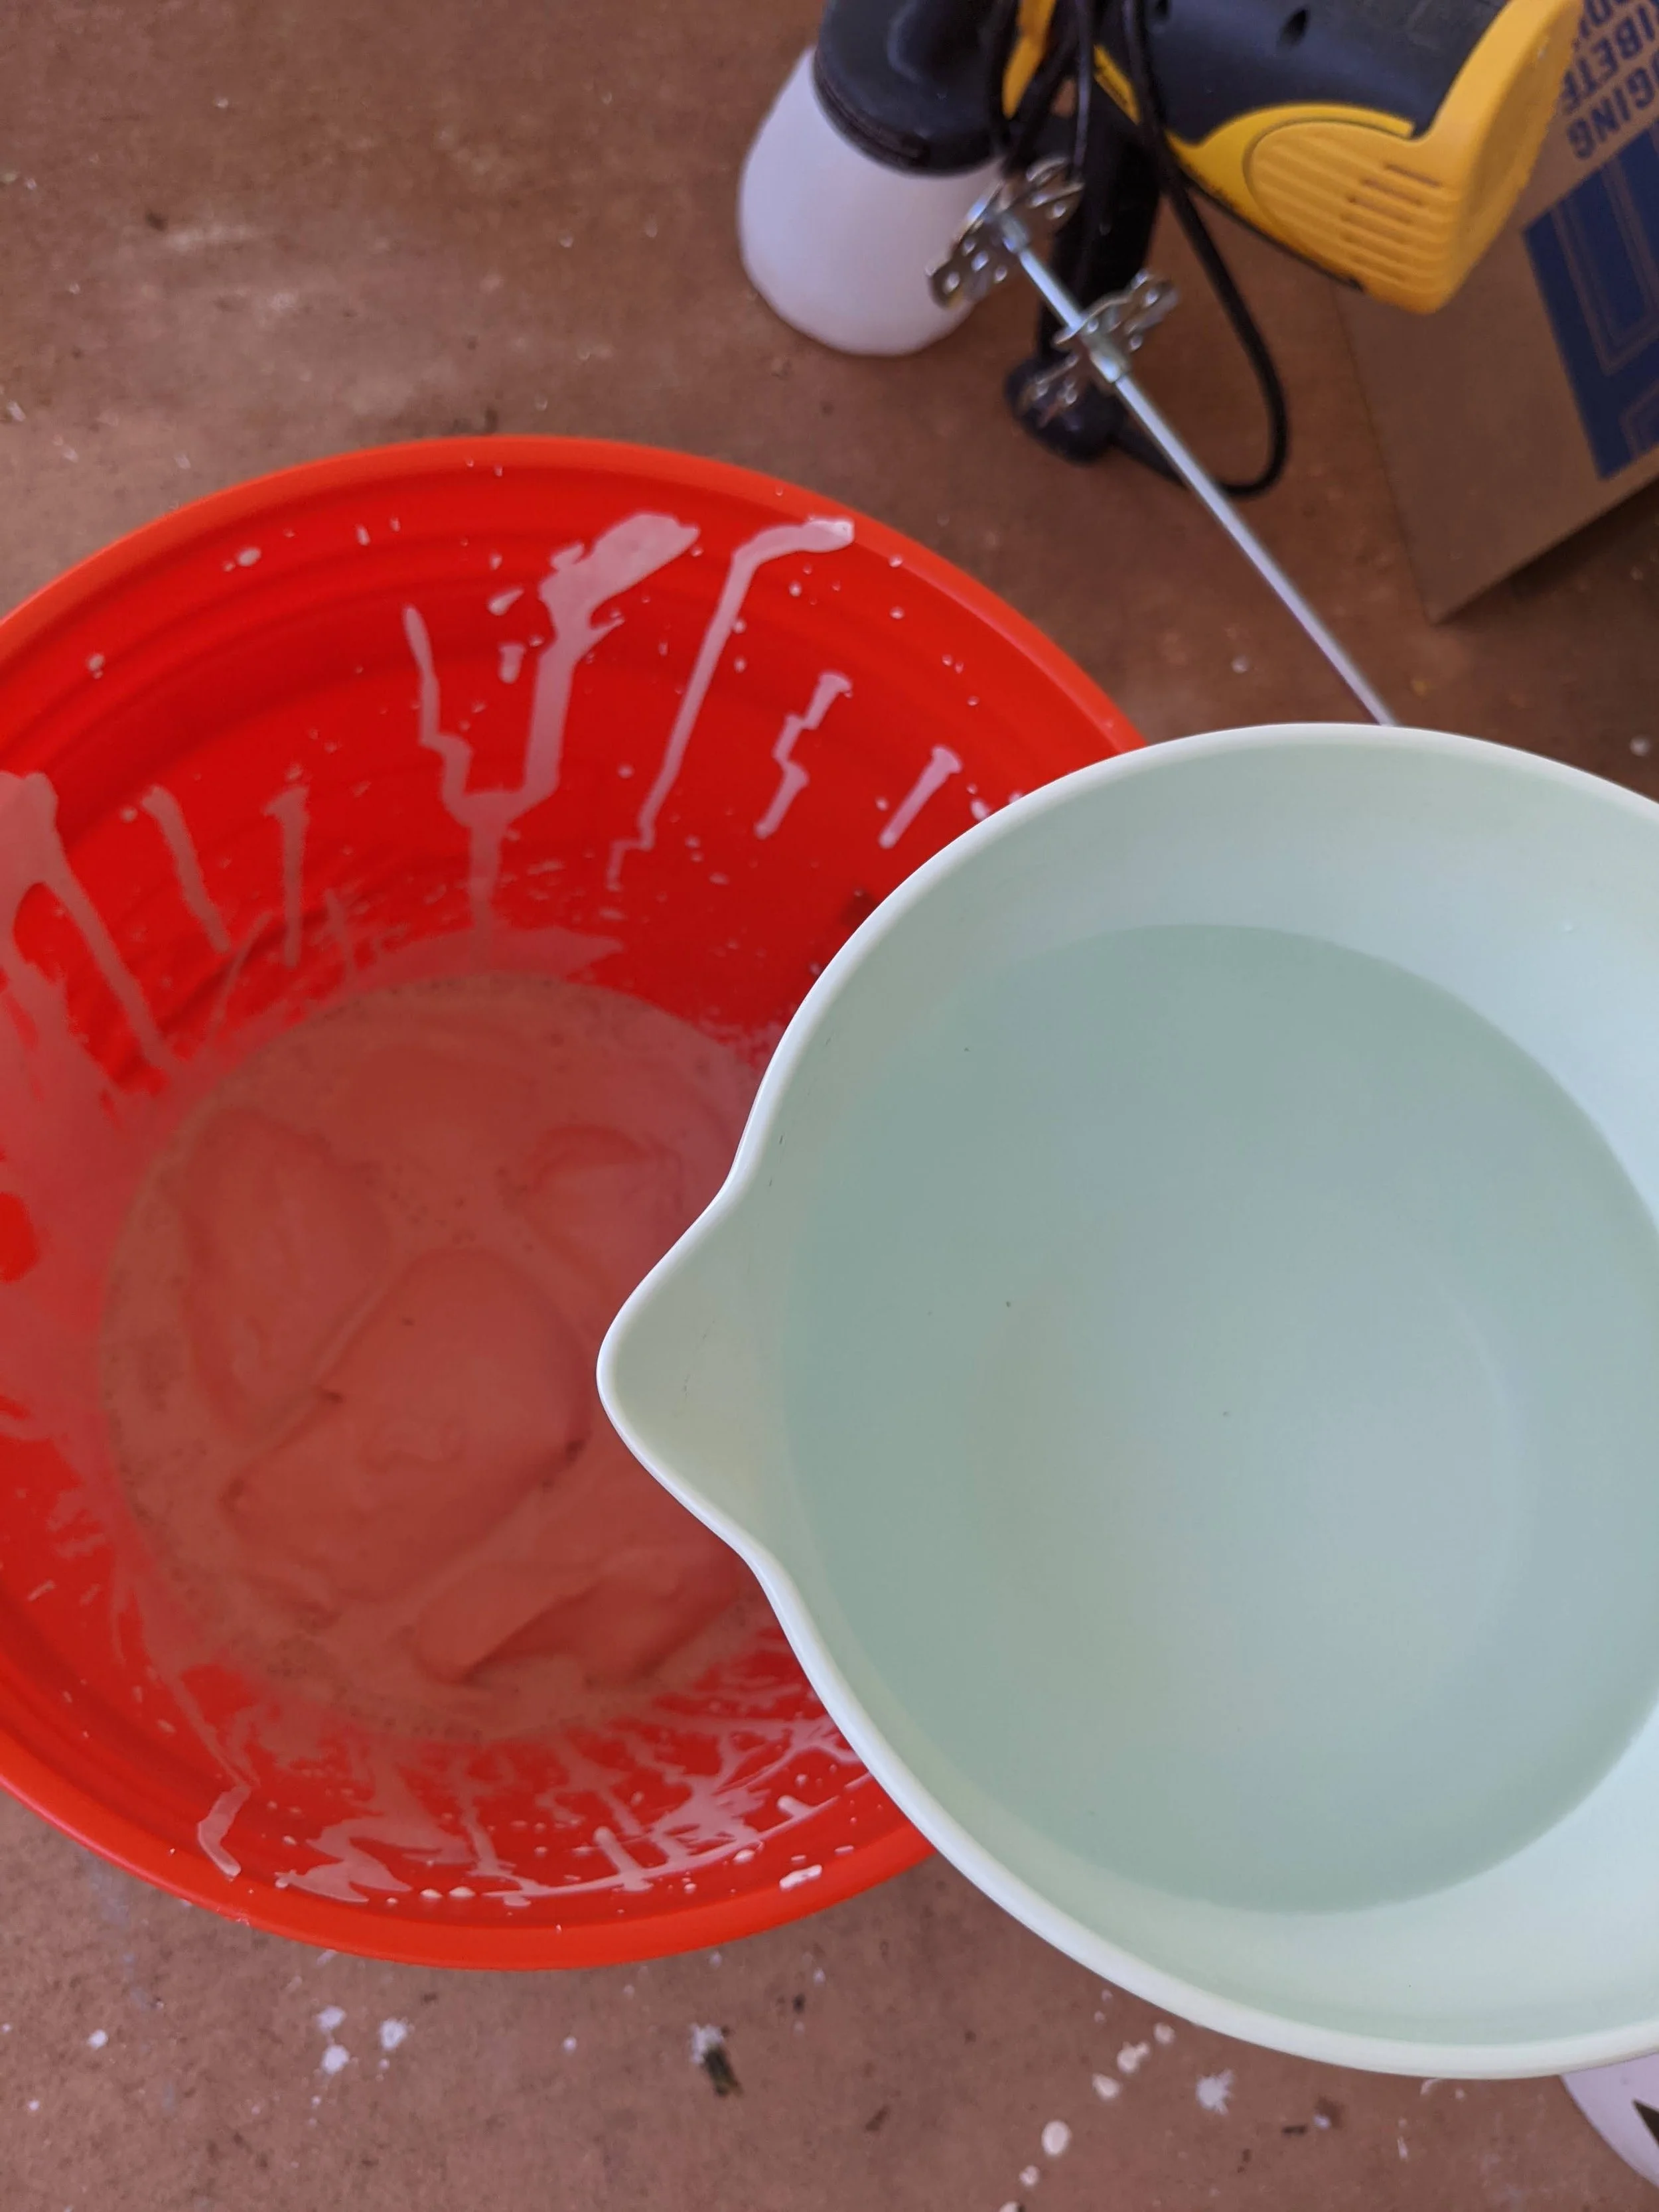
Time to add your water! Like I noted above I only used 12 cups for one gallon instead of 16 and I mixed one gallon at a time to keep my measurements a bit more organized.

Mix mix mix it up!! Make sure you mix long enough and try different angles to get out any clumps! It's a bit thicker than some other thin paint!
(I also wasn’t worried about spilling since my front porch got a checkerboard makeover.)
STEP 4: TIME TO PAINT!
Bye bye harsh red stone! I will say the contrast from the red to the white was kind of shocking at first and I just crossed my fingers it would turn out okay! Had to just keep going, right??


I didn’t tape off the windows (call me lazy) but honestly the limewash comes RIGHT off with some window cleaner!

Doing a couple thin coats on this front side took me about 20 minutes and I think spraying side to side covers more than up and down but it's personal preference!

I just moved the power washer and paint sprayer around as I went and got a good portion done on my own. Then Dallin came home and helped me finish and we kind of traded off doing the high parts and low parts. Overall, it's a simple process!

Paint, paint, and paint some more!! Not a bad sunset for finishing up the project!

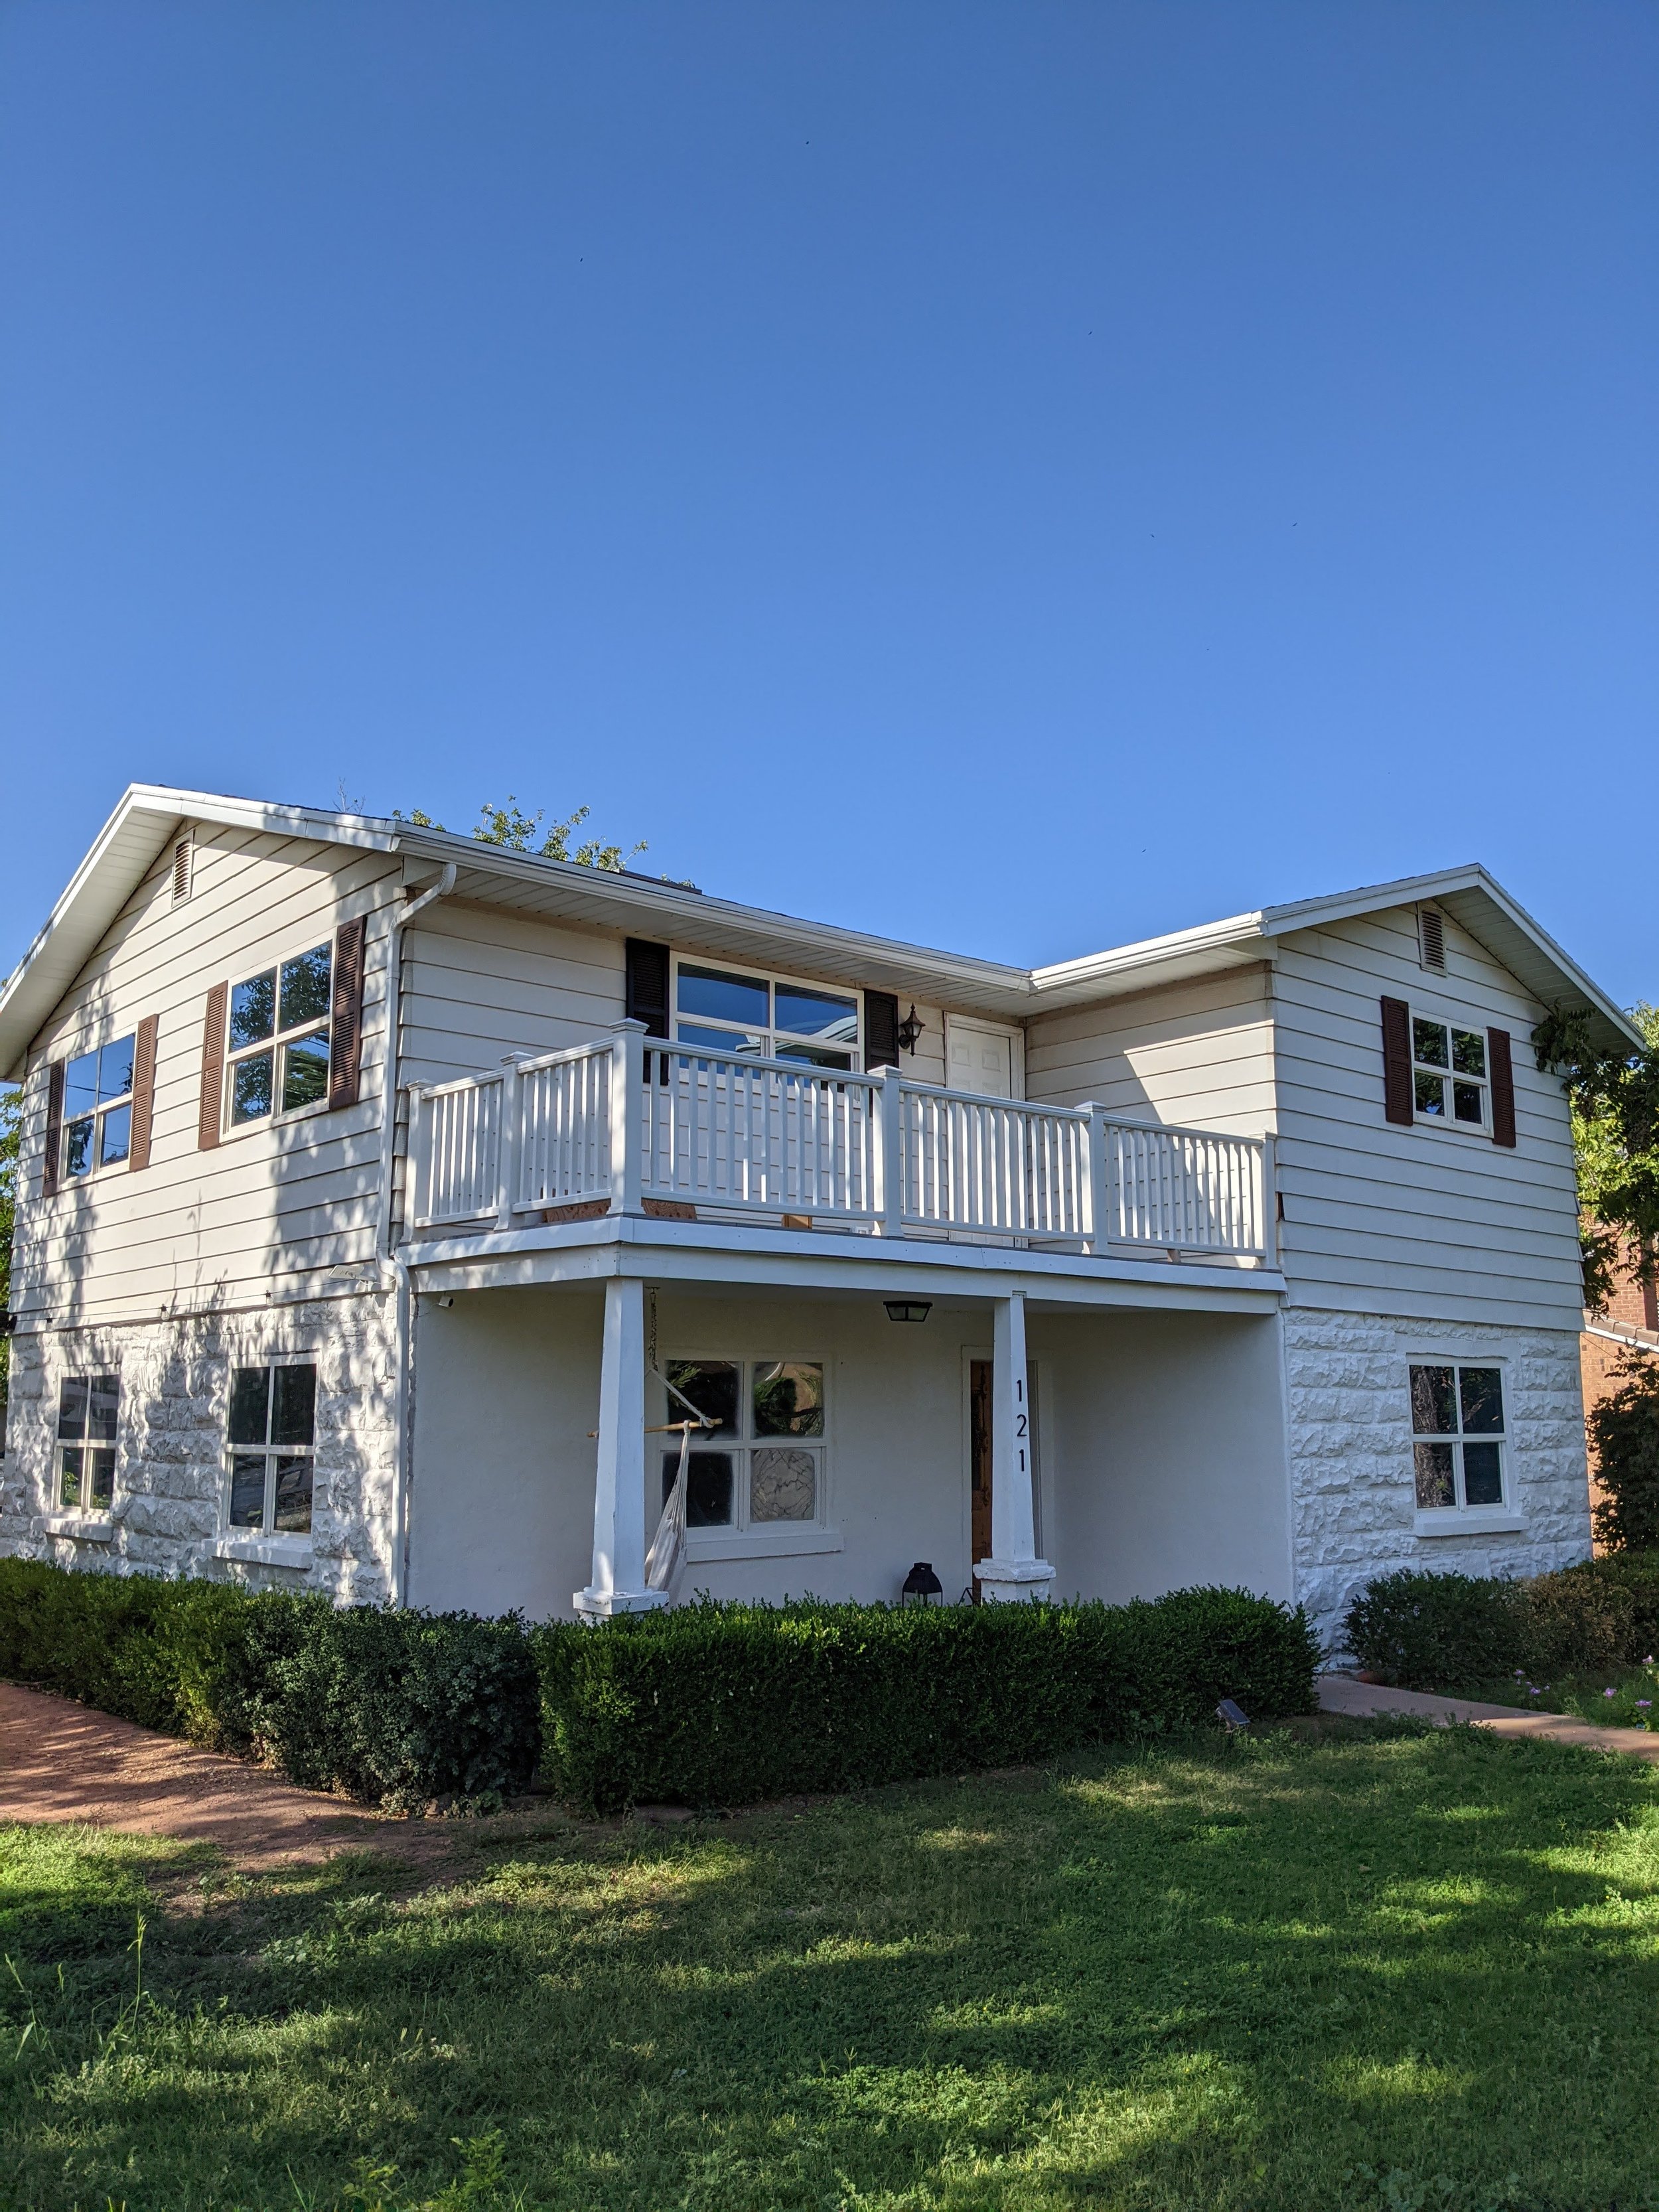
STEP 5: Enjoy!
We seriously love the limewash and plan to just keep adding little things here and there! It's so nice having the house freshly painted one color now and next will be painting the shutters! Good luck painting and ask away any questions you might have!
xoxo
