

Picture Frame Wall Molding
Our front room is a tricky space. It's too small for a lot of furniture and has to remain functional since it's the main walkway into the kitchen and up the stairs. I knew it needed some character and that I would want to do picture frame wall molding!

From bland to BAM! But like a good bam haha
I watched lots of tutorials and tried to do as much research as possible but realized everyone kind of does it differently for door or window frames. I was nervous to do this project for so long because of the math involved (math and I don't really get long), but it ended up not being scary at all! Even with all the mistakes/imperfections I made it still looks great and doesn't need to be intimidating!
What you'll need:
Trim: I 1/2”W x 1-1/8”H x 8'L
I can't find the exact trim I purchased on the Home Depot website but this one is super similar and a bit cheaper! Similar Trim. They also have wall trims in either MDF or plastic too.
Caulk (I used about two tubes)
Baby wipes *best thing everrr for wiping the caulk instead of using your fingers...also commonly found at our home haha
Pencil
Tape Measure
Blocks of wood for guides (optional)

*Here’s the exact trim I purchased*
HOW TO GET STARTED
Okay let's talk spacing and how to get started. I think there are lots of different methods out there but worked for me was to map out the squares with painter's tape first so I could make sure the spacing looked good with a defining line.
My ceilings are not very tall ceilings at 95in tall so I ended up having the same 6in spacing on the top and bottom of each square. I used two blocks of wood as my guides that I cut to the measurements. I created a 6in block for spacing from the top of the baseboard to the bottom of the trim, and then I created a 3in wood block for the spacing in between the trim squares. Below is an example!

All of your angles are going to be 45 degrees which is easy enough unless you go up stairs like we did…kind of a nightmare but I'll get to that. I would make my mark at the length and then make sure the blade meets the pencil line at a 45 degree angle. Use a couple pieces of scrap wood for practice if you need!

I love this saw because it’s not big and intimidating and perfect for beginners! It also moves to the angle you need super easy.
I've seen people make all of their cuts in one sitting and then it's just a matter of putting the pieces together, but I just took it one box at a time and gradually went around the room since all my box sizes were different depending on which wall I was working on.
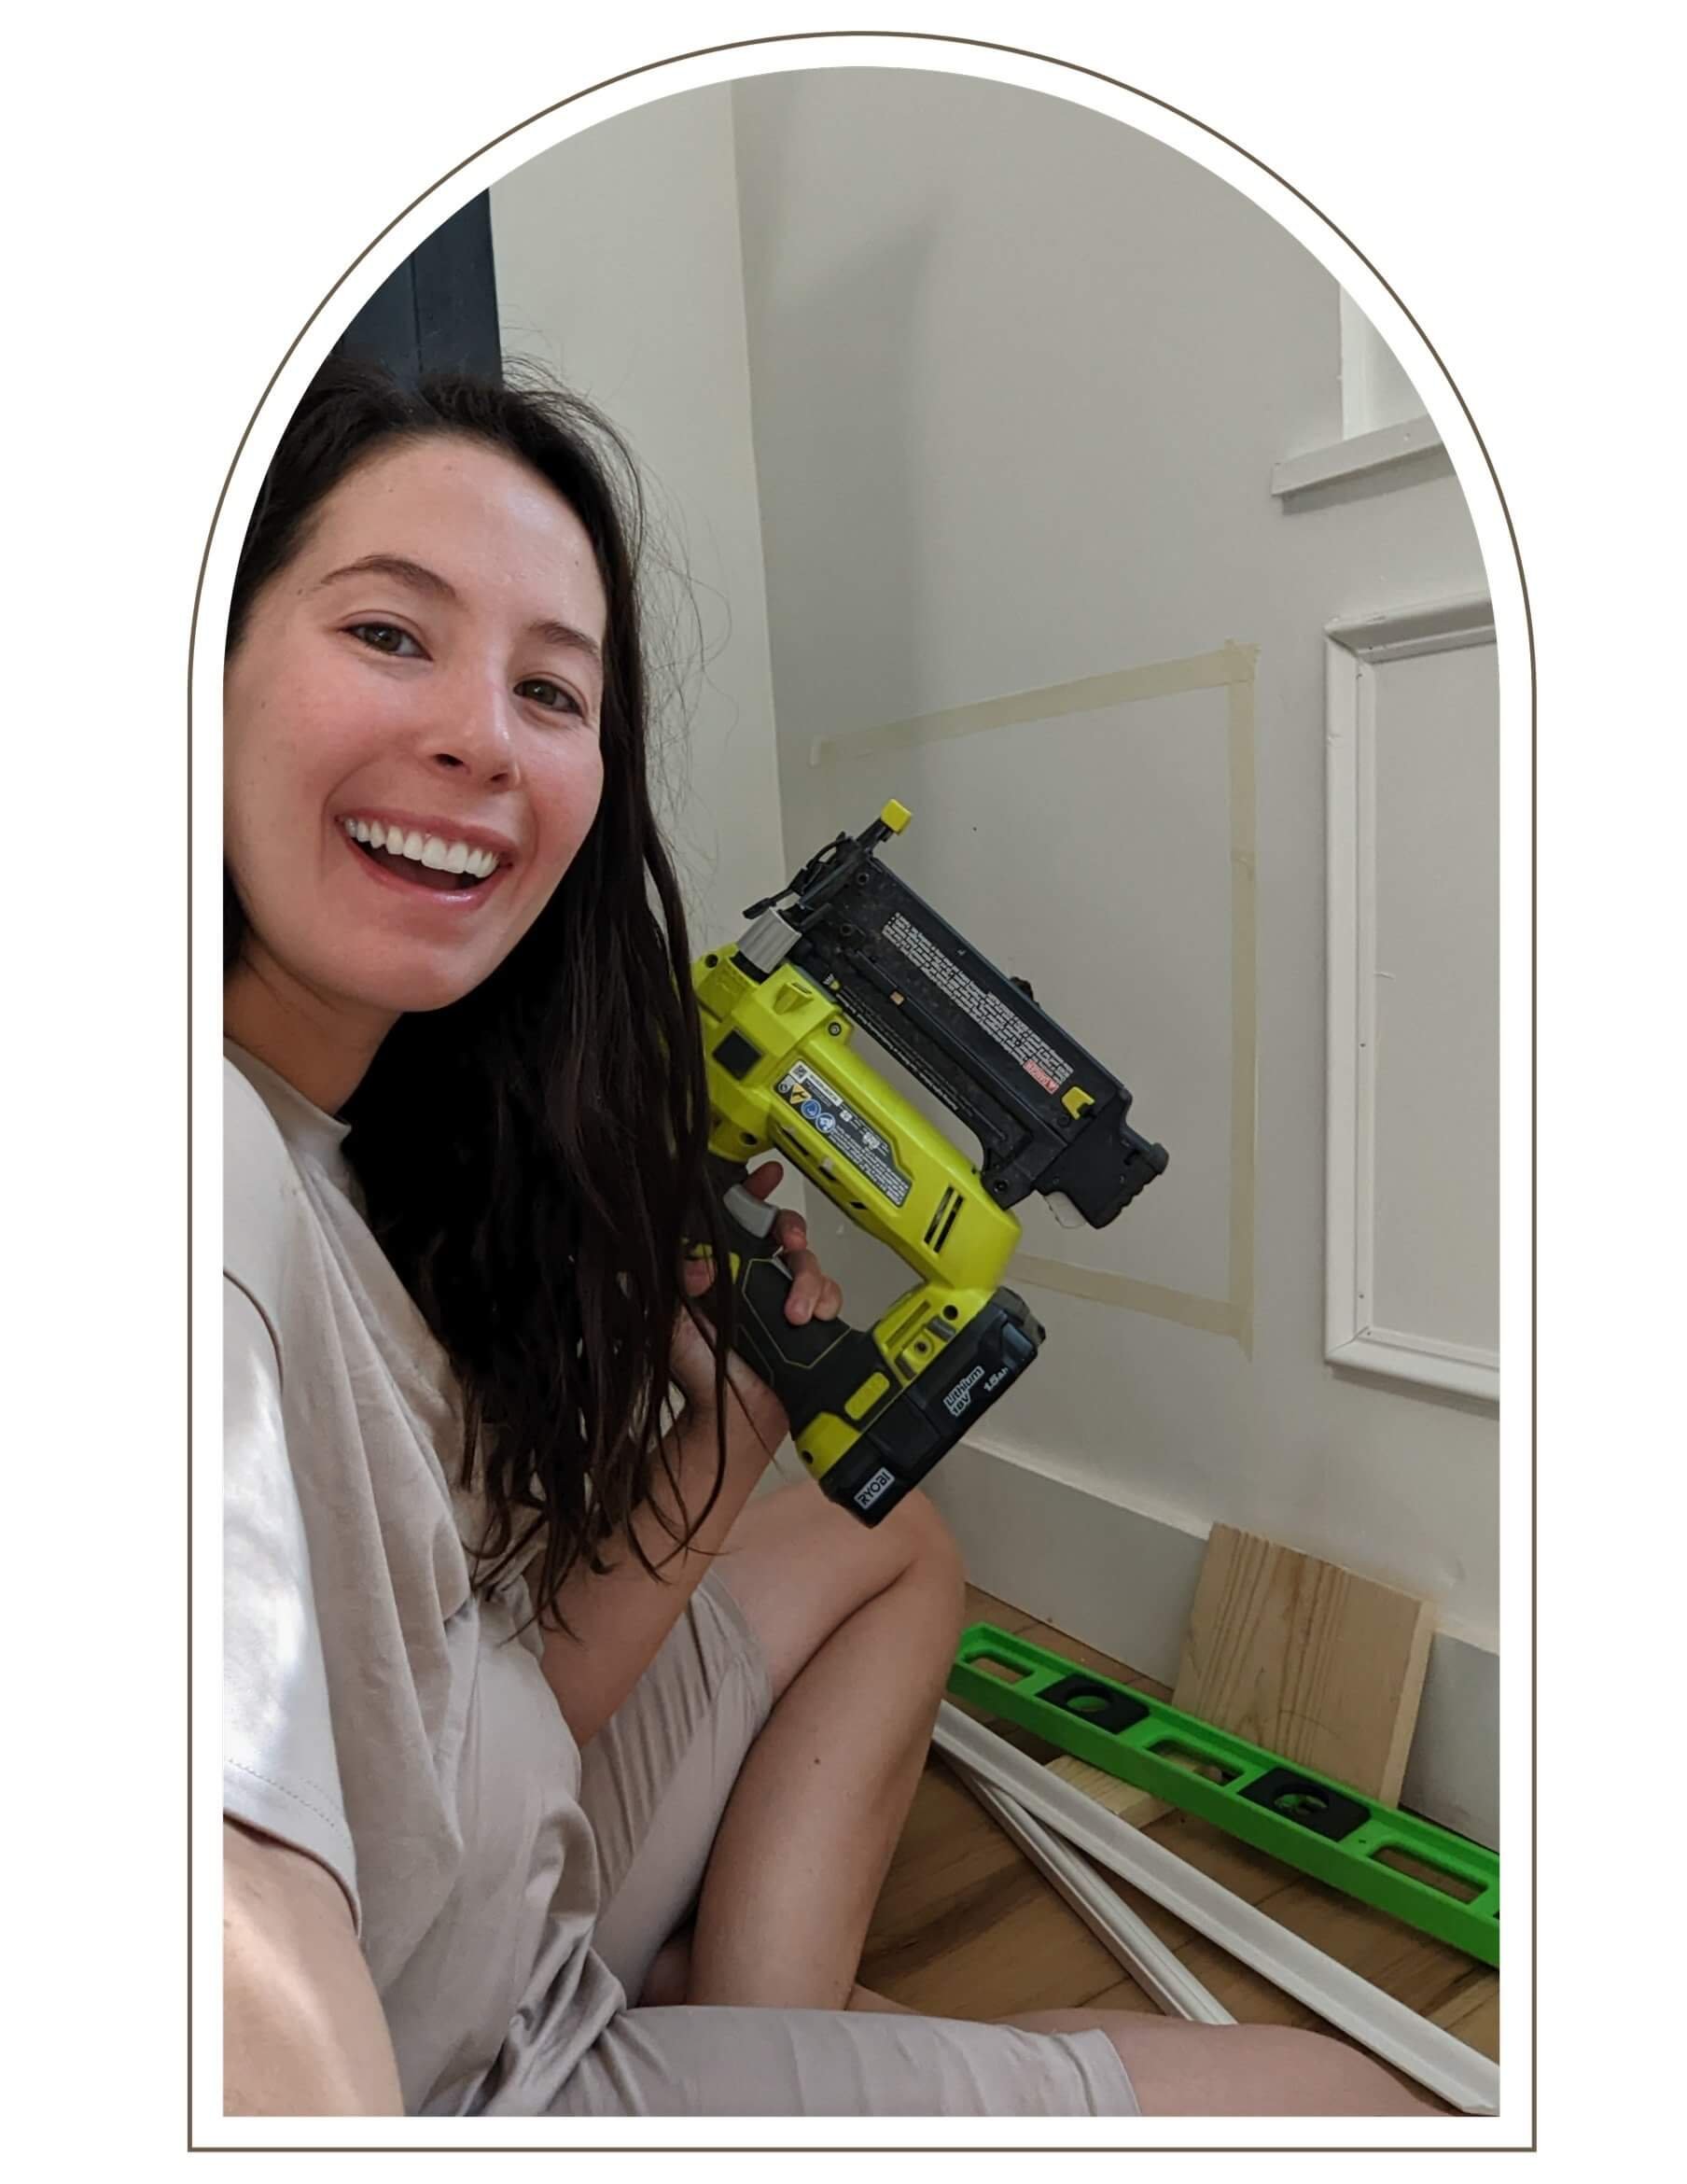
*6 months preggo and trying to keep smiling haha*

I got these wall sconces off of amazon as a pair less than $80! They can be hardwired but since our downstairs walls are 14” thick adobe I am doing rechargeable bulbs that have a remote and have a nice soft glow! Instead of just being a purely decorative wall element they are also functional!

I think they look classy without being ridiculously expensive!

Don't leave your pencil laying around ready to be snatched by a 2 year old….Magic eraser to the rescue (also great for cleaning baseboards)!
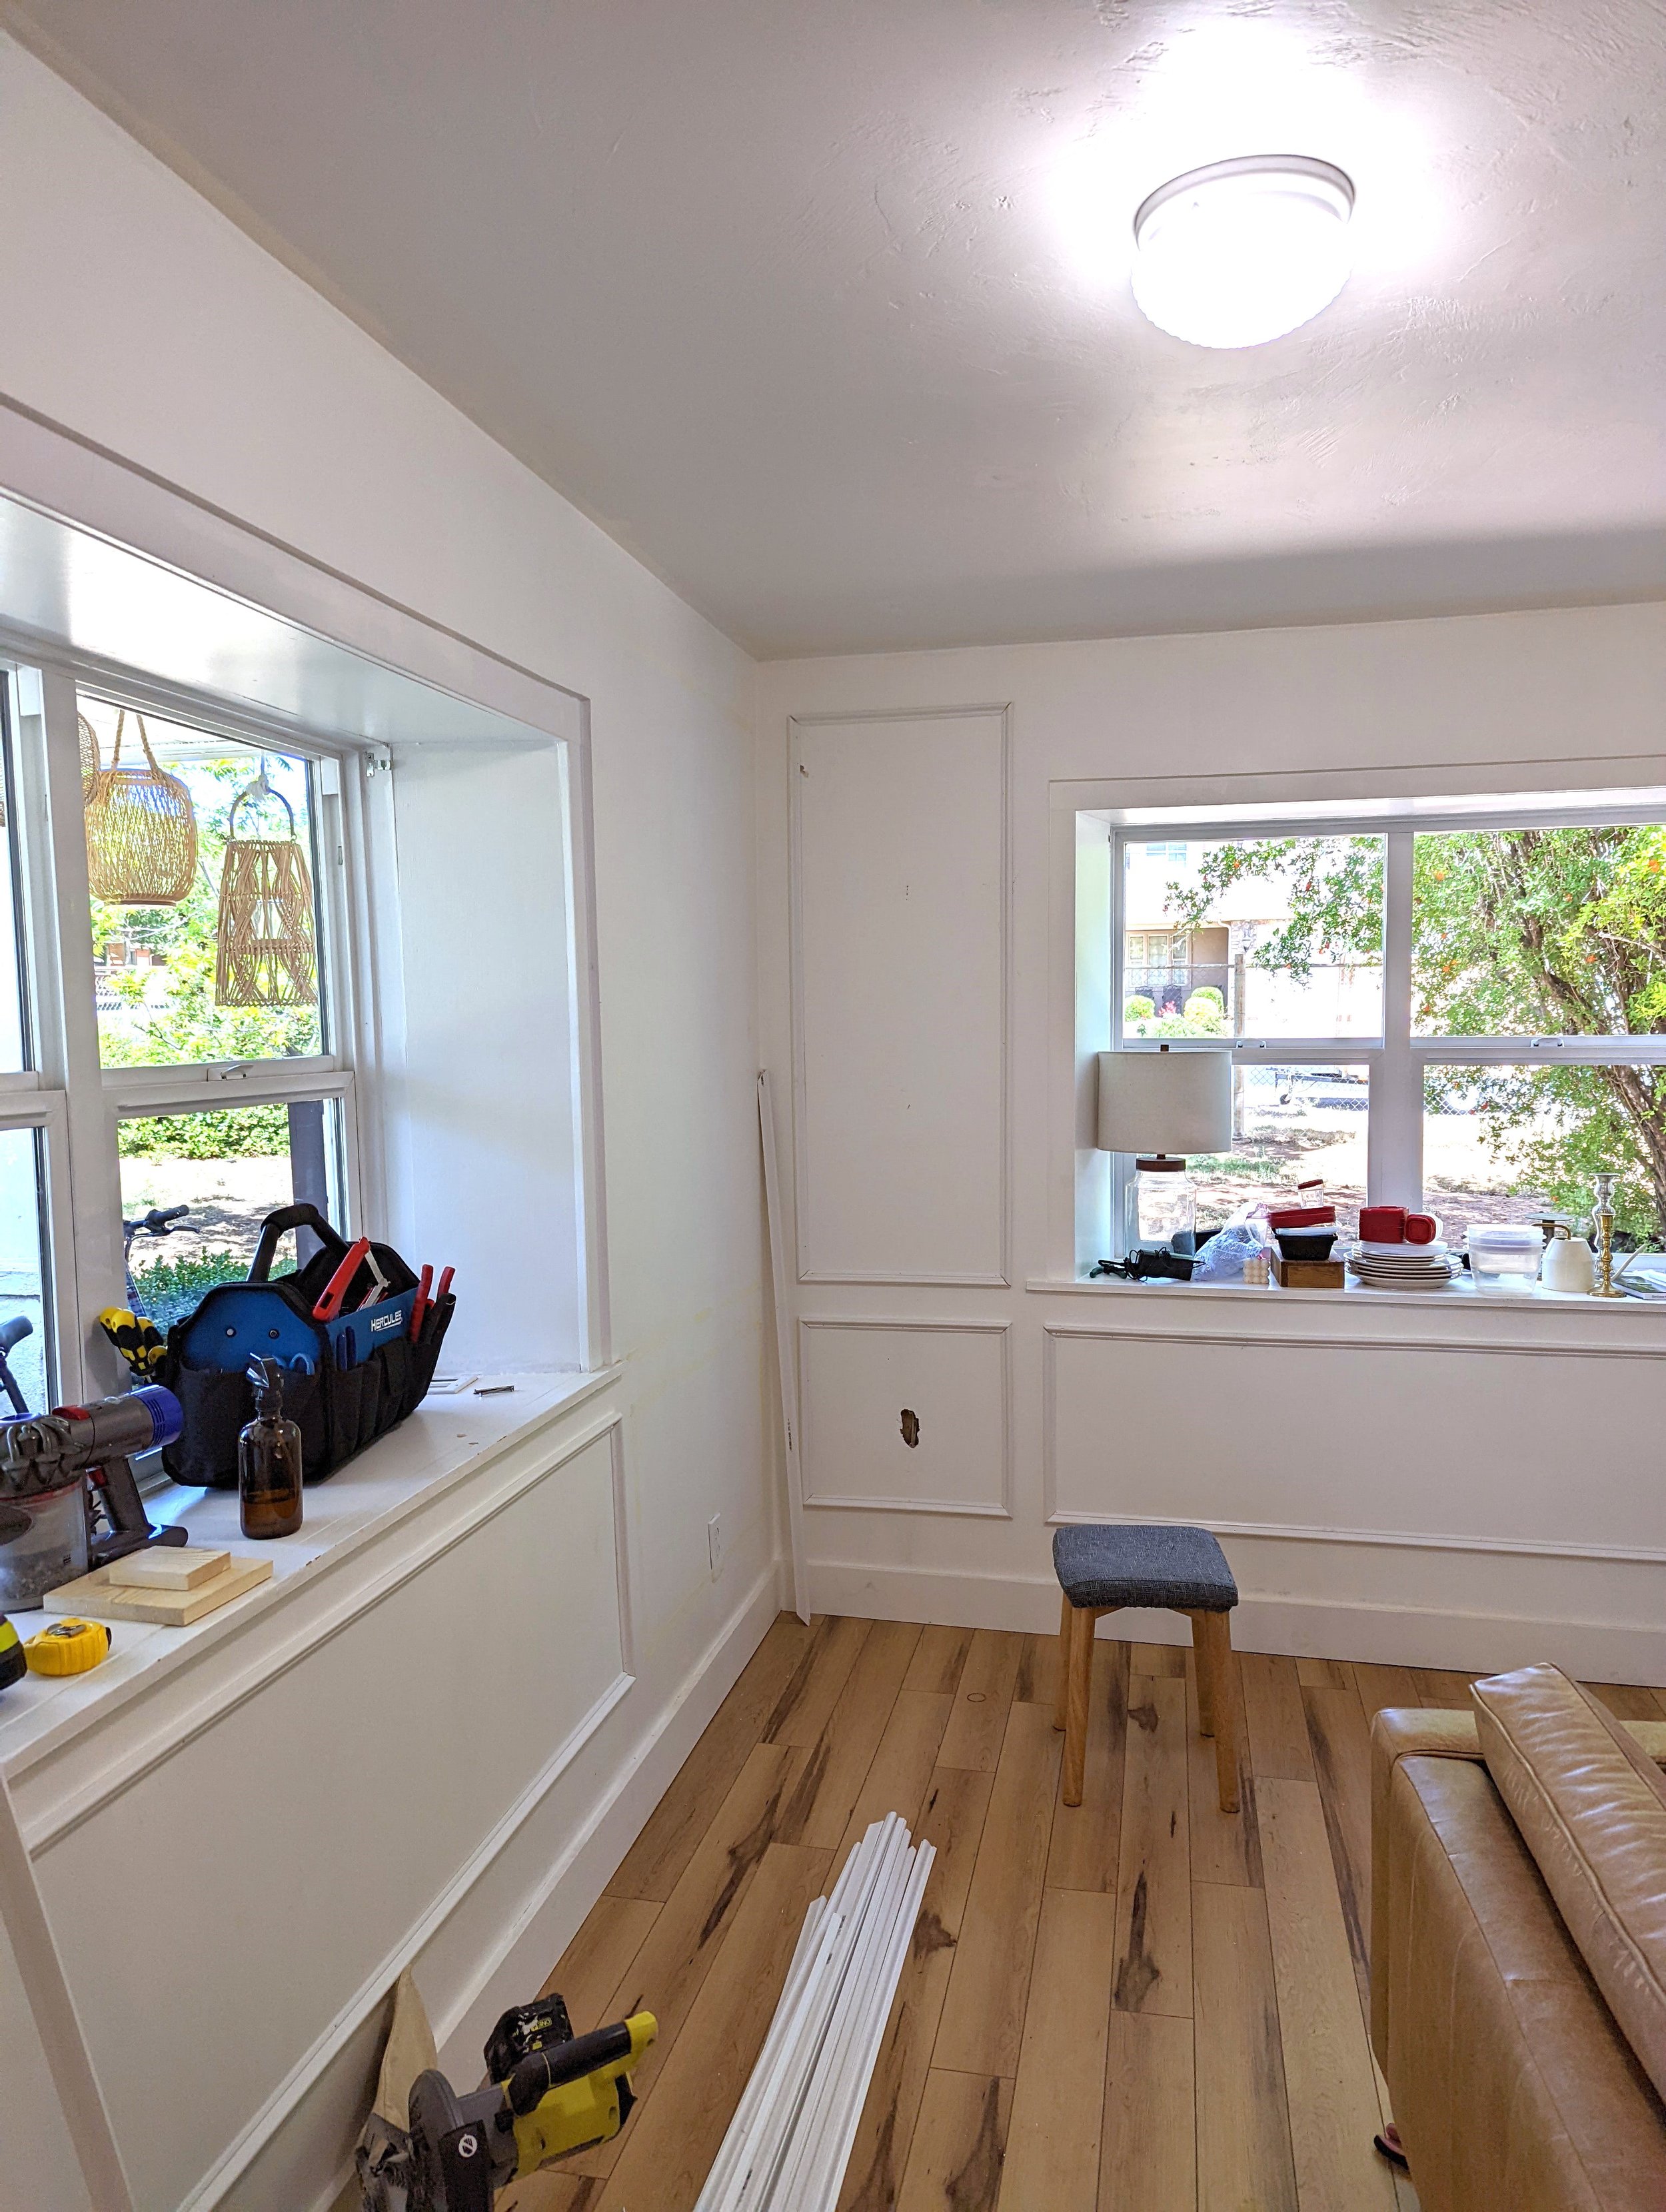
Slowly getting there! Just making my way around the room and around the window frames.

Okay so when it came to the boxes going up the stairs it was pretty hard and I think it was because my little miter saw wasn't quite able to make the cuts for the angles we needed. We had to whip out the bigger saw and I had to get Dallin's help to finish get gap free angles and it was tricky just because both bottom corners are different. So on the left corner it would be an acute angle and on the right corner it would be an obtuse angle. Like I said…math and I don't really get along haha
We ended up practicing on scrap pieces until we got the angles correct so honestly trial and error. We even used an angle finder, watched some YouTube videos, and were still a bit stumped haha

Doesn't it look SO much better with the white trim going up the stairs though?! You can see the patching going up the wall from the old railing (remember when we moved into this house and there was NO railing on the side going up the stairs?!)
With a lot of caulking, filling in any unfinished gap, and a little painting this whole area is refreshed and has interest!
You can also add some crown molding on your ceiling too for a finishing touch!
FINAL PRODUCT


Thanks for tagging along and good luck as you create your wall trim transformation! Did you paint your trim the same color as your wall or a different color?
Here's what we'll be working on for the next little bit...
xoxo
