

Exposed Beam Ceiling In Kitchen
Let me walk you through how we exposed our ceiling beams and why we chose this option full of character!

So first off our ceilings are 8ft tall so not super duper tall but not bad for how old our house is! We’ve been working on our kitchen renovation and had totally different plans with the ceiling.
Here’s what our kitchen looked like with our normal ceiling. Our washer and dryer were in our kitchen but thank goodness we got those moved upstairs!

Then, we removed this faux wall that was used to hold tiny cabinets so we could design our new kitchen all the way up to the ceiling.

Then, we found that there was original beadboard above the drywall ceiling painted green probably from the 1800’s. I really wanted to keep the beadboard and bring it back to life but if there were any holes or imperfections it would be so hard to make look flawless.

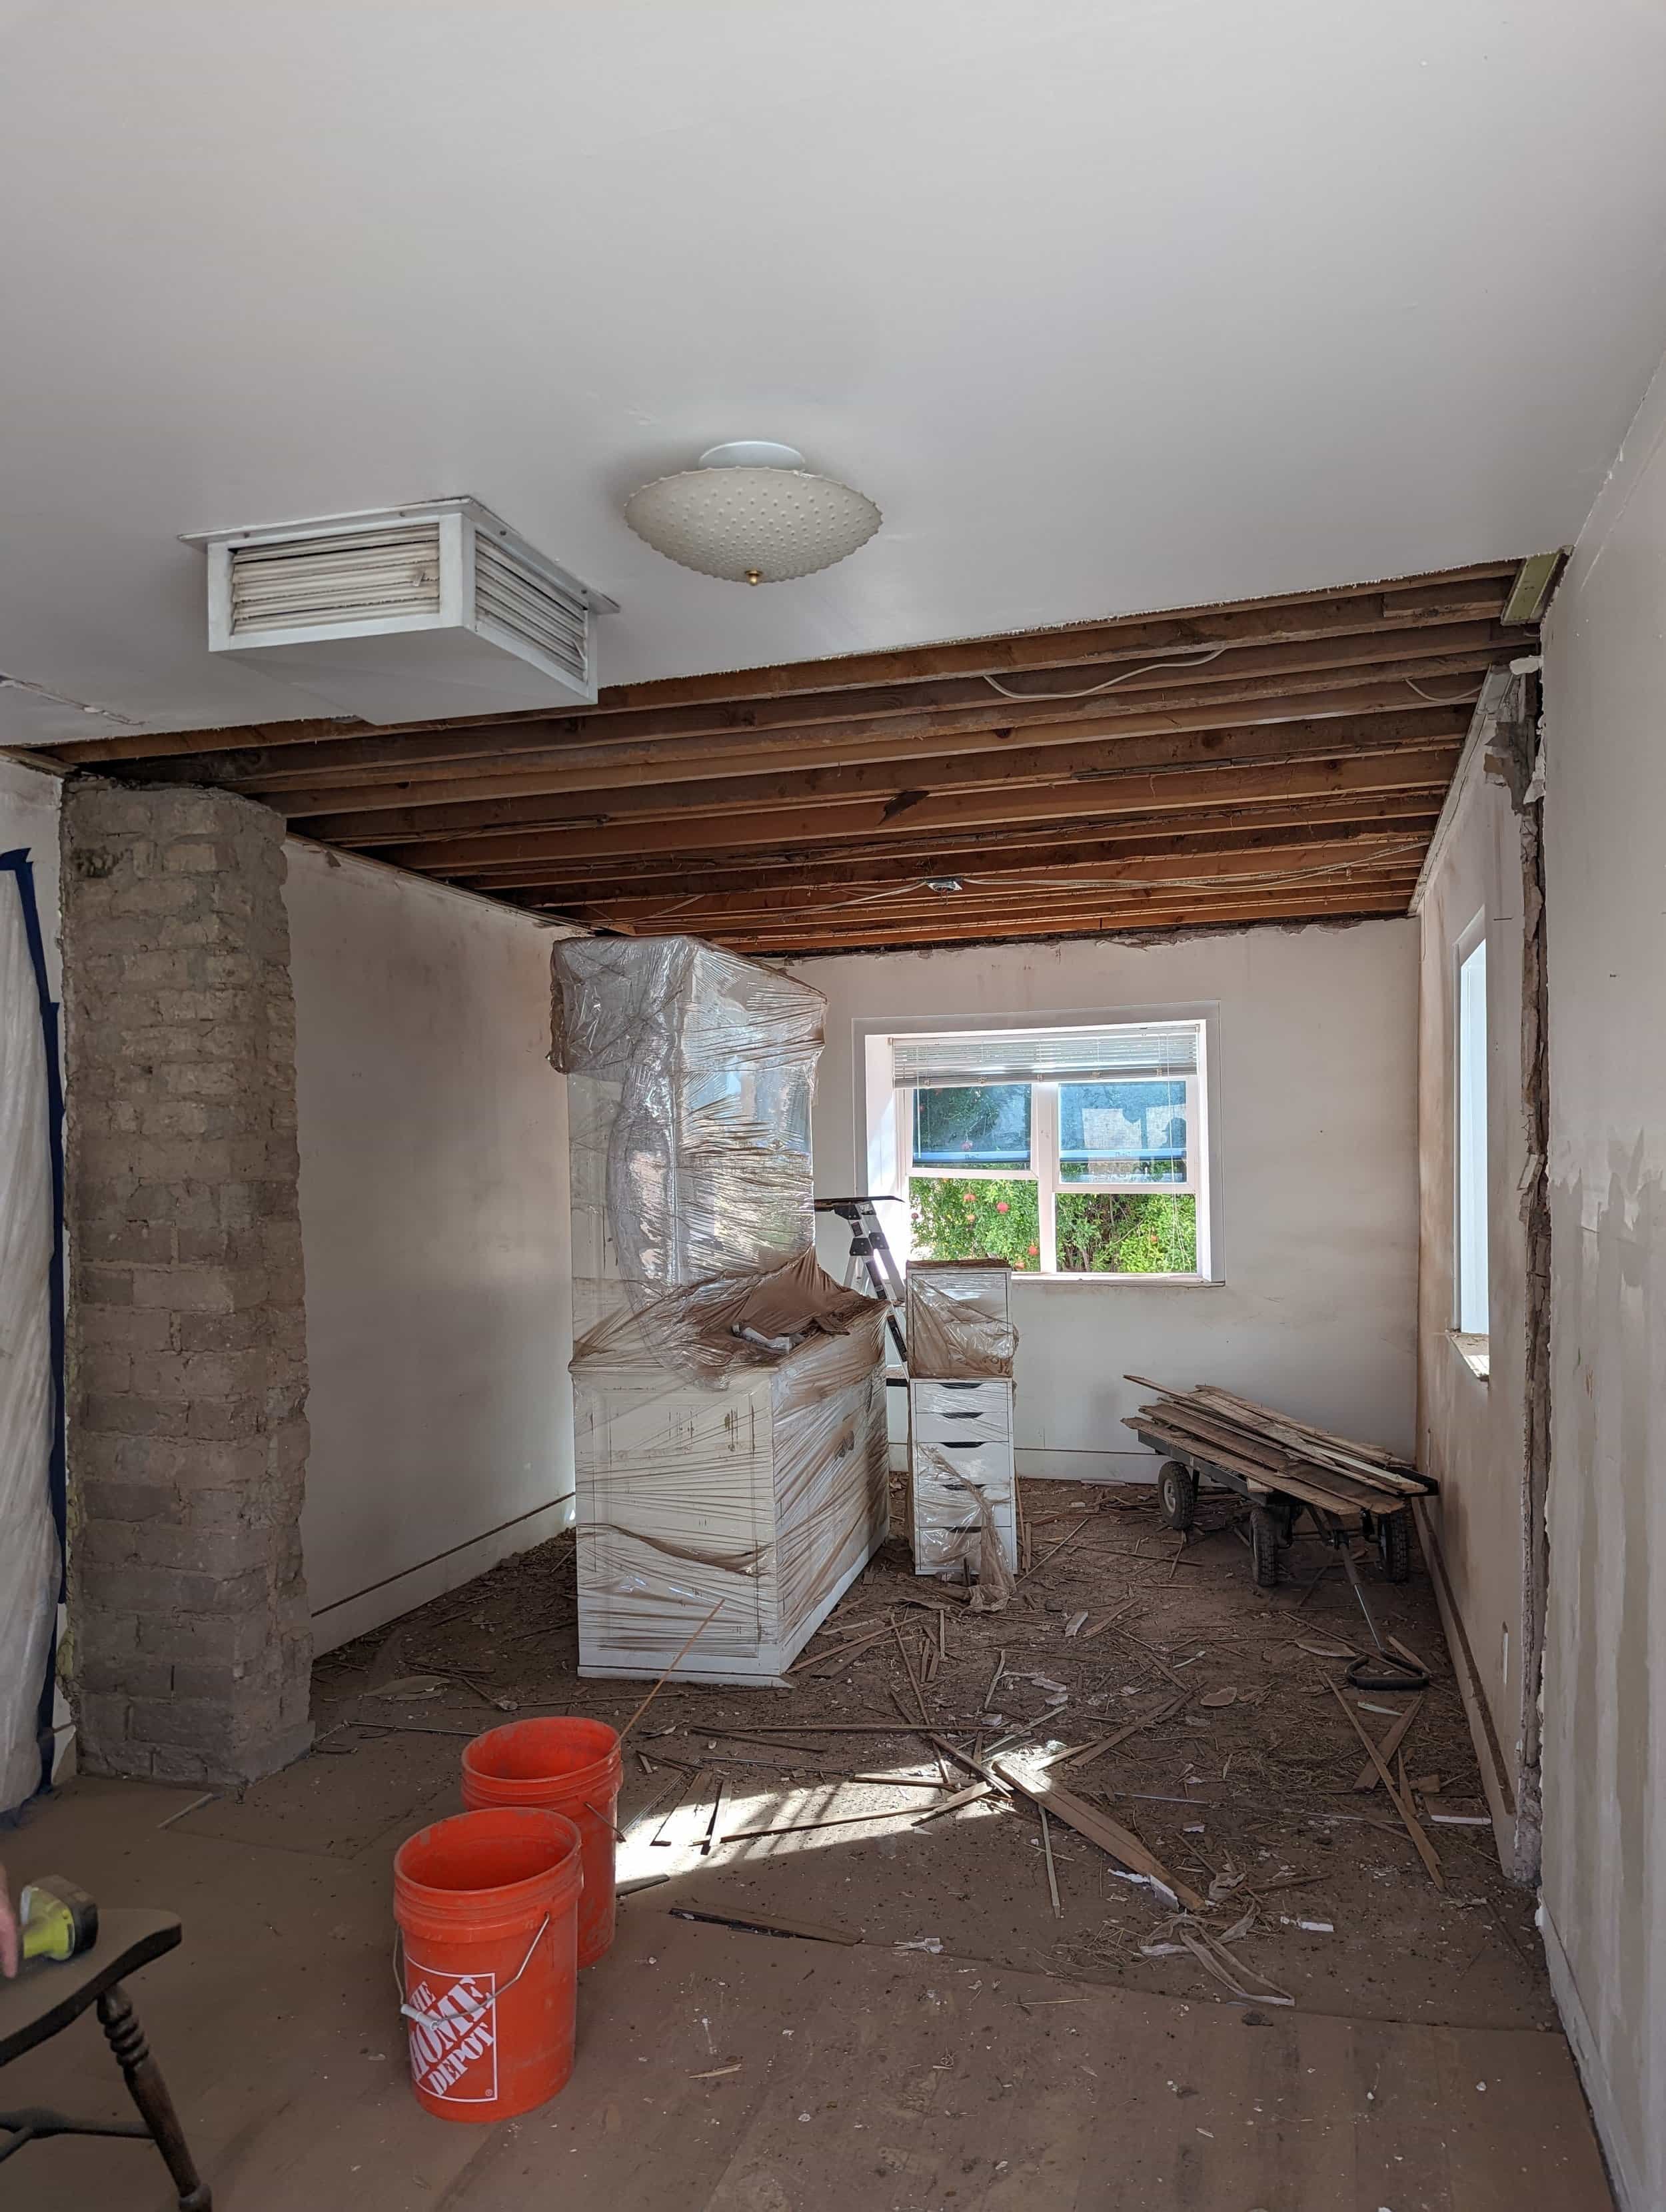
Next we took down the adobe wall that was dividing a bedroom and the kitchen. We mostly used the bedroom as an office but decided to expand the kitchen and create a dining room. In order to take down the wall we needed to cut open the ceiling to see if the wall was load bearing.

Great news….the wall was not load bearing! We were able to remove the giant adobe wall and now had a huge hole in the ceiling. My thought was to put new beadboard on the ceiling and have it go the full span of the room. Home Depot has the nifty 4’x8’ sheets of beadboard that are lightweight and seemed easy enough! We would need 13 sheets and it would cost us about $300 for the entire ceiling.

Since DIY means doing it yourself it takes time and that’s something we’re finding less and less of. This is about the time we had our second child and I had to just stare at the hole in the ceiling since no work was getting done with a newborn and little sleep.
We found ourselves just looking up and talking about the ceiling every time we ate as common as discussing the weather haha We noticed there were a few extra layers in the ceiling including the old bead board and the drywall that were adding a couple inches so the new beadboard would just add another layer.
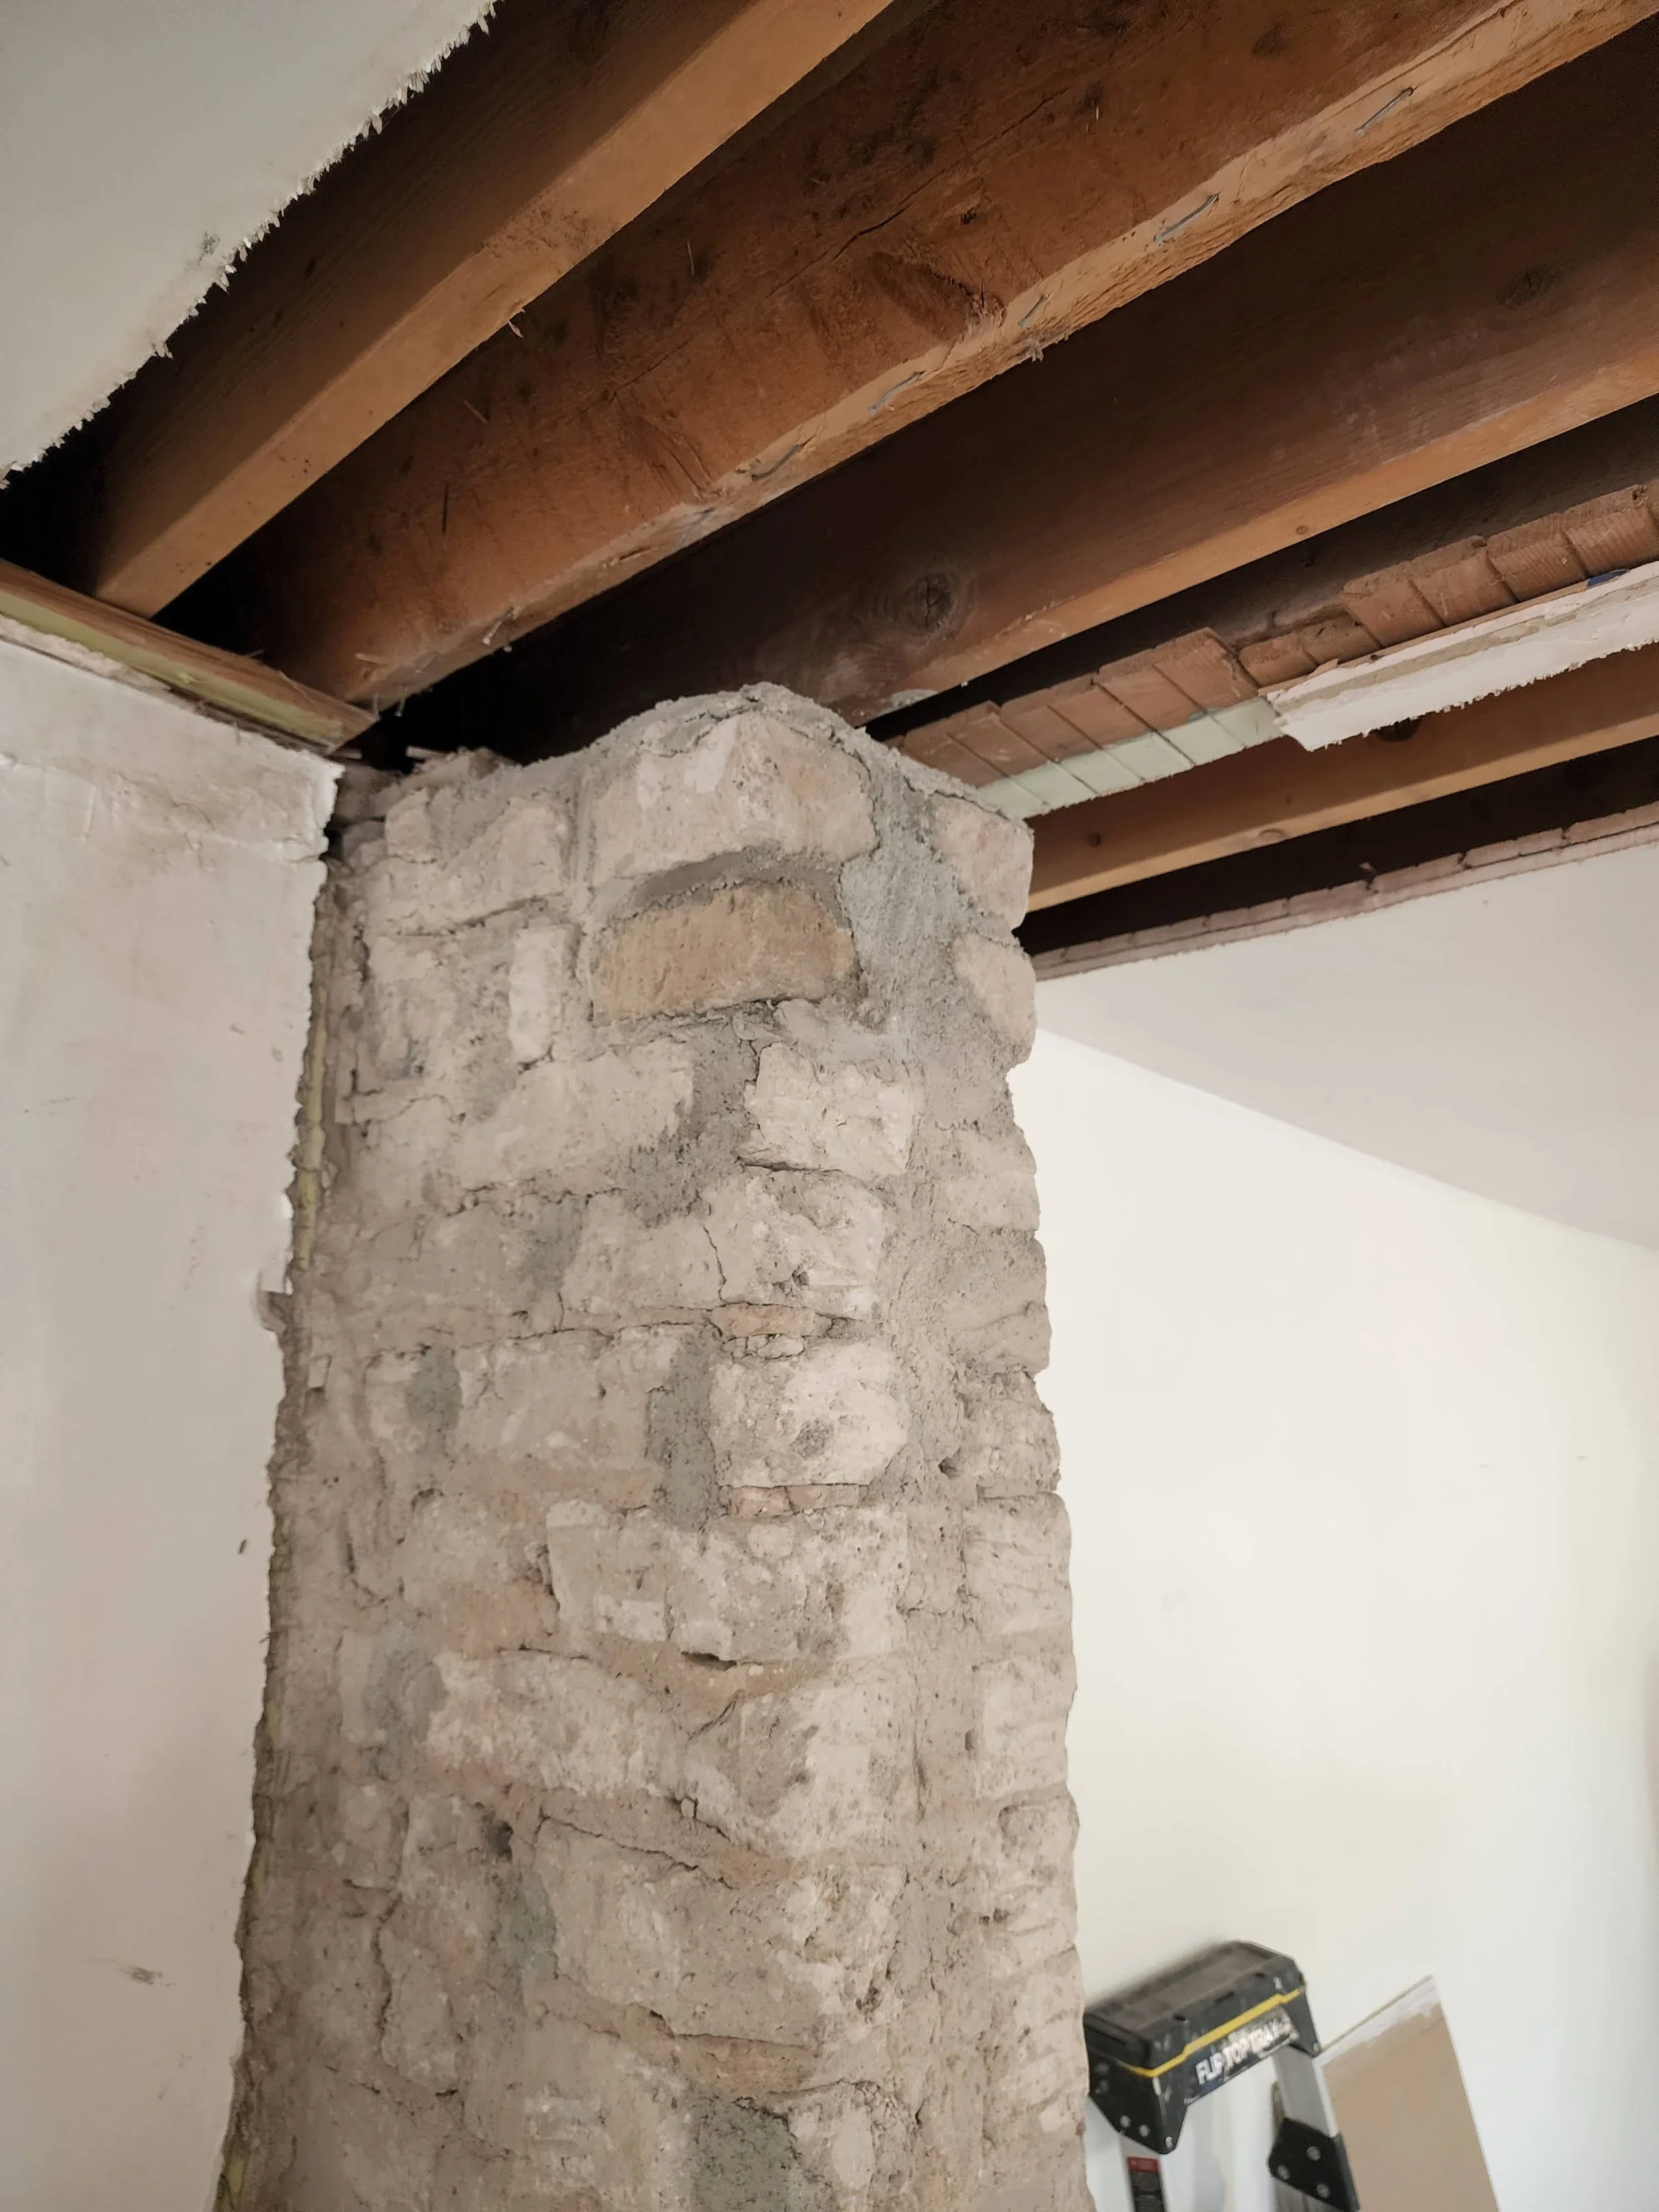
Then I got an idea (which is a dangerous thing haha) I suggested we just tear it all down and expose the wooden beams since we have this cool column and both would give a unique cottage feel that I’m going for!
We started with one side and were able to discover how many wooden beams there actually were. The second story was added in the 70’s and it looks like they left the original beams from decades earlier that no longer gave support for the second floor and just added in the new beams in between.
Lots of wires and beams! At this point I was definitely questioning my decision haha

Here’s the view from the other direction with what was left of the original bead board before we took it down.

Looking closer at the beams we realized the old and new look mixed didn’t look the best and it looked pretty crowded with both. The old beams definitely looked more weathered and characteristic but the newer ones were holding up the house and that took priority haha

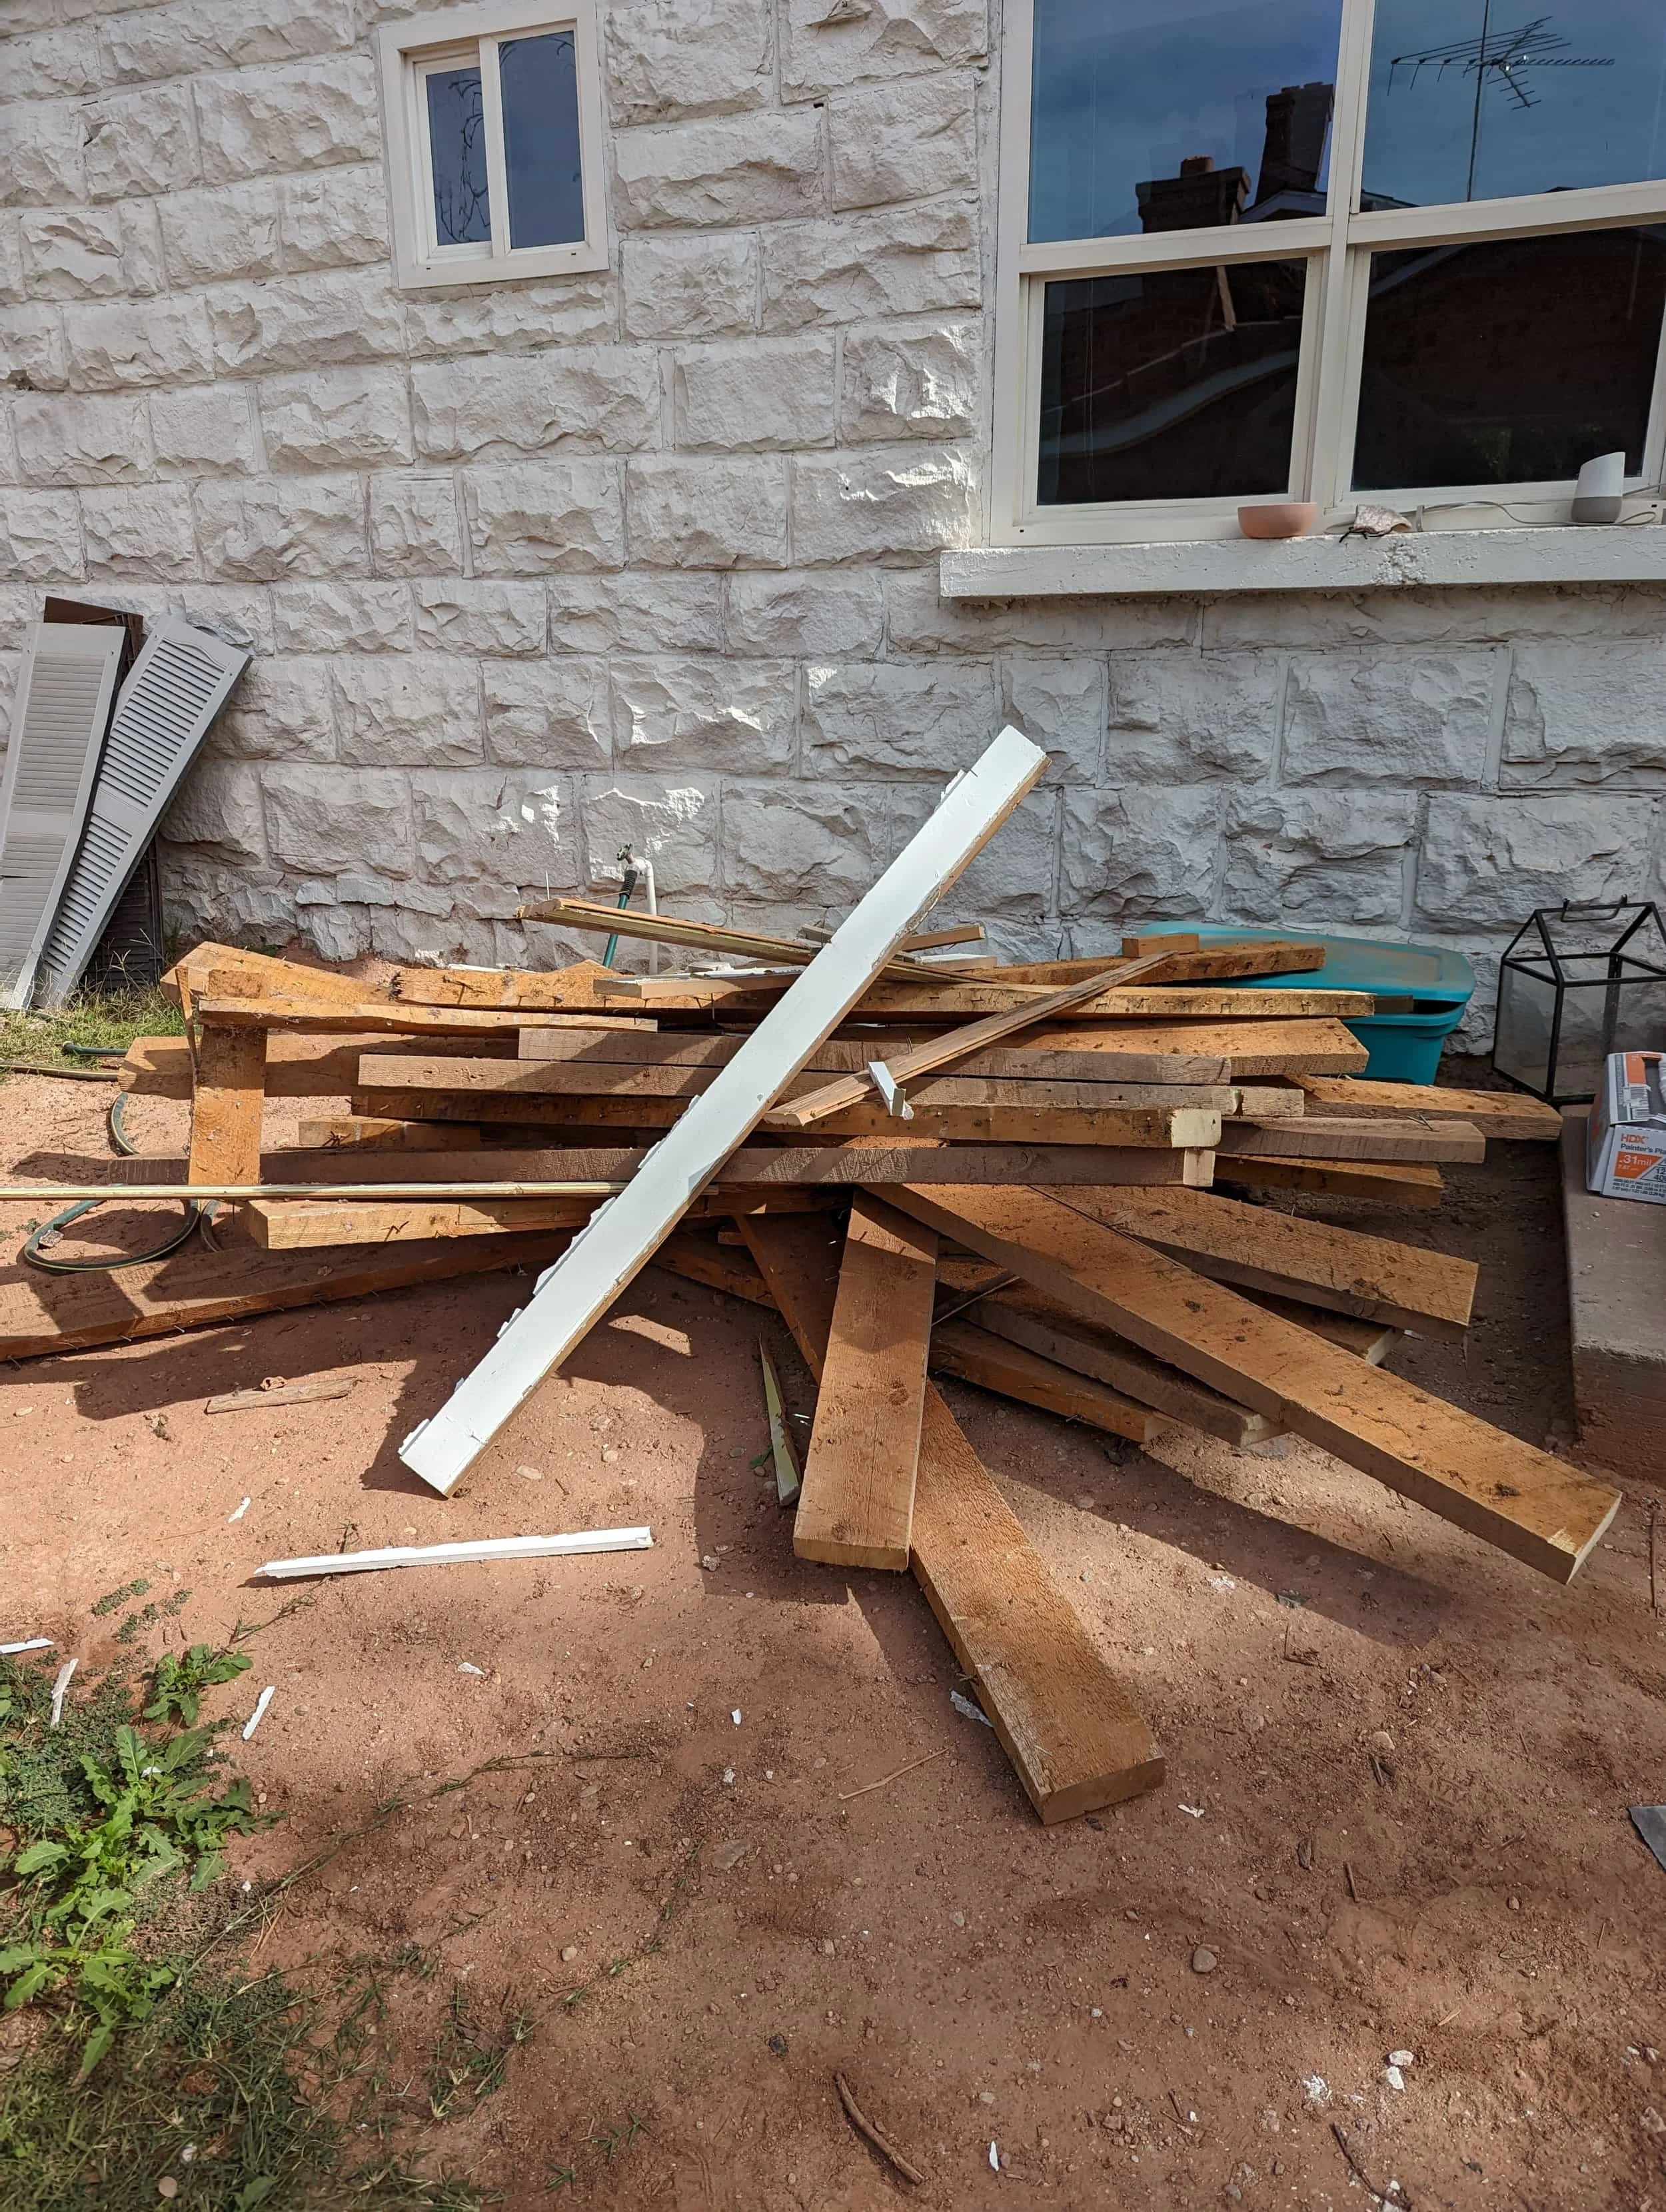
So away they went! I am seriously kicking myself for not keeping any of this old wood. I knew I should’ve hung on to some but it all happened so fast as wood and materials were being loaded up to the dump I didn’t say it in time so….R.I.P. old characteristic wood.
Now that half the beams are cleared out it’s time for painting! We decided to tape everything off and use a paint sprayer because the thought of rolling or hand painting every nook and cranny made me want to cry…except just wait haha I started out with these super cute goggles and quickly realized I needed our full-on face mask with a breathing filter from all the paint remnants and fumes.

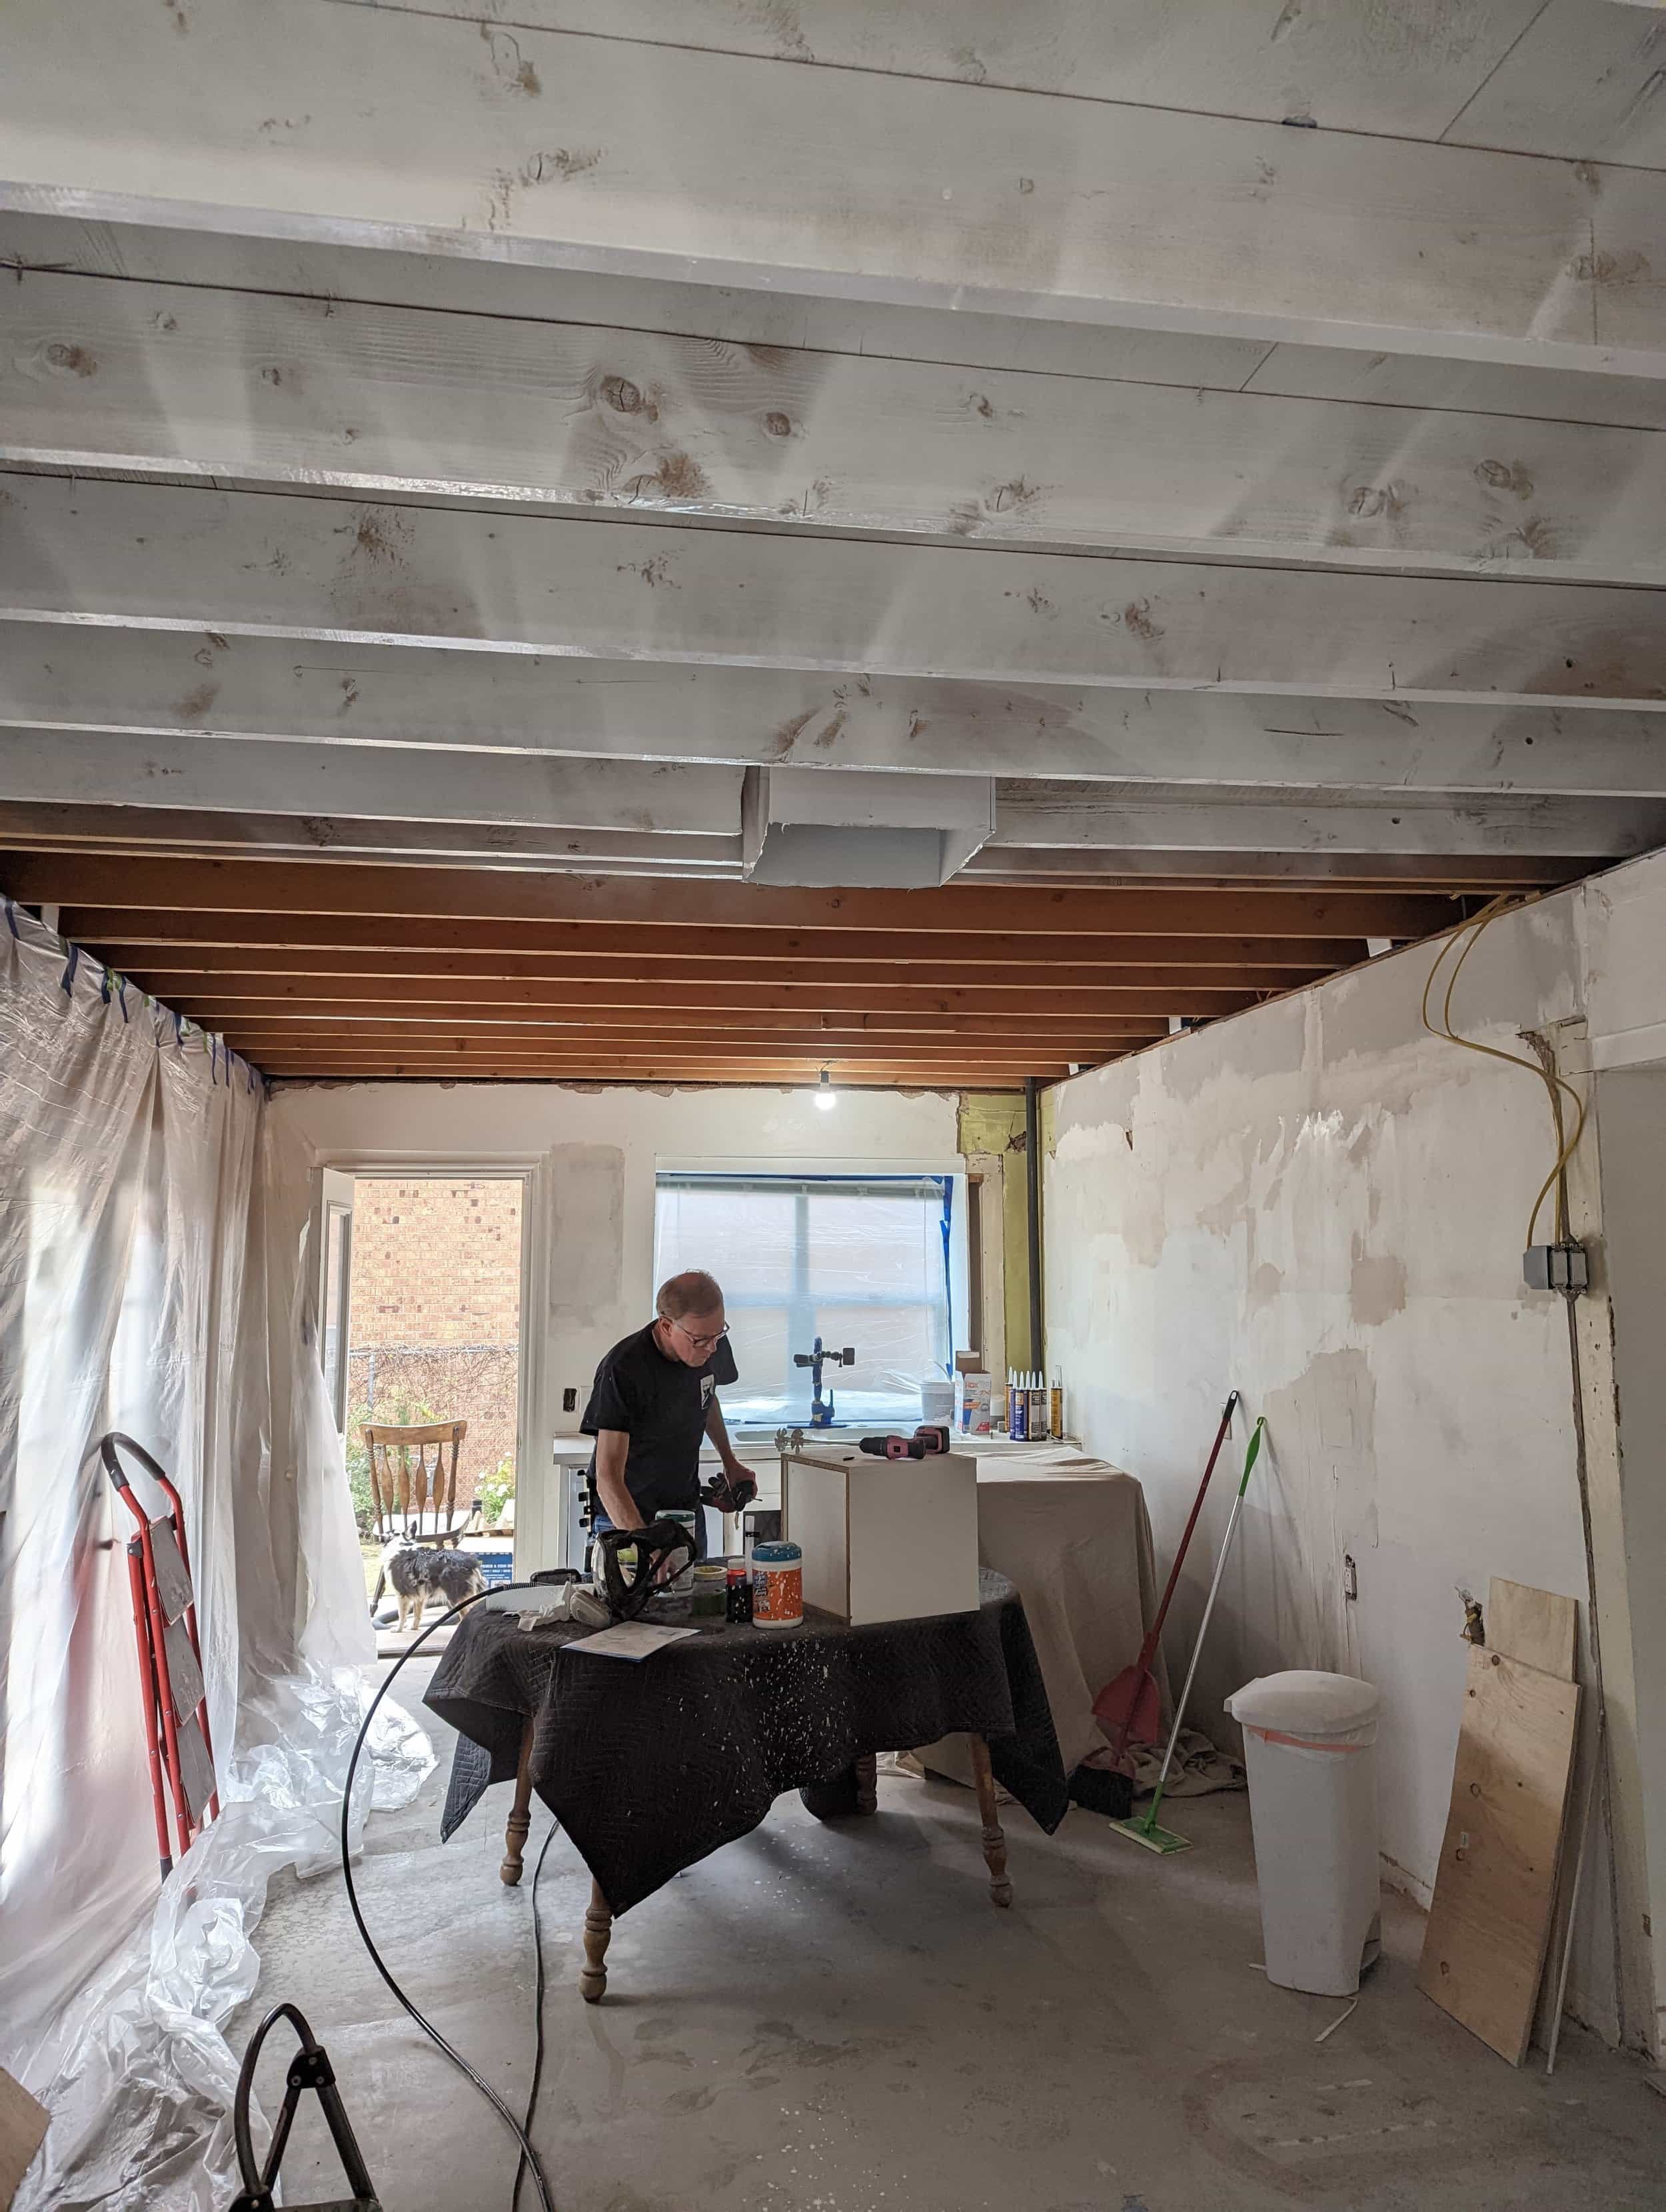
Normally I’ll get a primer and paint in one if I’m just doing a normal paint project but for this job we needed to work smarter not harder. I knew we needed to prime the wood because it would just soak up paint like a sponge and we’d be spending wayyyy more on paint than we needed to. I did half of the ceiling and started being able to see the potential! Thank goodness because there’s no going back now haha
Deciding on a paint color was not fun because there’s only a trillion different shades of white to choose from and that’s where my decisive skills fail me haha after testing different colors I went with “Swiss Coffee”- Behr. It’s a great warm white and my mom has it in her house and ended up being the push for helping me decide!
We bought two gallons of flat ceiling paint and tried to get a system of one person using the roller with extension rod to get the flat parts of the ceiling while the other used the brush to get in the corners and crevices of the beams. We discovered that using more is better and laying it on as thick as we could without it dripping made it cover really well and go faster. The reason we didn’t use the sprayer for the actual paint color is because of the waste factor and how much ends up being sprayed everywhere. We went through 5 gallons of primer and only 1 gallon of paint haha

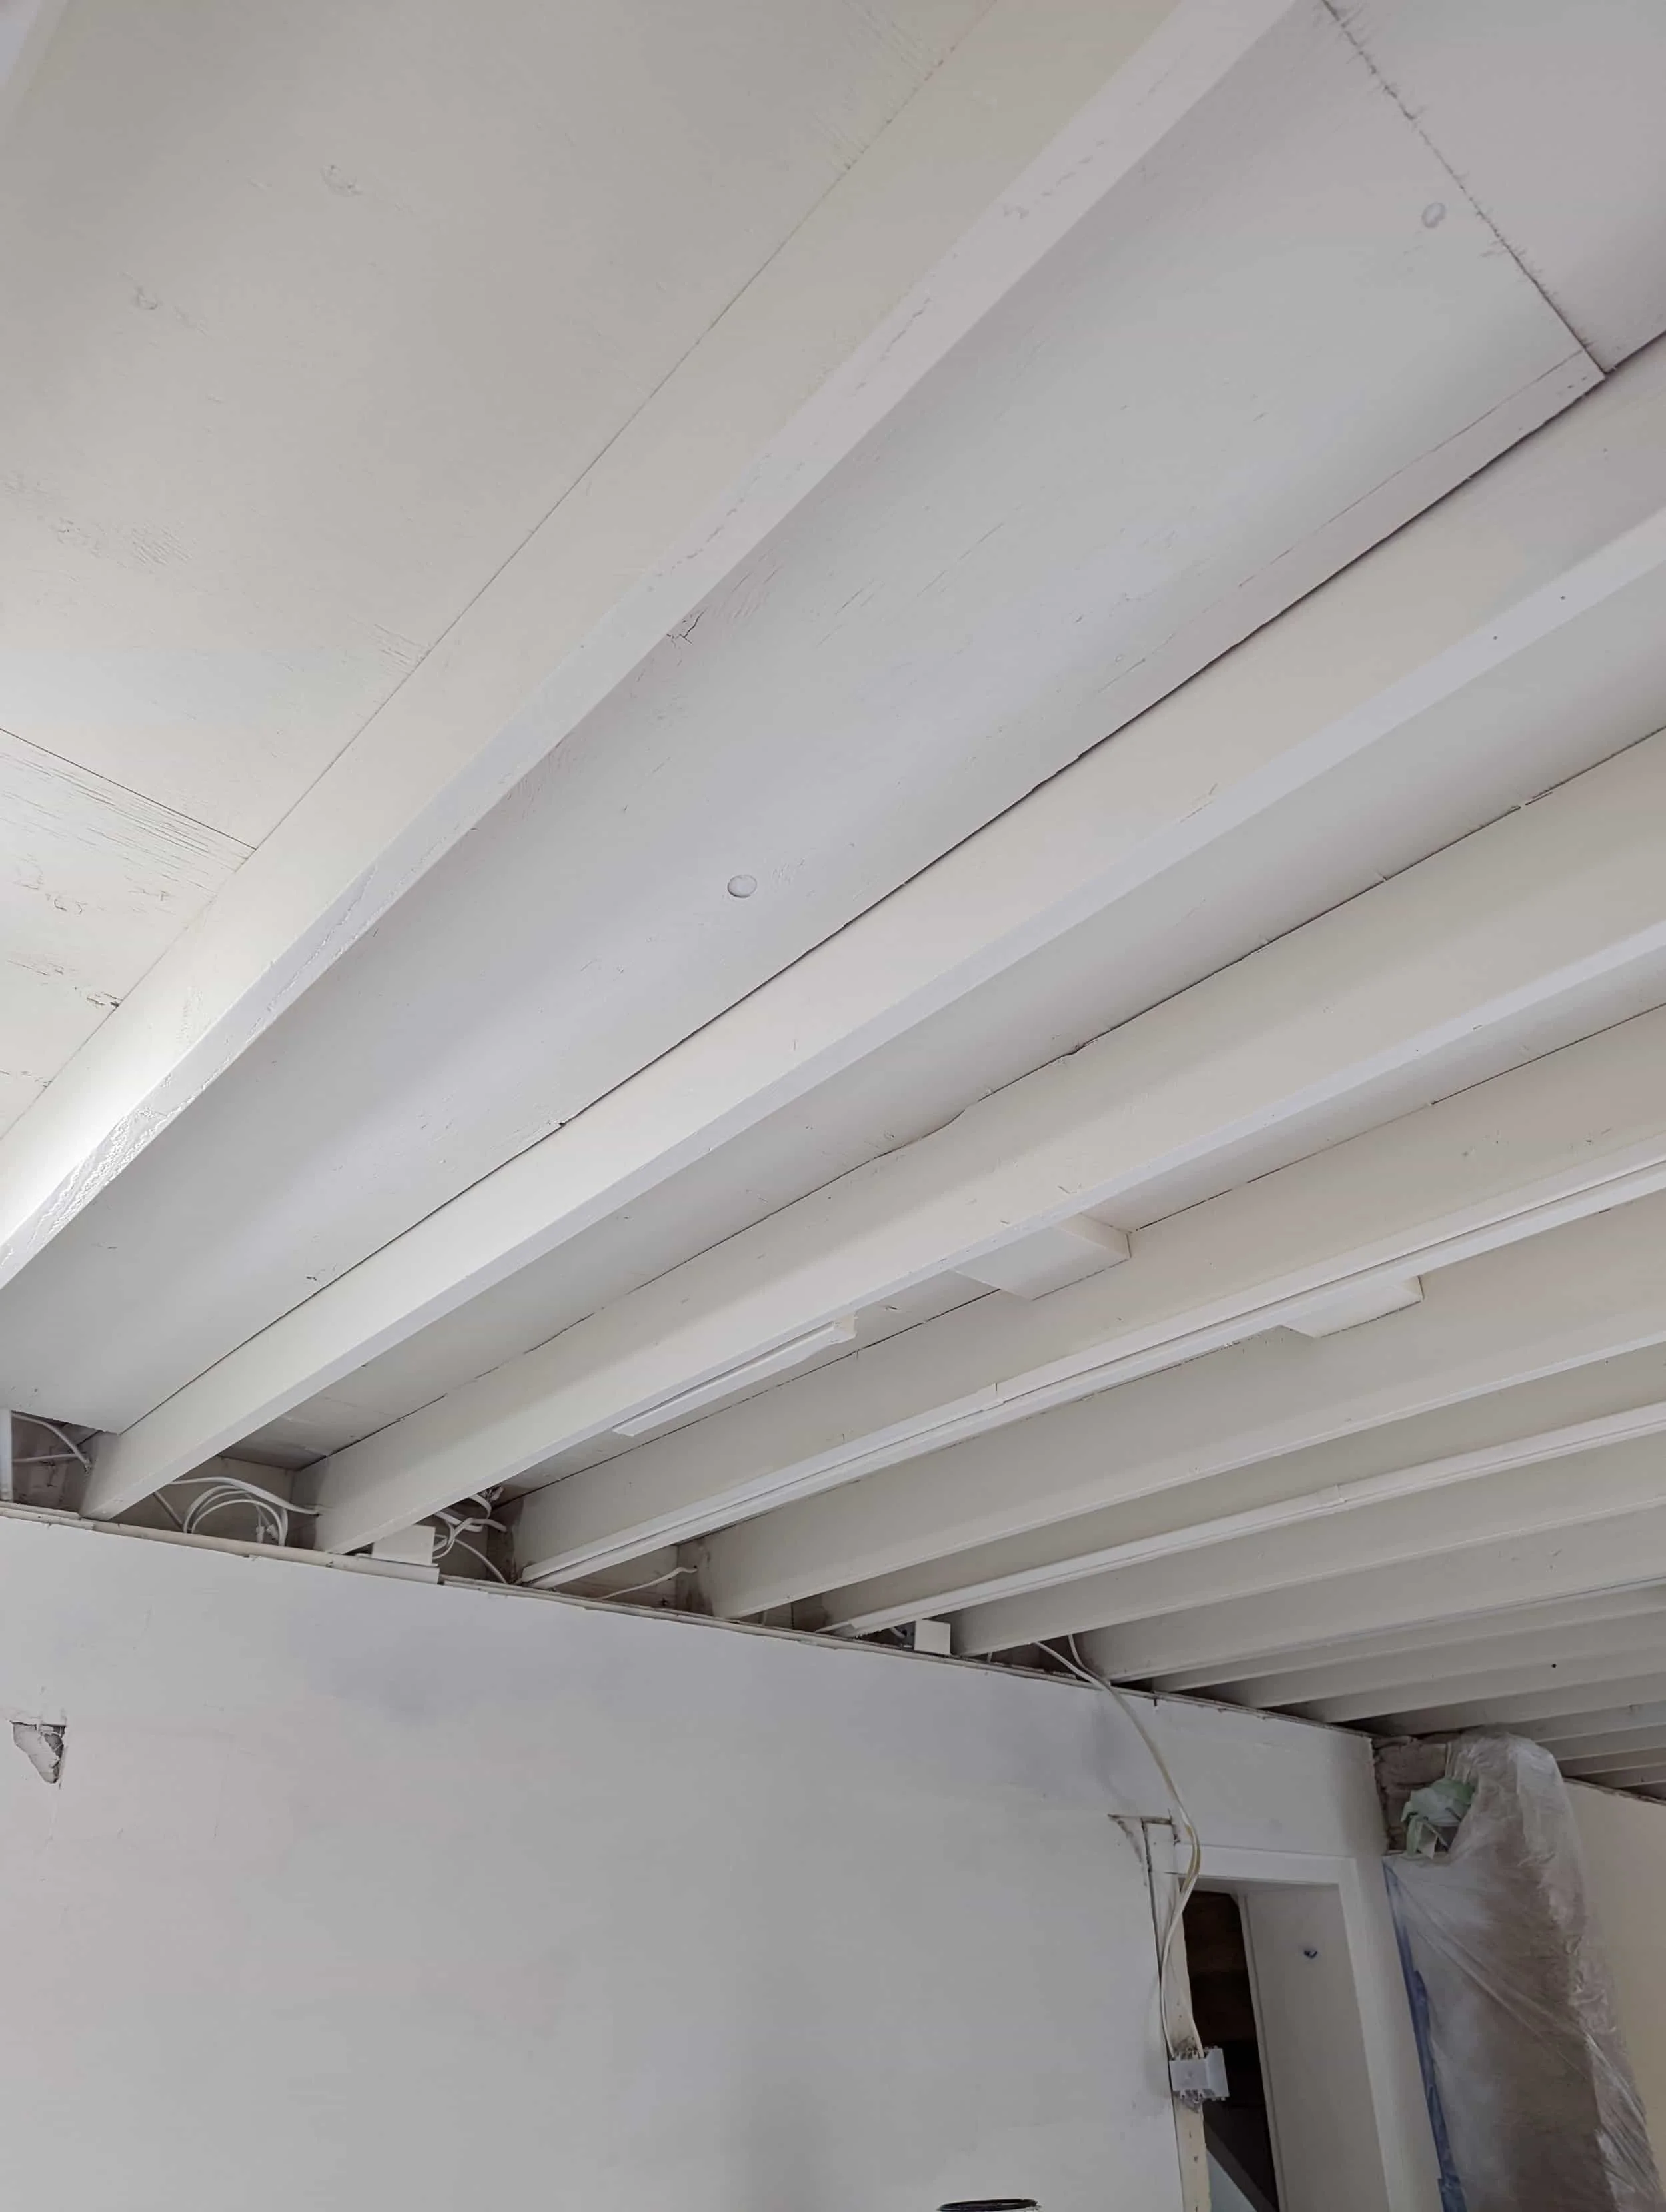
So much cleaner and brighter! I initially thought about staining the wood but getting the right color can sometimes take multiple tones/layers and it would take forever. I’m glad I decided to paint it to brighten up the whole room and make the ceiling feel taller.

I’m so glad we went with this option and can’t wait to see our kitchen all done! Would you choose to do this to your ceiling if you had the chance?
Next up will be our floors and cabinet installation to finish up our kitchen renovation!
xoxo,
