

Homemade Butter Cheap and Delicious
If you’ve ever had the thought “I wonder if I can make my own butter and I wonder if it’s delicious” than your mind is about to be blown! I was in costco one day and saw butter was just a couple cents under $15…like I know butter is expensive but that’s twice what it used to be! My friend also told me there was going to be butter shortage and that people were frantically stocking up for the holidays and the thought of no butter kinda makes one panic a little.
So I had the thought “I wonder if I can make my own butter?” Well, you totally can and even better it’s declicious and the easiest thing ever!

All you need is a kitchen aid, Heavy whipping cream, salt, and a mason jar! Don’t have a kitchen aid? A good ol’ hand mixer will do and they even have butter mason jar churners on amazon!
It doesn’t matter what kind of cream you have I used cream from Costco and the great value cream from Walmart and both were great!

Step 1. Pour cream into your mixer.
Keep in mind there needs to be enough room for things to not go flying out while on a high setting so don’t put in too much like I did the first time. It’s better to do a smaller amount on high speed then a large amount on low speed or you’ll be there all day haha

Step 2: Let’s make butter!
Turn the kitchen aid on high! Like I said, I would recommend a speed around 8 and now you just walk away and go get something done while it starts whipping that whipping cream!
Here’s what it’ll look like after about 5-10 minutes, “The Whipped Stage”.

Now I call this, “The Scrambled Stage”, because it starts to look like scrambled eggs but just keep that mixer going!

Next up is the “Soggy Stage”, where the buttermilk starts to appear and the butter separates! This might be a good time to grab a kitchen towel and toss it over the top when things start to splatter.

Mix just a liiiiitle bit longer and….BOOM you have butter! It doesn’t look like much and can be kind of hard to tell if you’ve reached the right point or not, but once it’s clumpy then you have arrived!

Now, here’s where your mason jar comes in! Not only do you get homemade butter but you also get buttermilk; enough to fill this whole jar!

Step 3: Get your buttermilk
Using a strainer or colander pour the buttermilk into the jar while keeping all of the butter separate. I have literally avoided every recipe that has ever called for buttermilk because I didn’t really know what it was or where to find it haha
Now I’m finding buttermilk can be used in pancakes, dressings, cake, biscuits, and bread. Toss that jar into the fridge and let’s move on to the weirdest step!

Step 4: Rinse your butter.
You heard me! You’re going to rinse your butter because we need to get all of that buttermilk out so it lasts longer and the buttermilk doesn’t go bad. The butter can sit out at room temperature and using a butter crock can keep it fresh. It can last up to 6 months in the fridge and even longer in the freezer! Using your spatula, clean the butter out of the whisk and press down on the butter in the colander while the water is running until the water runs clear. I just like to use my hands so I can really squeeze all of the buttermilk out!

Step 5: Add the salt!
After your butter runs clear you’ll put it back into your mixer and I would recommend getting your paddle attachment if you have one so it’s easier to come off. The recipe I used called for 1/2 tsp of salt but I did a pinch more for my liking! Also, I love my copper measuring spoons they’ve lasted forever and gain more character over time!

Step 6: Transfer to Parchment paper.
Once the salt is incorporated it’s time to move it to your parchment paper (I didn’t have parchment paper on hand and just used a gallon ziplock baggie) so you can start slapping it silly!

Step 7: Form into shape.
I wasn’t joking when I said slap it silly haha Take your spatula and start hitting your butter to make a square or circle or whatever floats your boat! I went for the classic rectangle haha.

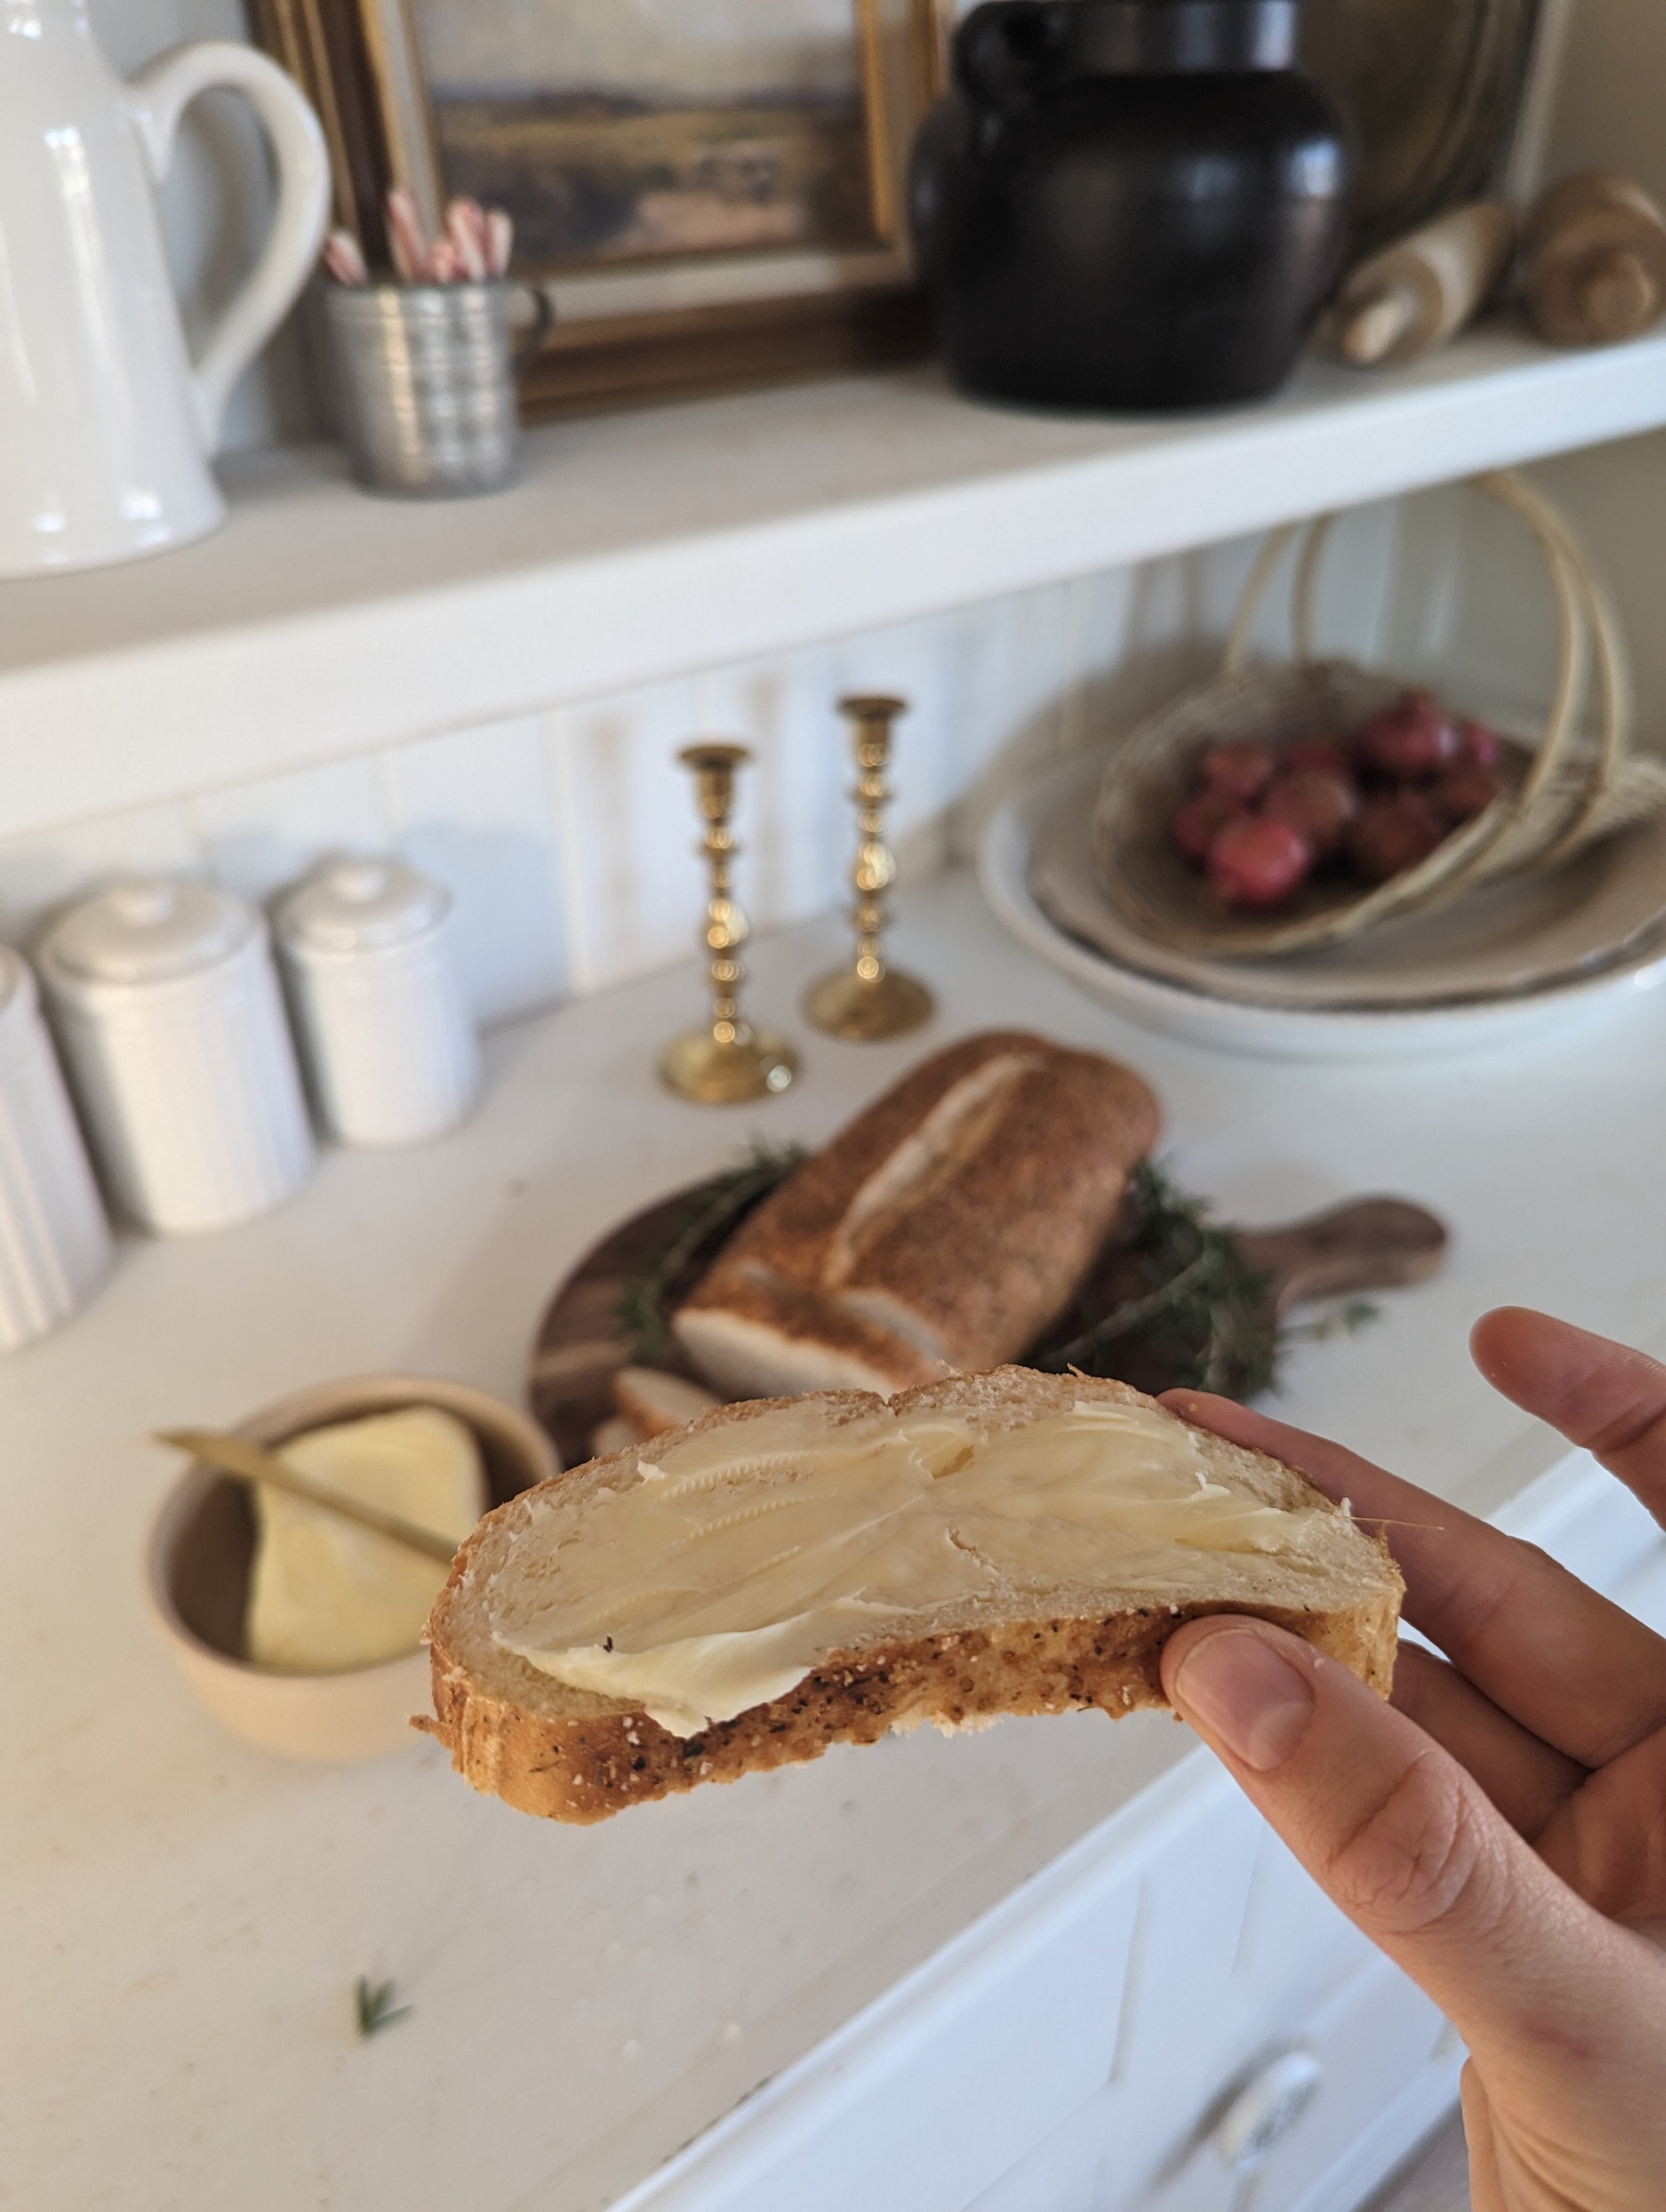
Now you’ve made your own butter like a pro and here’s where you get yourself a piece of niiice warm bread and try it out. YUM.
Even if you’re not a crazy cook you’ll win points for making your own butter ,trust me, it’ll blow everyone’s minds!
Homemade Butter Recipe
Time: 20-30 minutes
What you need:
Heavy whipping cream (1 pint makes about 1lb of butter)
1/2 tsp Salt
Step 1: Pour Heavy whipping cream into mixer bowl.
Step 2: Turn mixer to high for about 20-25 minutes until butter becomes clumpy and buttermilk gathers at the bottom of bowl.
Step 3: Collect buttermilk by separating and straining milk from butter clumps and pour buttermilk into mason jar.
Step 4: Rinse Butter. Use spatula or hands to press and squeeze out all buttermilk until water runs clear.
Step 5: Put the butter back into the mixer and add the salt. Mix for 30 seconds or until all the butter is incorporated.
Step 6: Transfer butter to parchment paper and use spatula to hit it into shape.
And just like that you’re done!

Here are some ideas:
This would make the perfect gift if you gifted it with a crock butter dish to put it in.
You can try different flavors of butter which is what I want to try next!
An herb butter with rosemary, basil, and garlic
A spice butter with cinnamon and nutmeg
A fruit butter with strawberry or raspberry
Thanks so much for reading! Let me know if you try it out and what you think!
xoxo,
