

Cobblestone Pathway


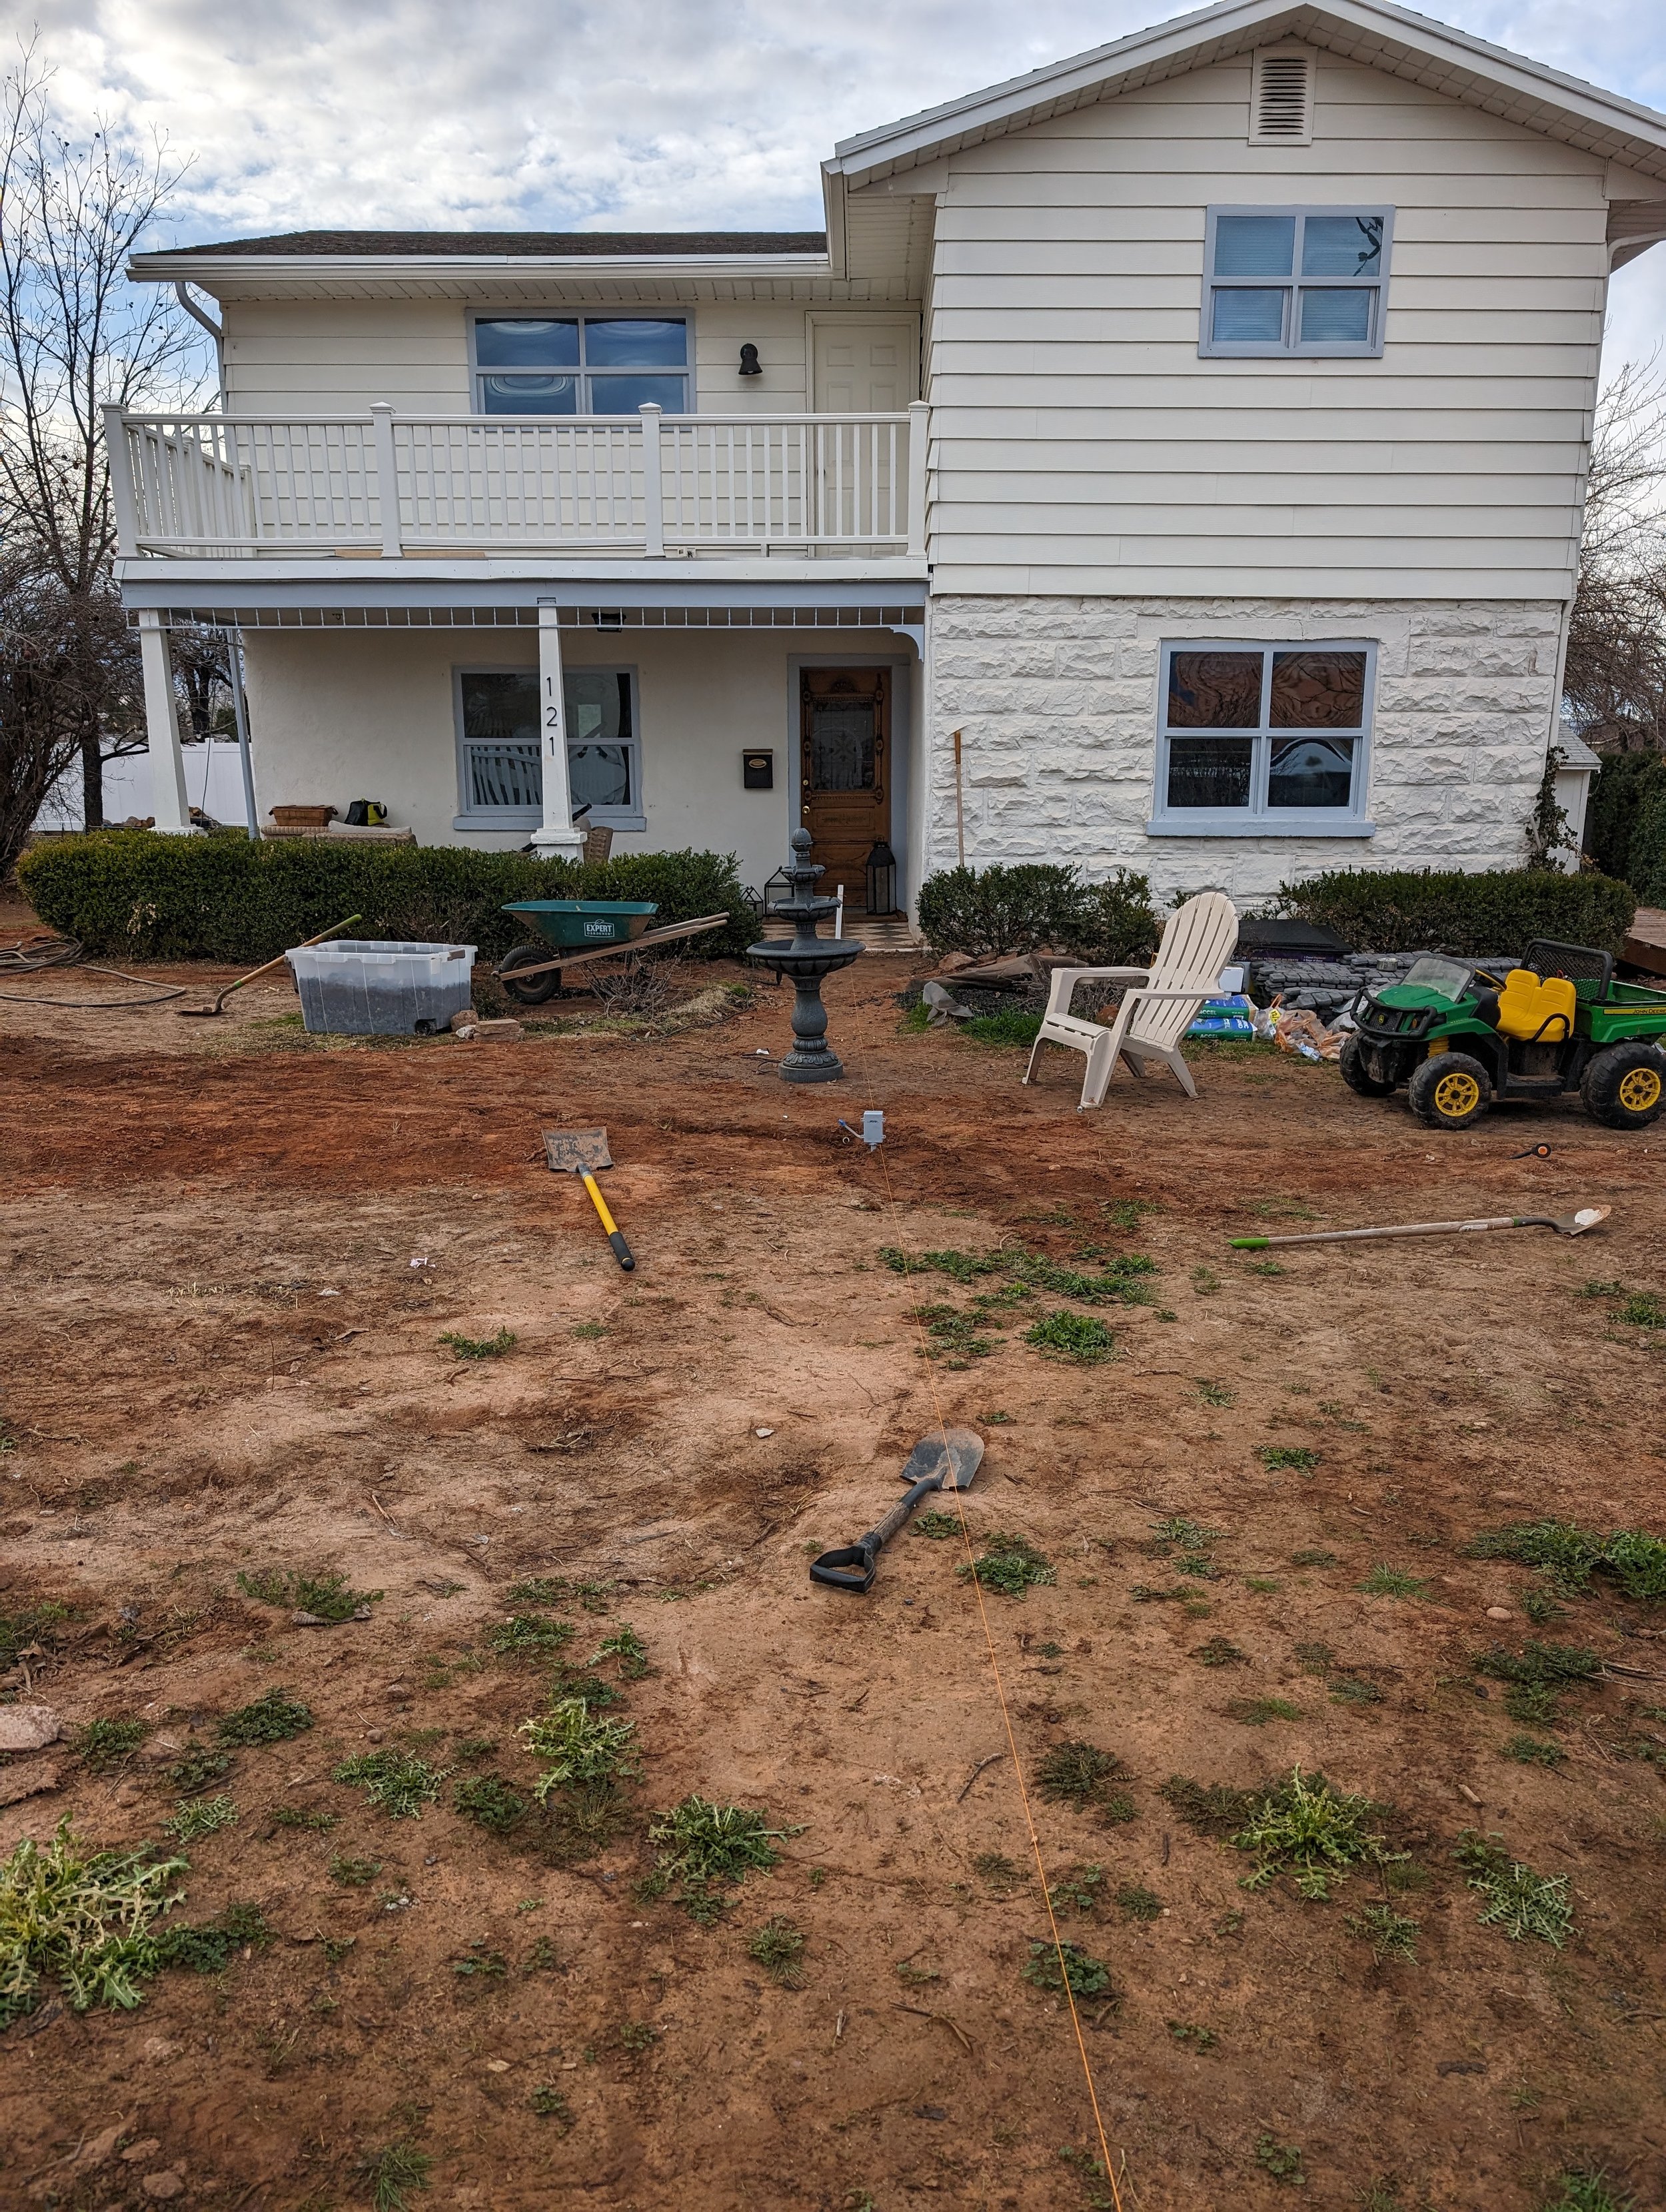
This is the before and after of our cobblestone pathway! We needed a new pathway after re-doing our property fence and property line. We had an old sidewalk but it went to the middle of the yard and didn’t reach the new property line which meant I needed a gameplan for a new walkway!

I looked at so many options like flagstone, regular pavers, brick, river rock, pebble rock, and concrete pavers! I wanted to find the most cost-effective option that would also make a big impact since it would be the focus of our front yard.
I got a quote for a minimum of $6000 for flagstone and concrete pavers, and that wasn’t doing anything unique or fancy schmancy! We decided we’d need to do it ourselves and make it budget friendly.
This whole project started because I wanted to just “look” and see what they had haha you know how that goes! It got our minds working and is how we moved forward.
I first saw this thick paver and really liked the look of the herringbone pattern and thought that was for sure what we would do.

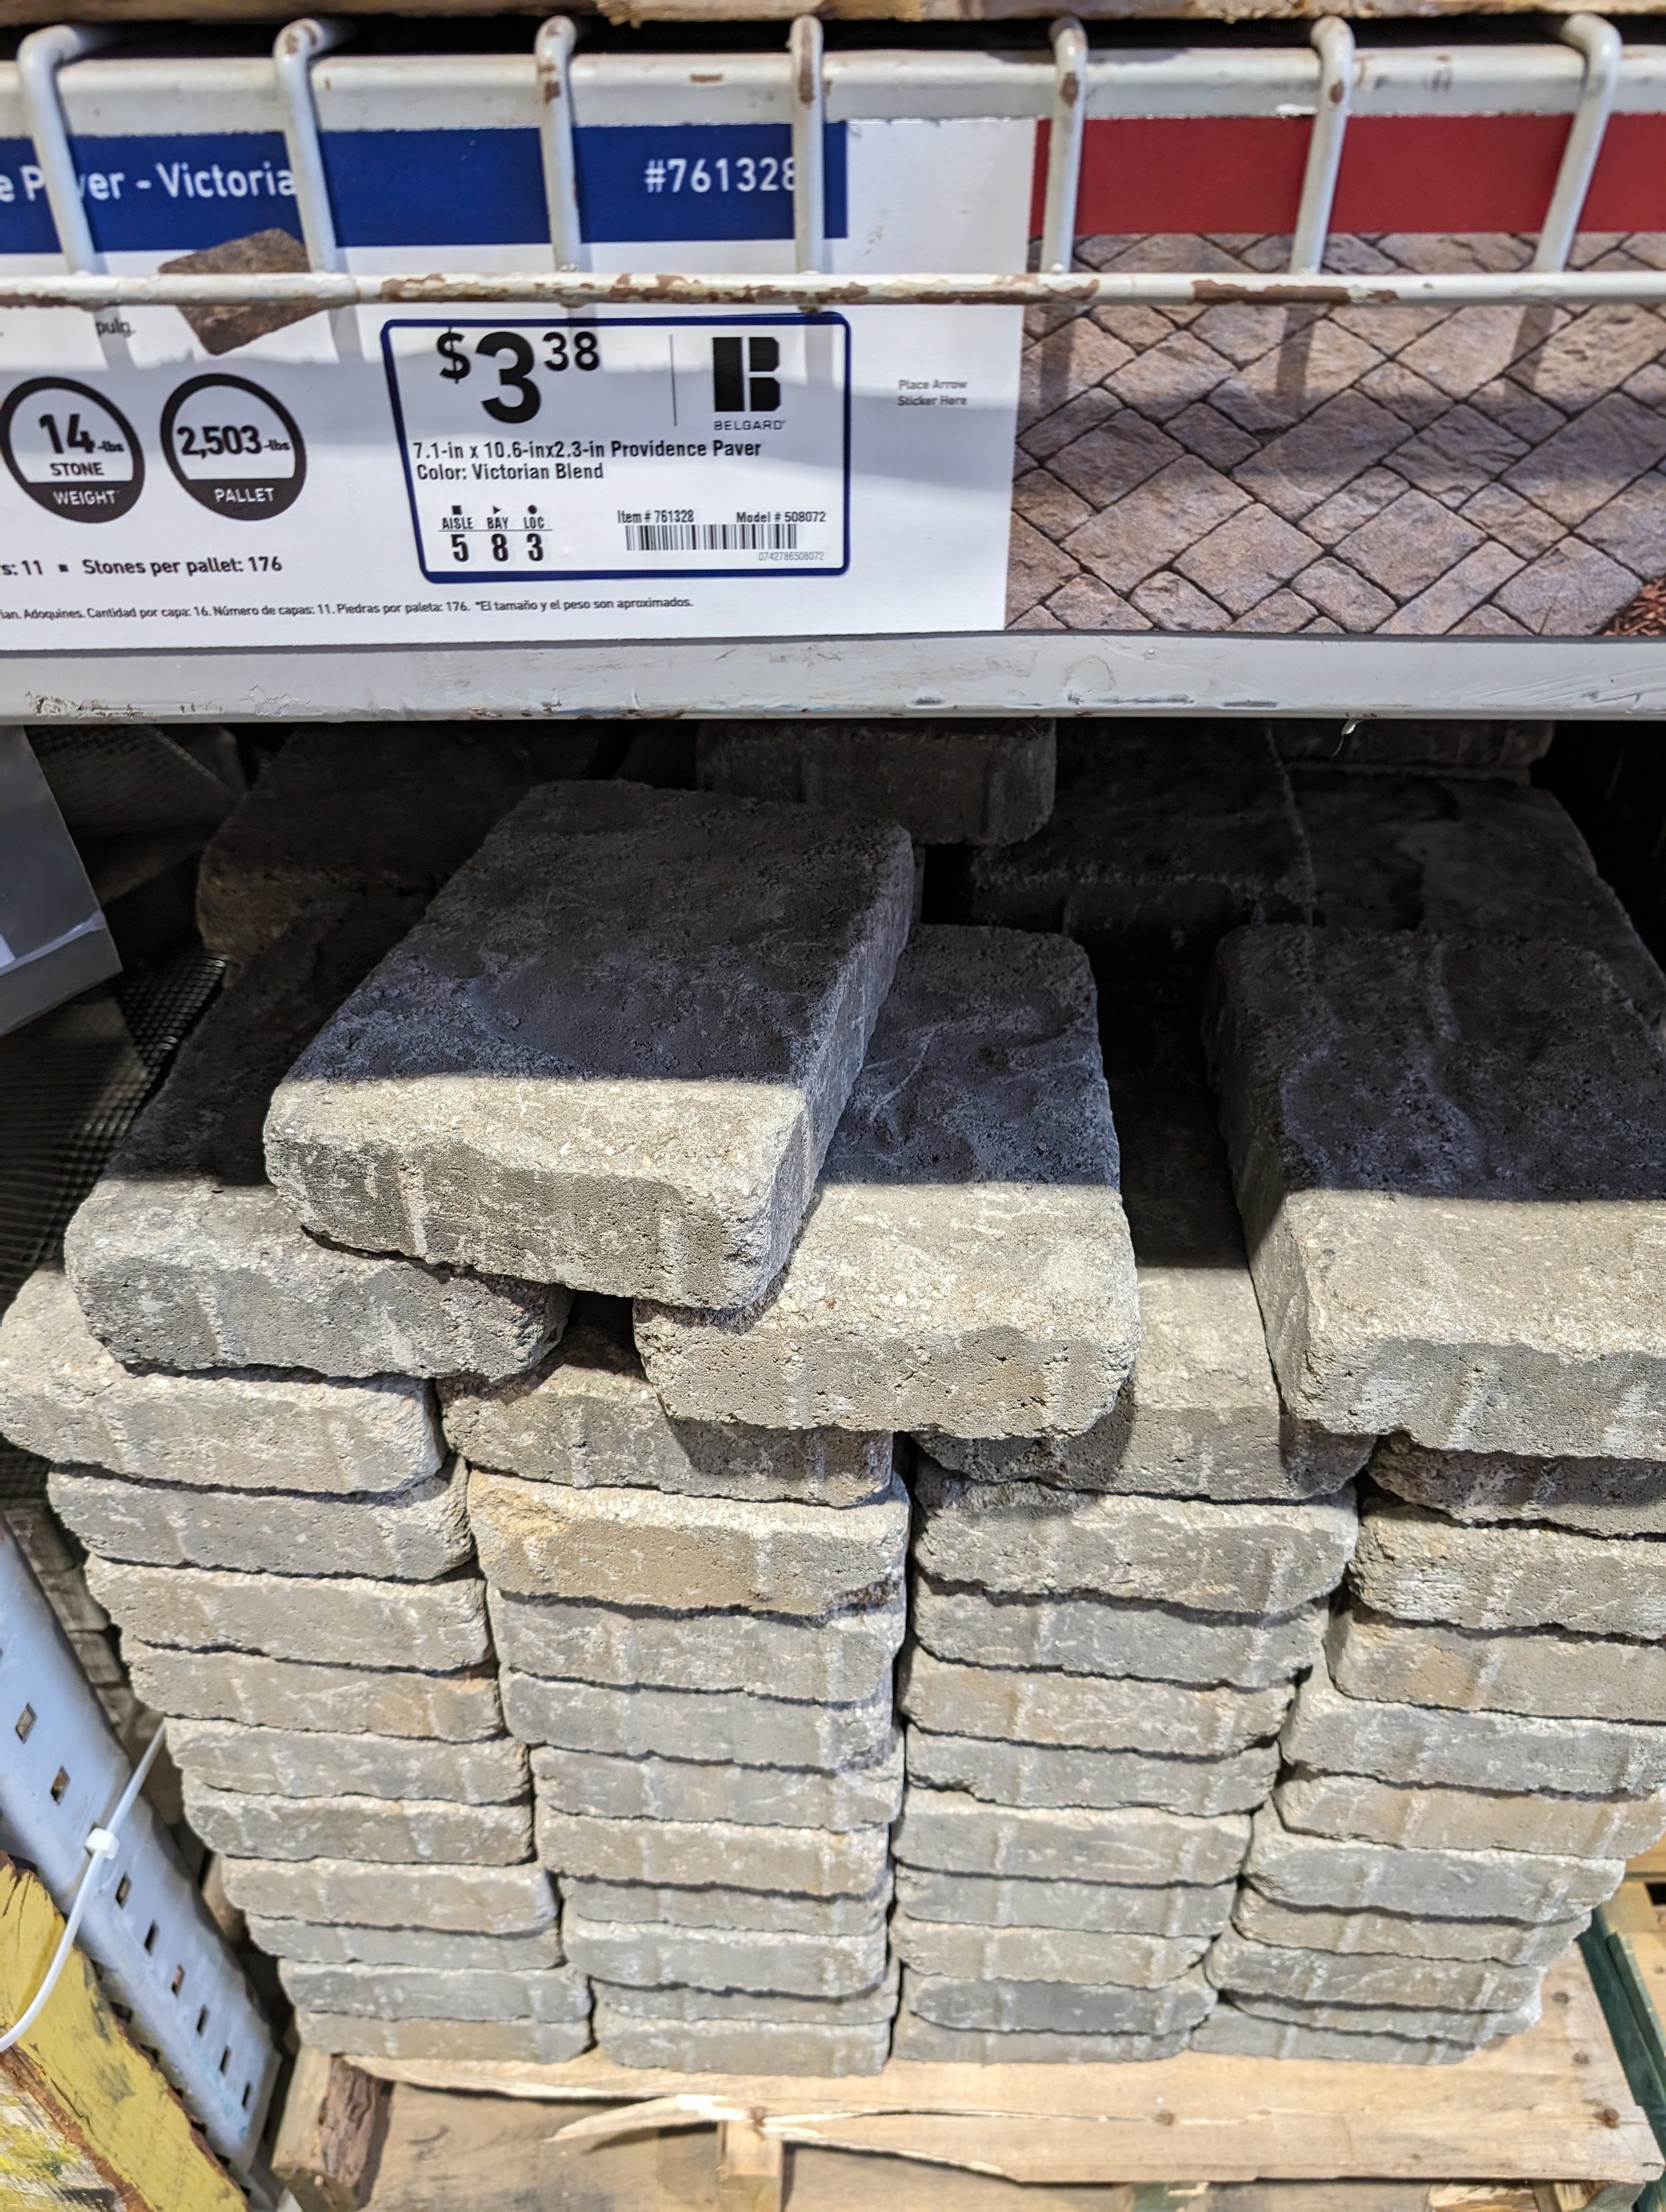
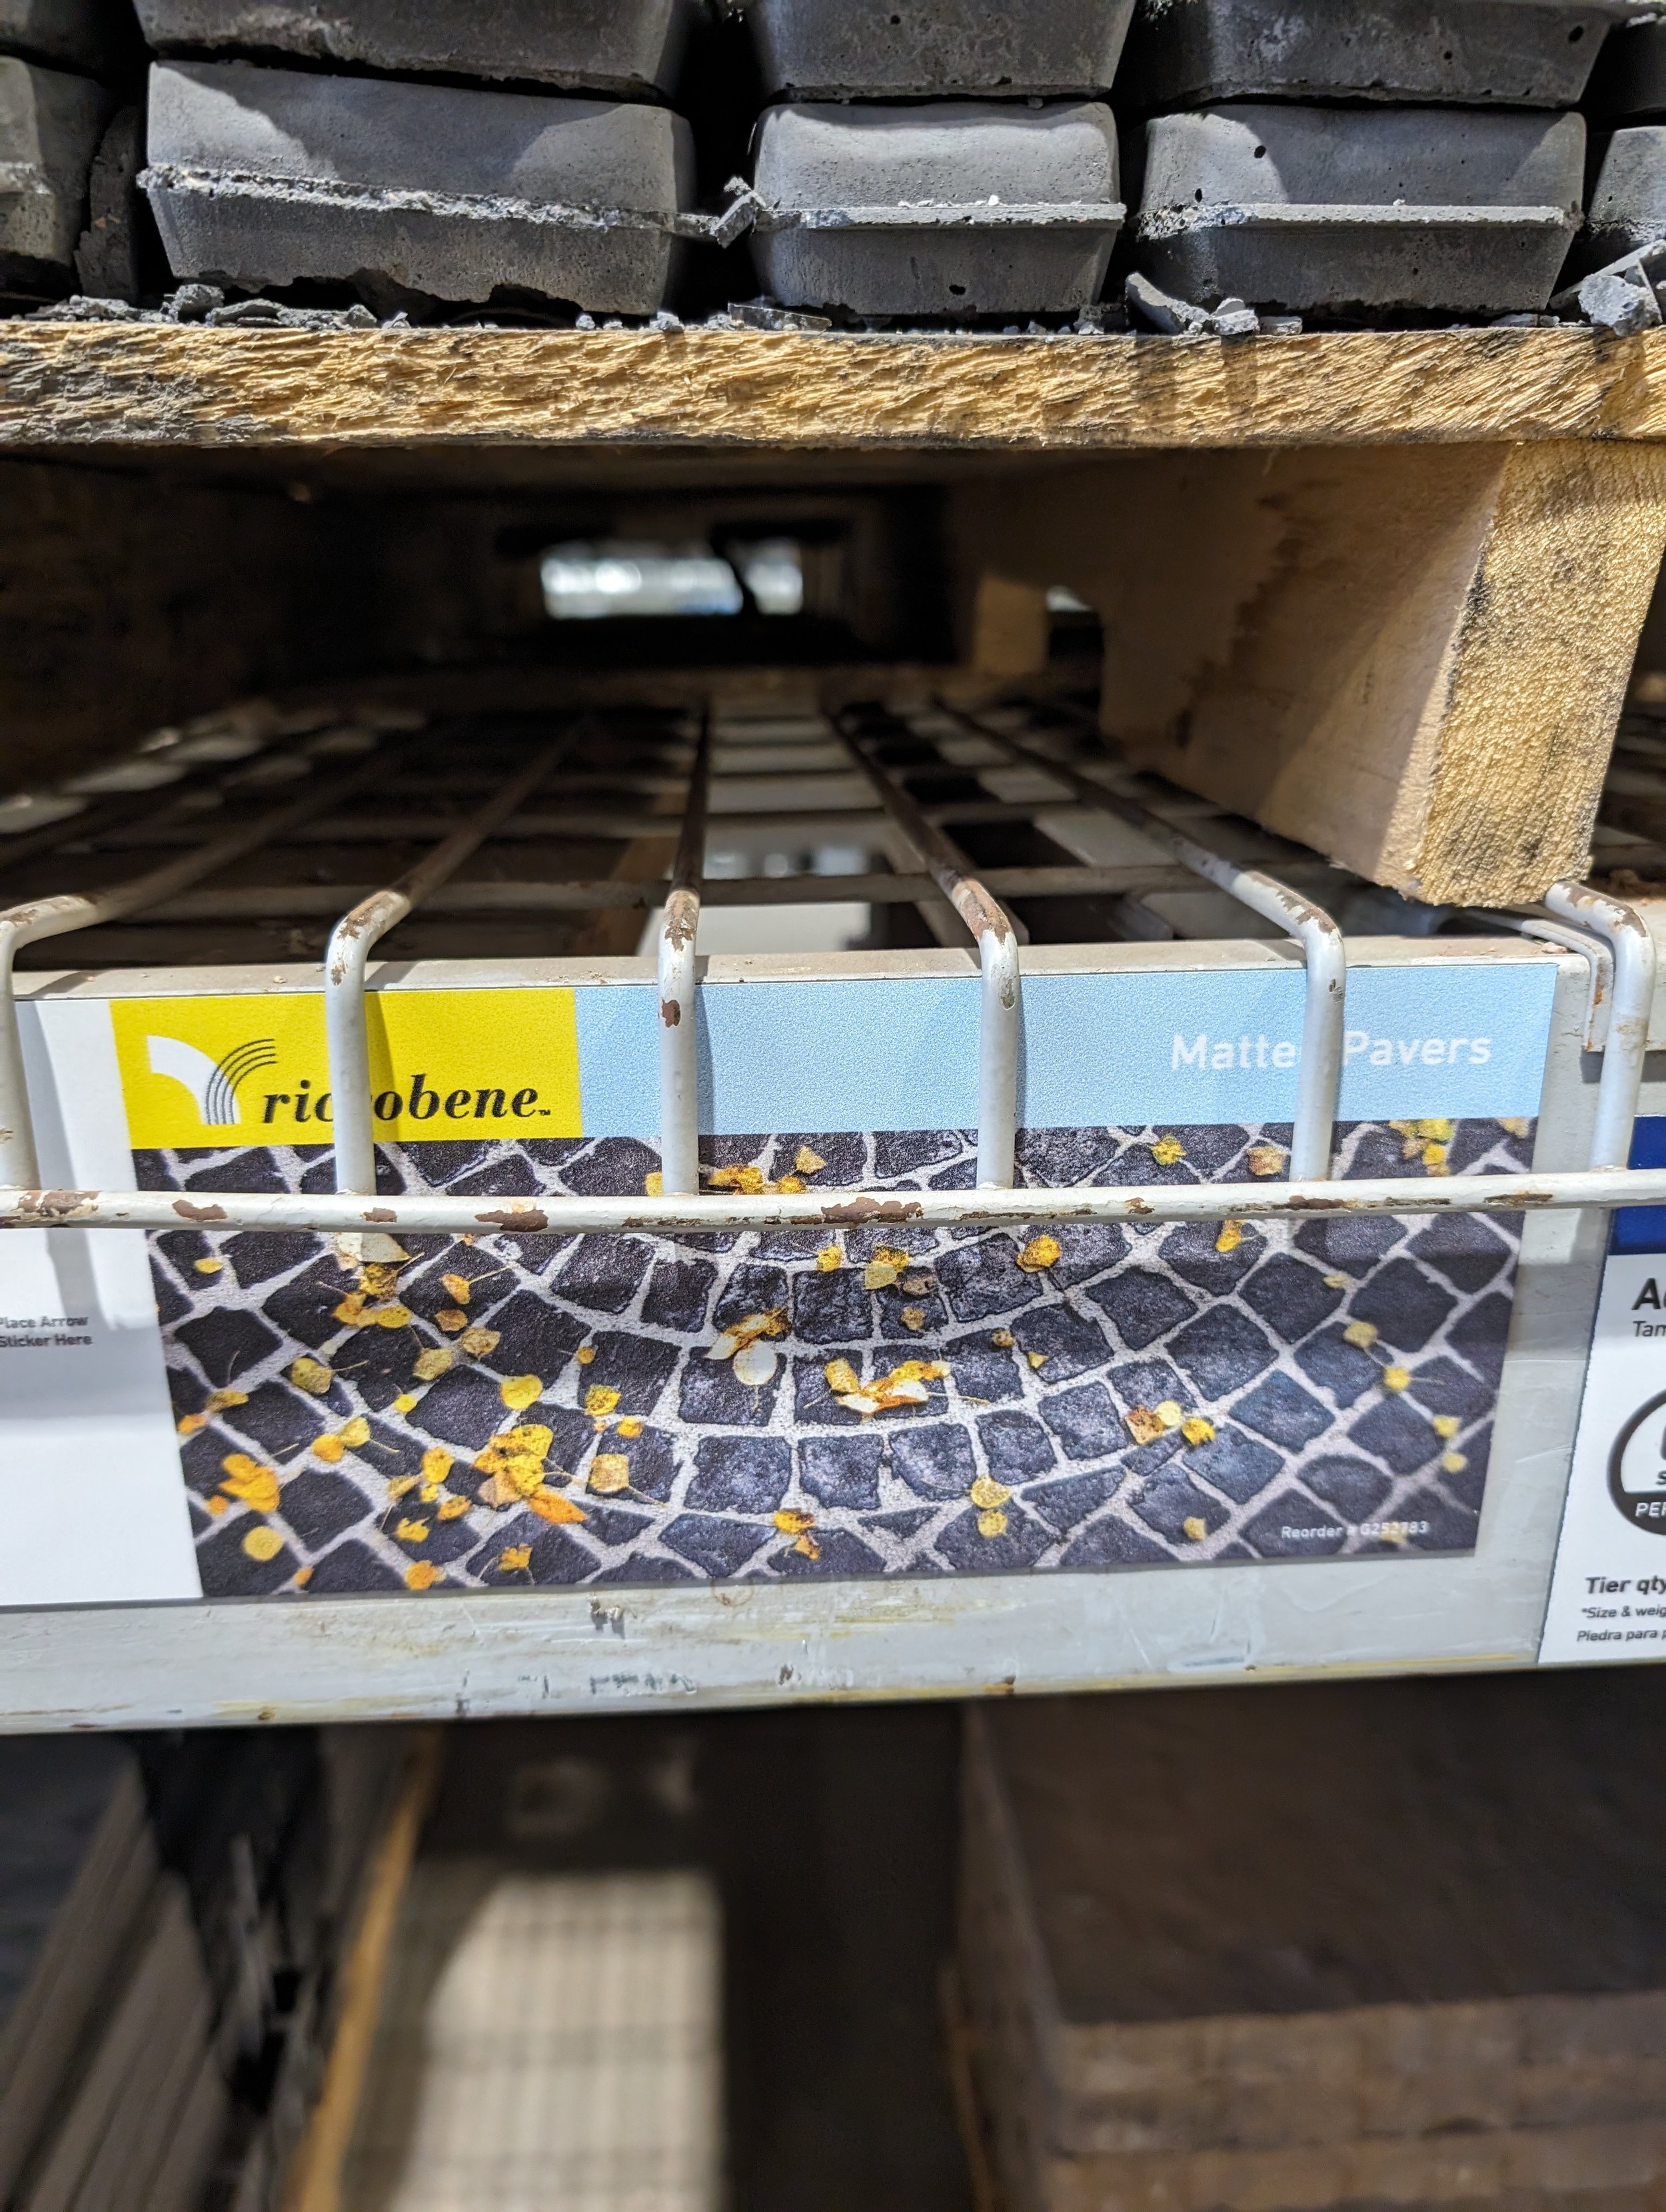
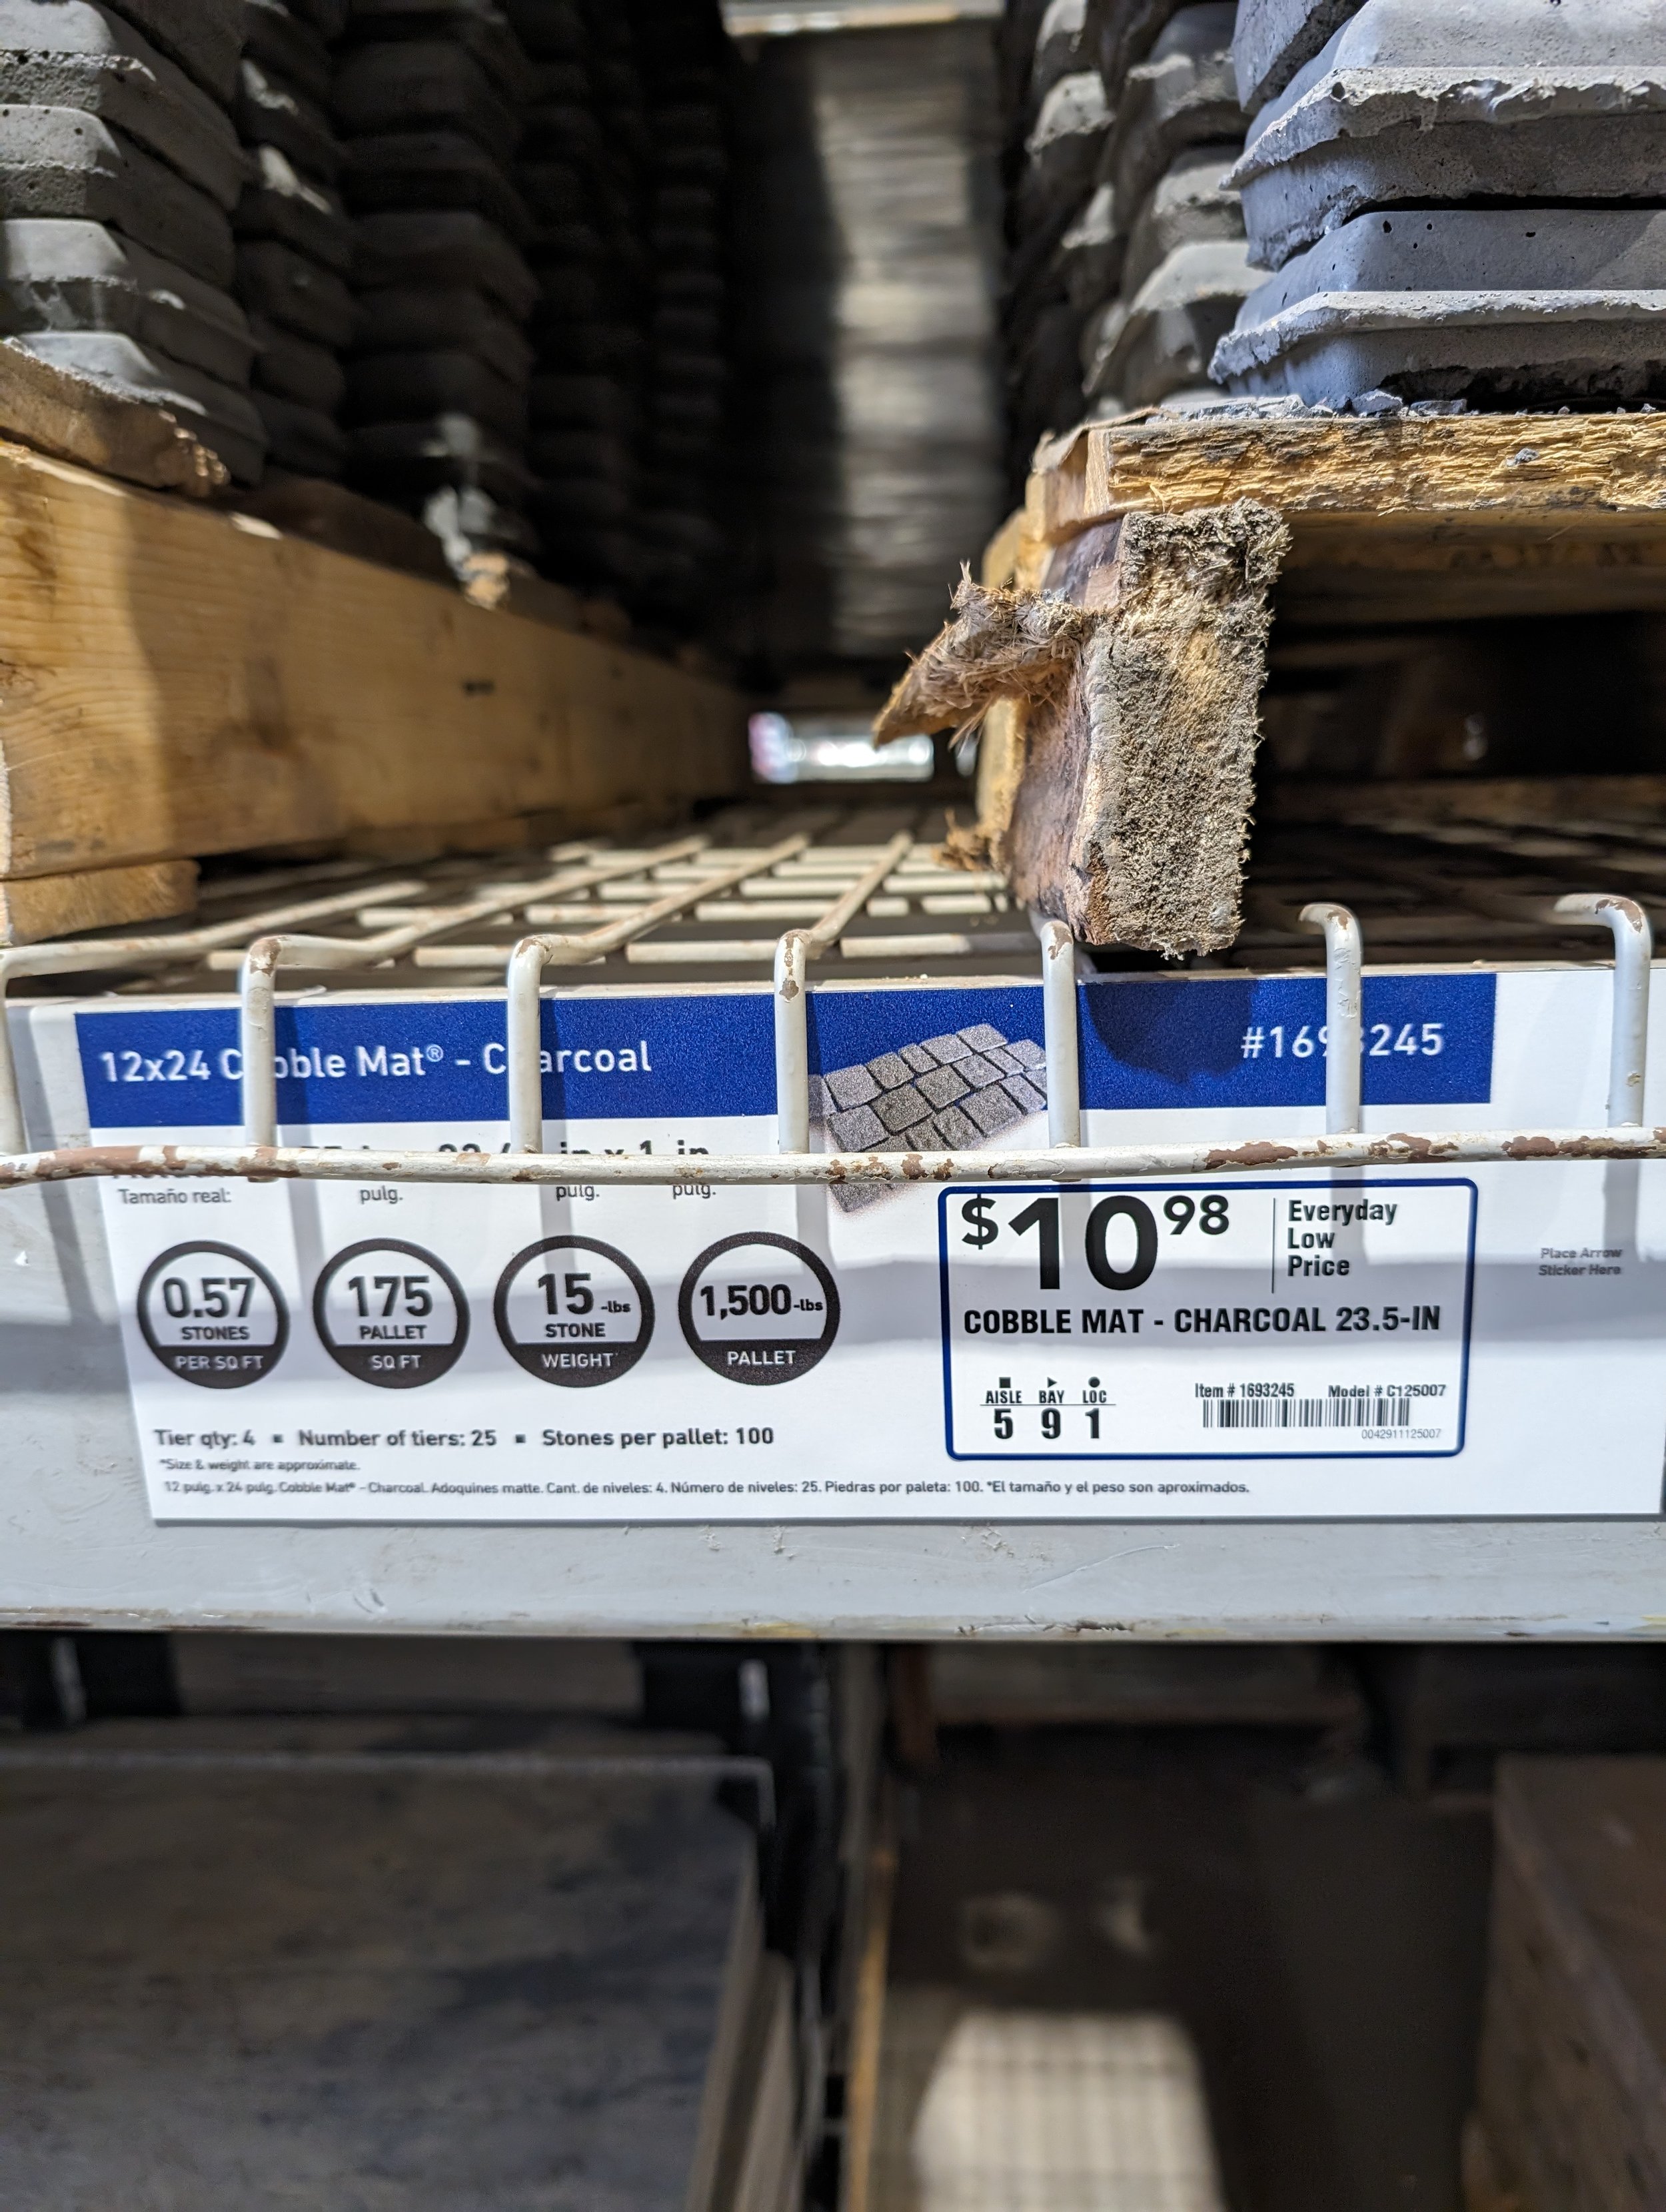
However, when we were on our way out I stopped in my tracks when I glanced over at this cobblestone! I had ever seen anything like this before and went home to crunch some numbers. Turns out it was only $20 more to do the cobblestones vs. the pavers so I declared the cobblestone path the winner!
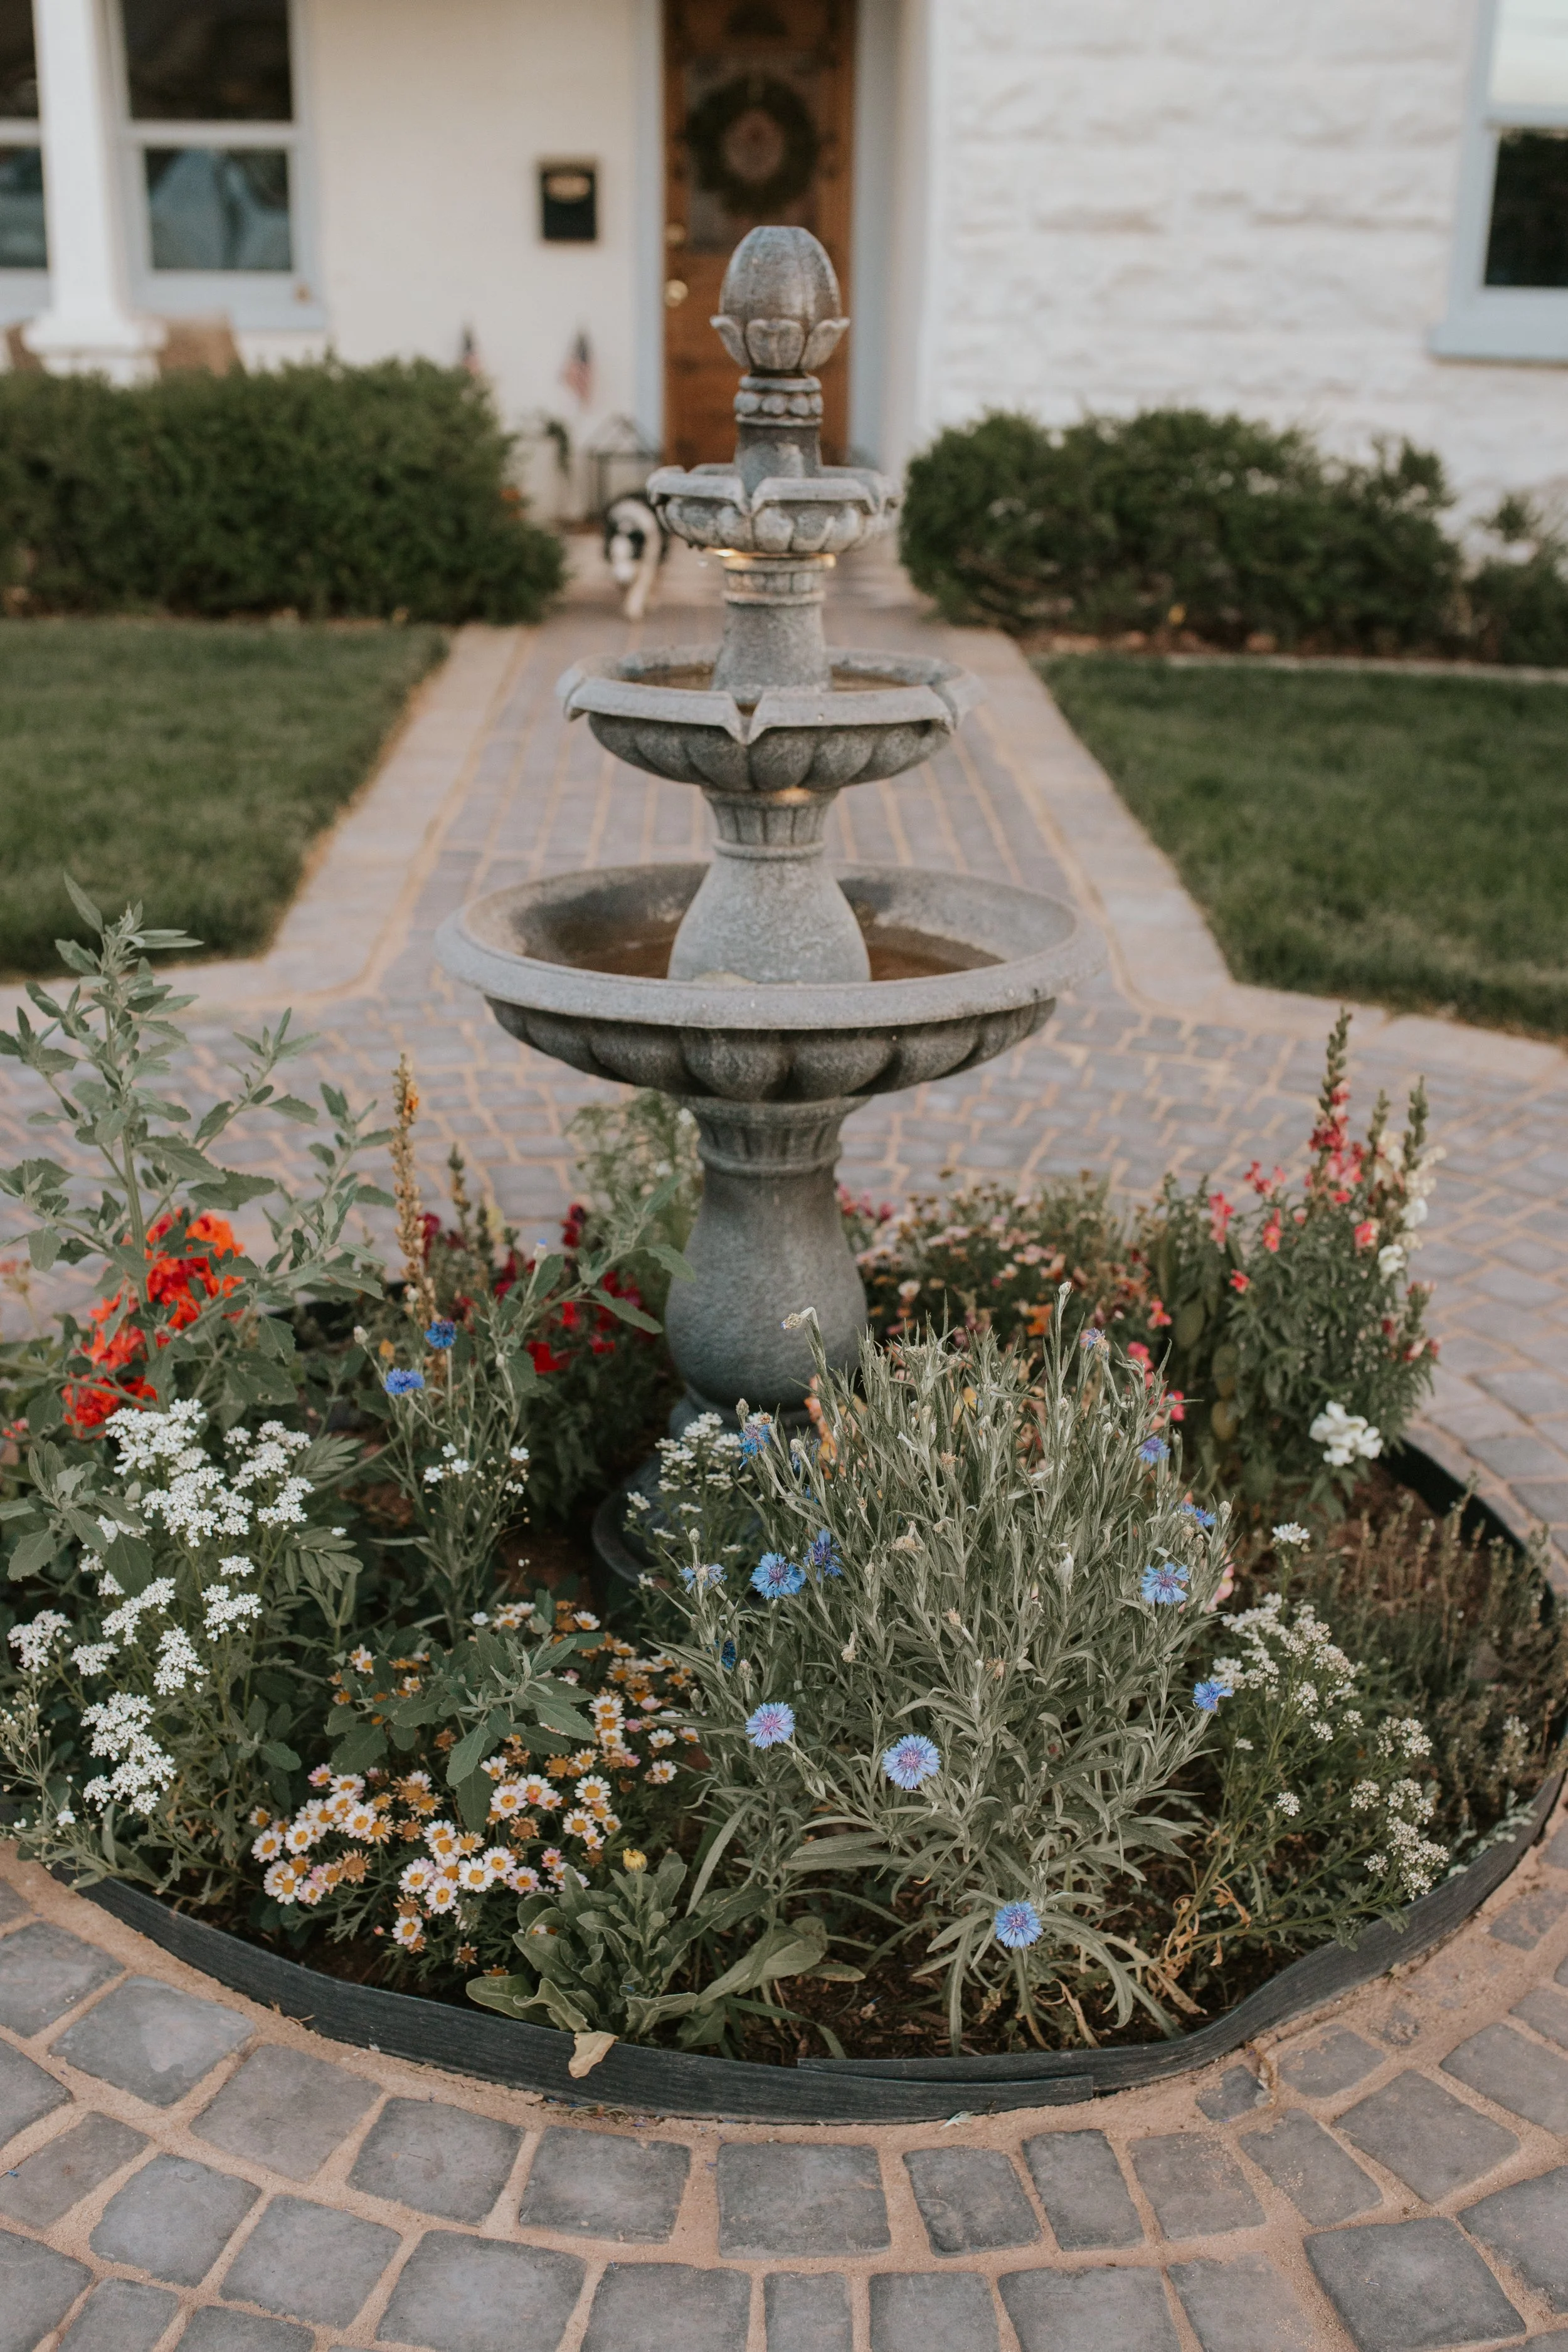
Here is my inspo! My gate and fence look super similar to this and when I saw it that gave me the idea for a rounded pathway and fountain!

Here’s what it looked like gathering up all of our supplies!

Here’s what you’ll need:
Landscape string
Tools:
Wire cutters (for cutting plastic in-between pavers)
Hammer/rubber mallet
Plate compactor (optional)
Push broom
Grinder
Scissors
Marker
Blower
Step 1:
Run landscape String
We started out by finding our middle point and running landscape string from our porch to the fence.

Step 2:
Lay down weed barrier along the length of pathway.
Step 3:
Pour Sand
Pour out the sand and begin leveling/smooth it out. We thought this was the trickiest step but here’s what we learned: We tried having two 2x4’s on either side of the pathway so that the third 2x4 would glide along and smooth out the sand without sinking in lower than needed. That was tricky only because we didn’t need the sand to be built up as tall as a 2x4 so we just ended up using a long level and watching the bubble to make sure it was always centered.
We didn’t dig down into the ground like some would recommend because our house is the highest point in our yard so we would have had a crazy time making that level. We went with the “above ground” approach which meant we were stacking up our sand and pavers on top of the ground.

Step 4:
Tamper down the sand once level so it’s nice and compacted.

This is about where we started getting our groove!
Step 5:
Lay down paver panels.
So our pathway is exactly 4ft wide. We actually revolved the decision around the width of the panels and pavers. The paver panels are 2ft wide so putting two next to each other required no cuts or waste. The paver panels allow you to skip the step of putting 4” of gravel down which was SO worth it! Once the sand is tampered and you lay your panel down it’s safe to walk on.

Step 6:
Laying down the pavers!
This was by far the most satisfying and easiest part! These cobblestone pavers come in “sheets” that are webbed together by pieces of plastic. The plastic is easy to cut with some pliers so we could make strips for going around the circle. We laid 4 cobblestone sheets in a row and it fit perfectly on the paver panels.

At first, I tried to have the pavers curve into the circle but I realized that was going to end up looking funny so we grabbed our string and made our circular outline to cut the pavers and make the inside a complete circle.

We got this whole project finished in 2 Saturdays and a couple hours late at night after the kids were in bed and we weren’t making much noise.

Then it came time to finish the end of the pathway which was tricky for us since we have a stream, mote, creek, irrigation, or whatever you’d like to call it running through our yard haha
Dallin stopped by the steel yard and asked if they had any steel scraps. They had one that was the exact size we needed and Dallin negotiated it for $50 which was way better than I thought we’d have to pay for 4ft x 2ft of steel.
This was actually one of my favorite things about this project is that in the last three years we’ve had to haul strollers and groceries over this mote which was getting old. We’ve also had so much rain that we were surrounded by mud and needed to take care of that.

Step 7:
Lay down Edging
We chose no-dig edging for easy installment and knew we’d need edging to keep the polymeric top sand in. We actually laid a 1.5” edging and then also did a 2.5” edging next to it since we had our yard raise taller in some spots and I wasn’t sure the sand wouldn’t fall out if there was no edge.
TIP: The no-dig edging is great but the stakes you need to buy to put them into the ground are an absolute monopoly! They are about $1 a piece at your local store but we also ordered these off of amazon which are 200 stakes for $40 which truly would’ve saved us a lot of money if I had ordered them at the beginning of the project.
After finishing all the laying, leveling, and perfecting I was so tired haha

Step 8:
Lay Polymeric sand
We got our polymeric sand in the color “Tan” because I wanted it to lighten everything up in the end and not look like a concrete pathway. Dallin poured out the bags and spread them out. He then gently, with the push broom, moved the sand into the gaps and crevices until they would fill in. This was relaxing and took just a bit of time.
You’ll just keep moving over it in all directions to make sure it fills in everywhere possible.

Step 9:
Compact Pavers
We rented a plate compactor to compact the polymeric sand to get it in all the gaps and level things out. It was $60 for a day which was totally worth it! If you have the chance I would ask about a plate mat that will fit around the compactor and keep it from scratching up your brand-new pavers! We didn’t do that and ended up using some extra plywood for it to glide on top of and act as a barrier.

Step 10:
Wet Polymeric Sand
For this step, you’ll want to blow any extra sand off with a blower so it won’t haze and then get a hoze with a nozzle for mist setting. I watched some helpful tips on this and what I learned was to mist the pathway first always keeping the nozzle/water 4ft above the pavers. You want to activate the polymers in the sand by misting and allowing water to slowly seep downward. Don’t let it puddle or have excess water. After it’s soaked in a bit you want to then use the shower setting to quickly go back over the same area.
We were so afraid it would rain but we got lucky and were able to let it dry/cure for a minimum of 24 hours before walking on it.

You can see below how these pavers aren’t perfect and personally, I love that because I want our pathway to look like it’s always been here which for our house means it’s been around since 1880’s.
These pavers are incredibly forgiving and I read some people wouldn’t even level out their yard first hey just laid them down and it worked. I found these very easy to lay down and work with and would 10/10 recommend!

I got this water fountain from lowes and thought it was a good price for the size compared to what I saw on amazon. I would have loved a large concrete fountain but those can be $$$ but I see them on FB Marketplace so I can always keep my eye out for one later.


Thanks so much for reading! I hope you can make your own paver pathway or cobblestone project! Let me know if you have any questions!
xoxo,
