

Puppet Theatre
Want the perfect DIY project that you can do in a day?
This puppet theatre is perfect for any playroom, party, gift, or school!
I surprised Cove with this adorable theatre for her fourth birthday! I made it out of some leftover plywood from our built-in bunk bed project that you can read more about here!
I’ll show you how you can make your own theatre to create the best memories!

SUPPLIES:
Plywood (This is what we used for our bunk bed but you don’t need anything this fancy!)
Circular saw or Table Saw
Wooden Dowel Rod
Hot Glue Gun (How cool is this cordless rechargeable glue gun?!)
Puppets
Wood Skewers
Fabric (Velvet is what worked well for me!)
Ribbon/trim
PLYWOOD:
I had this wood leftover from our bunk beds that was out cutout on the front and I knew I would use it for something but it took me to figure out what!
Really any plywood will do and the plywood I used is about 1in thick which make it really sturdy!

PUPPETS:
I had the hardest time finding puppets like…there is definitely a shortage of cute puppets out there haha I found some decent hand puppets on amazon but they didn’t have any character or whimsy. I found some gorgeous options on etsy but WOW were they a bit to pricey being $15+ each.
While in Target in December I saw all of these ornaments that I thought were a bit strange on a Christmas tree but I immediately knew they would be PERFECT for my puppet theatre! I started digging through all the “ornaments” like a crazy person and bought about 20 of them!

CURTAIN:
I went to JoAns and found this fancy schmancy shimmery velvet that caught my eye and reminded me of the night sky! I got one yard which ended up being perfect!
I also got a small dowel rod to be my curtain rod! I believe it was 99 cents!

I cut out the center square with my circular saw, then measured my cuts for the sides. I had these hinges on hand already and wanted it to fold in and be stored easily!

This was my first look of the puppet theatre standing up and coming to life! When it came to deciding on a paint color I wasn’t sure what to choose. I looked at all the paint I already had on hand and went with a pink in the magnolia line. I figure I can always change it!
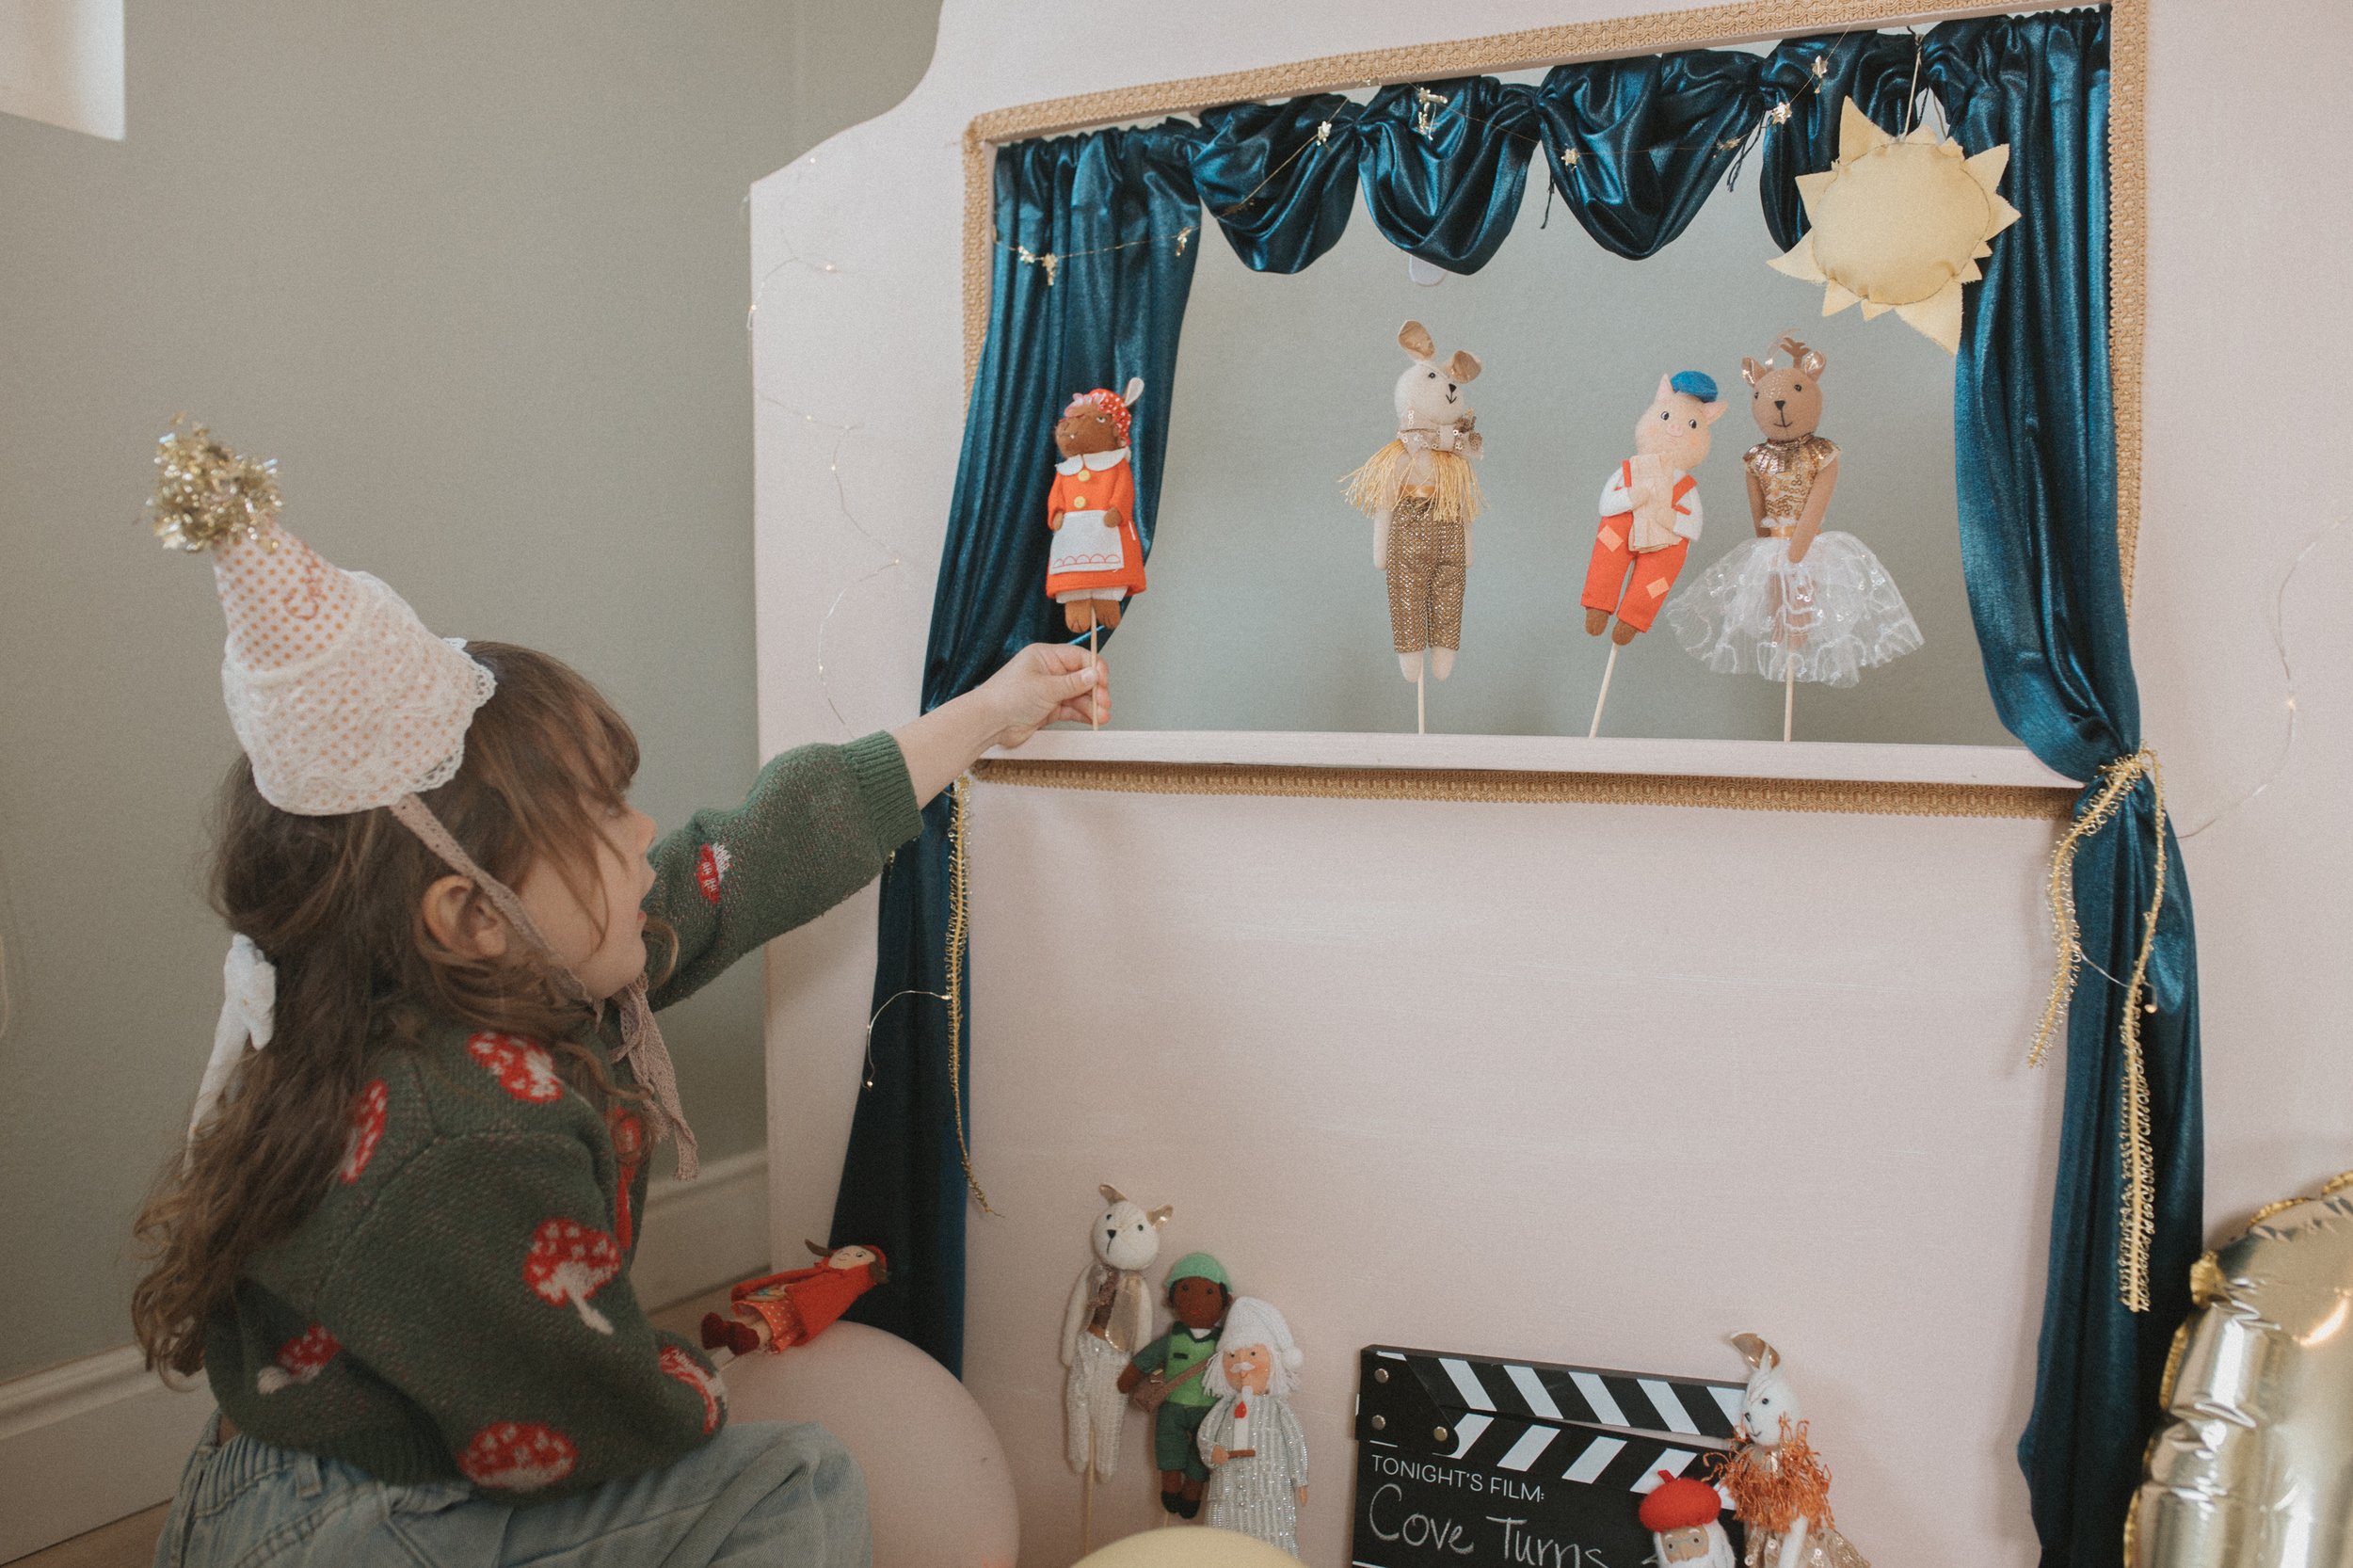
I also made a little shelf out of a piece of plywood I trimmed off and nailed it into the window opening. I put all of the puppets on wooden skewers and drilled little holes so the puppets can be placed in the holes since it might be tricky for little hands to hold so many sticks haha I also want to make more scenic puppets like trees and mountains to add to the story telling!

I just used a hot glue gun to glue the curtain so I could get the rod through and tied up the middle section with string to make it look more theatre-like.

I found this cute film clicker at Target in the dollar section but here’s a similar one! I thought it was just a cute addition for having show titles and plays.

Since this was Cove’s birthday present I wanted to add a little hat to go with it and just took a pack of $1 paper hats from Walmart and glued on fabric, ribbon, and stitched her name onto the hat as well!

This was her present setup when she woke up in the morning! I always decorate for birthdays the night before because that’s what my mom did for us growing up and it was my favorite thing ever and made me feel so special! My mom also made a puppet theatre for me when I was little and I love carrying on the tradition. I love gifts that I can make to put time and love into it and hopefully will bring memories for a long time!

DETAILS:
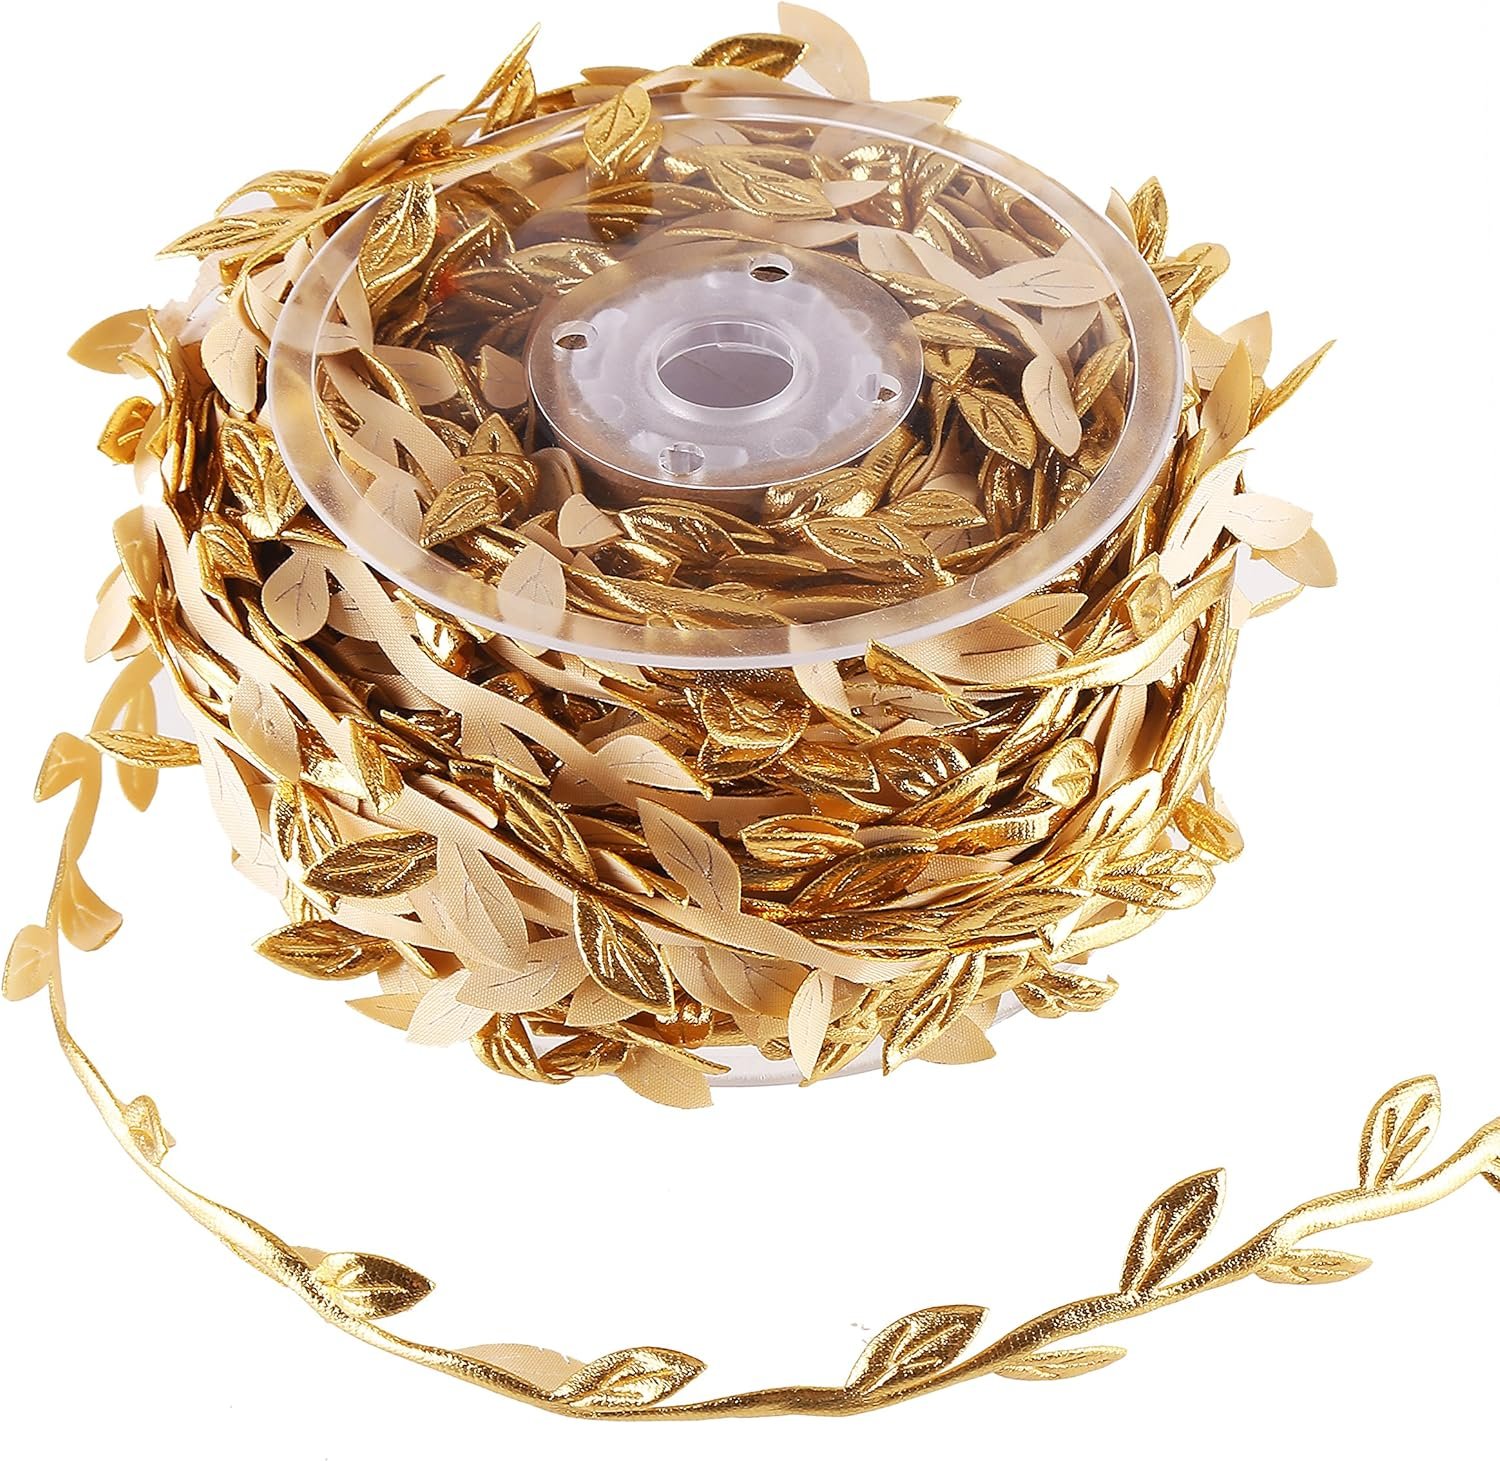
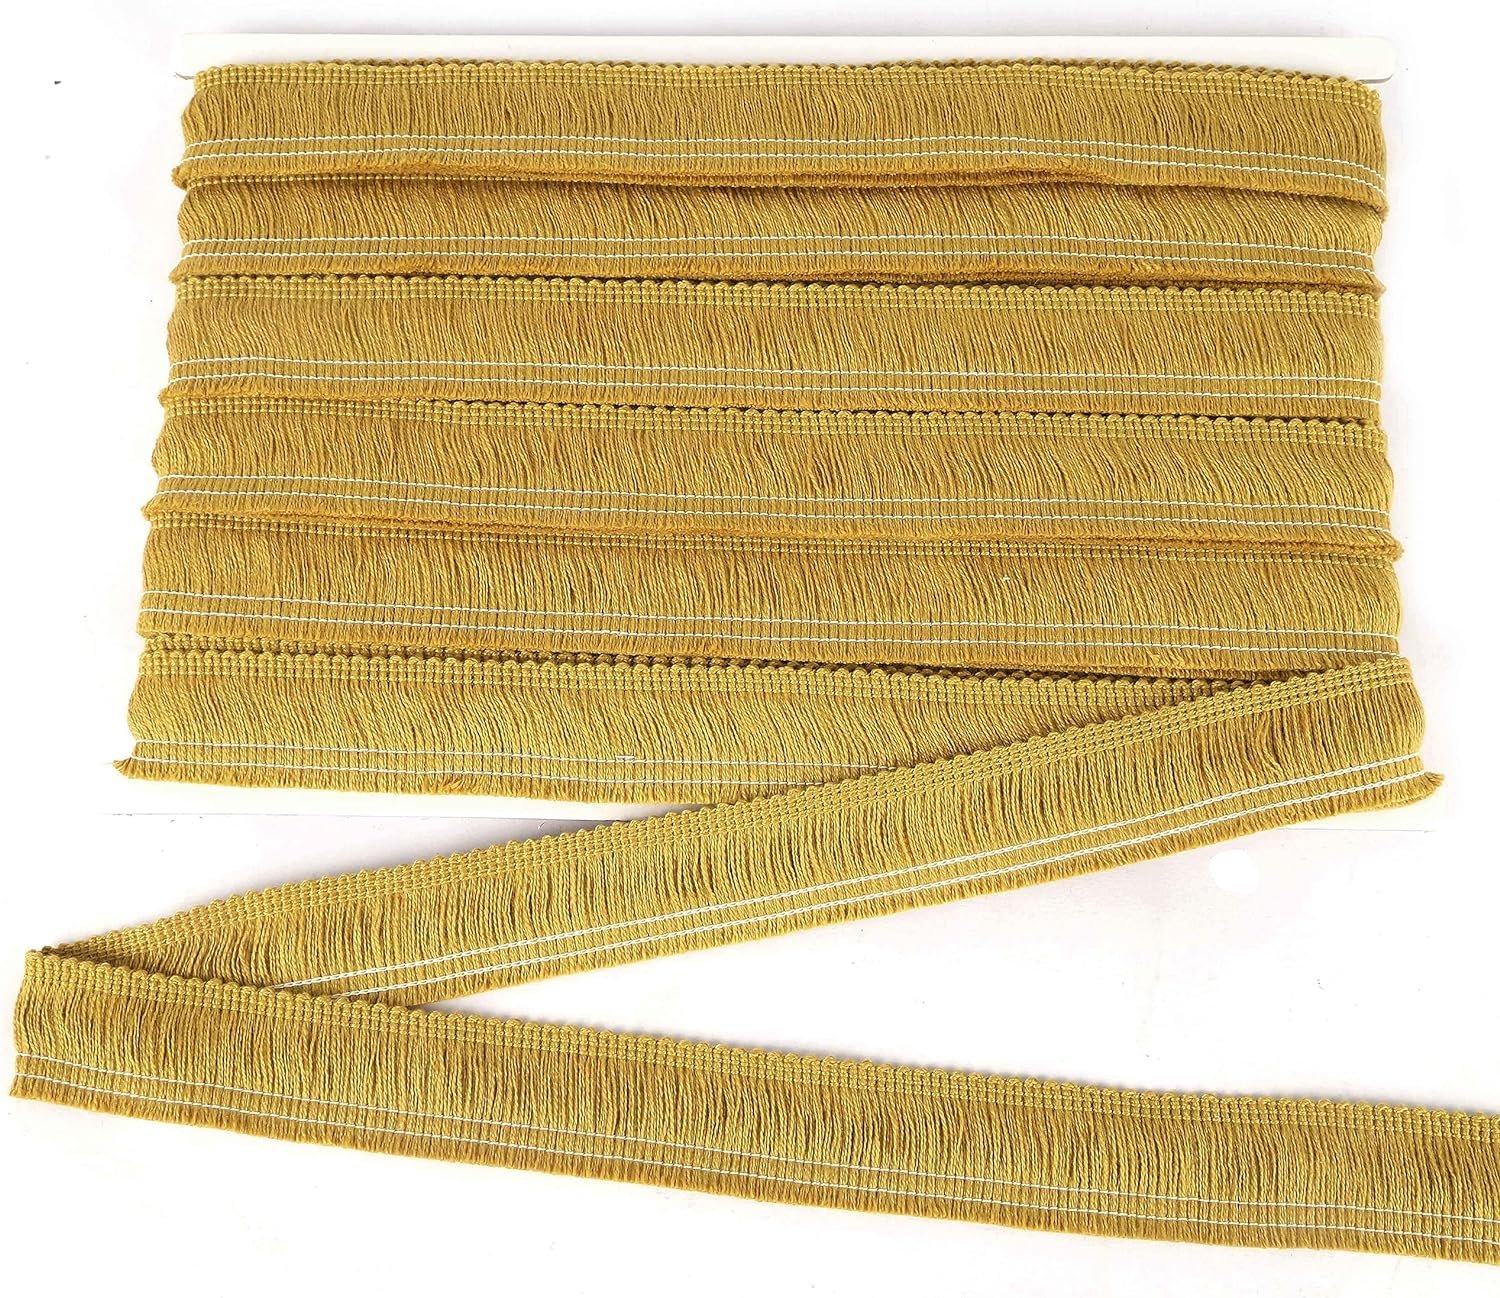
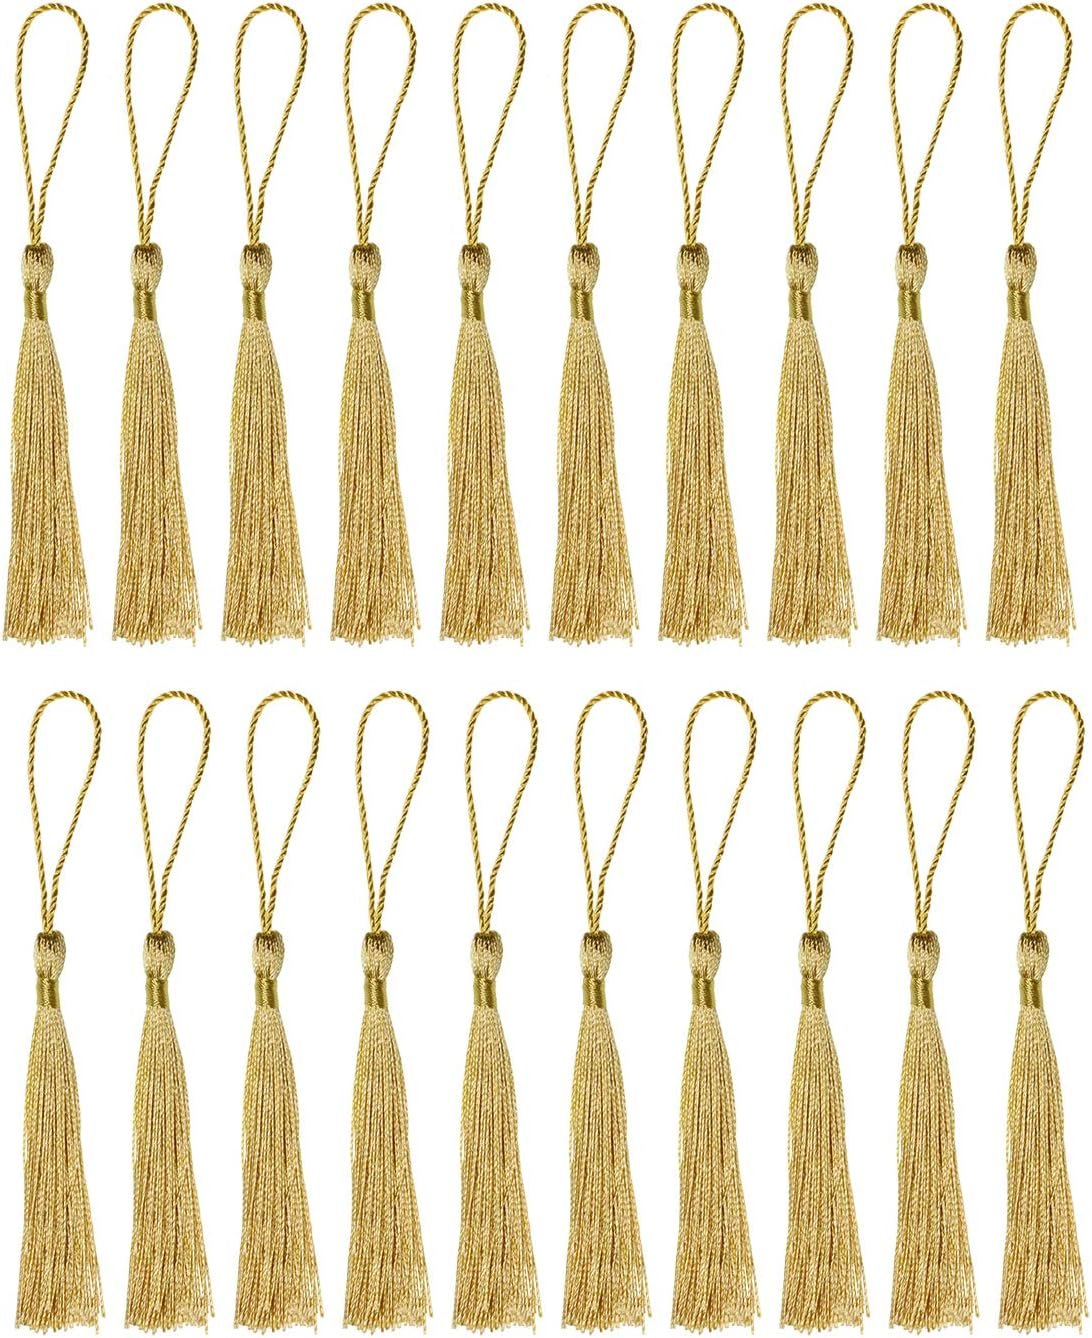
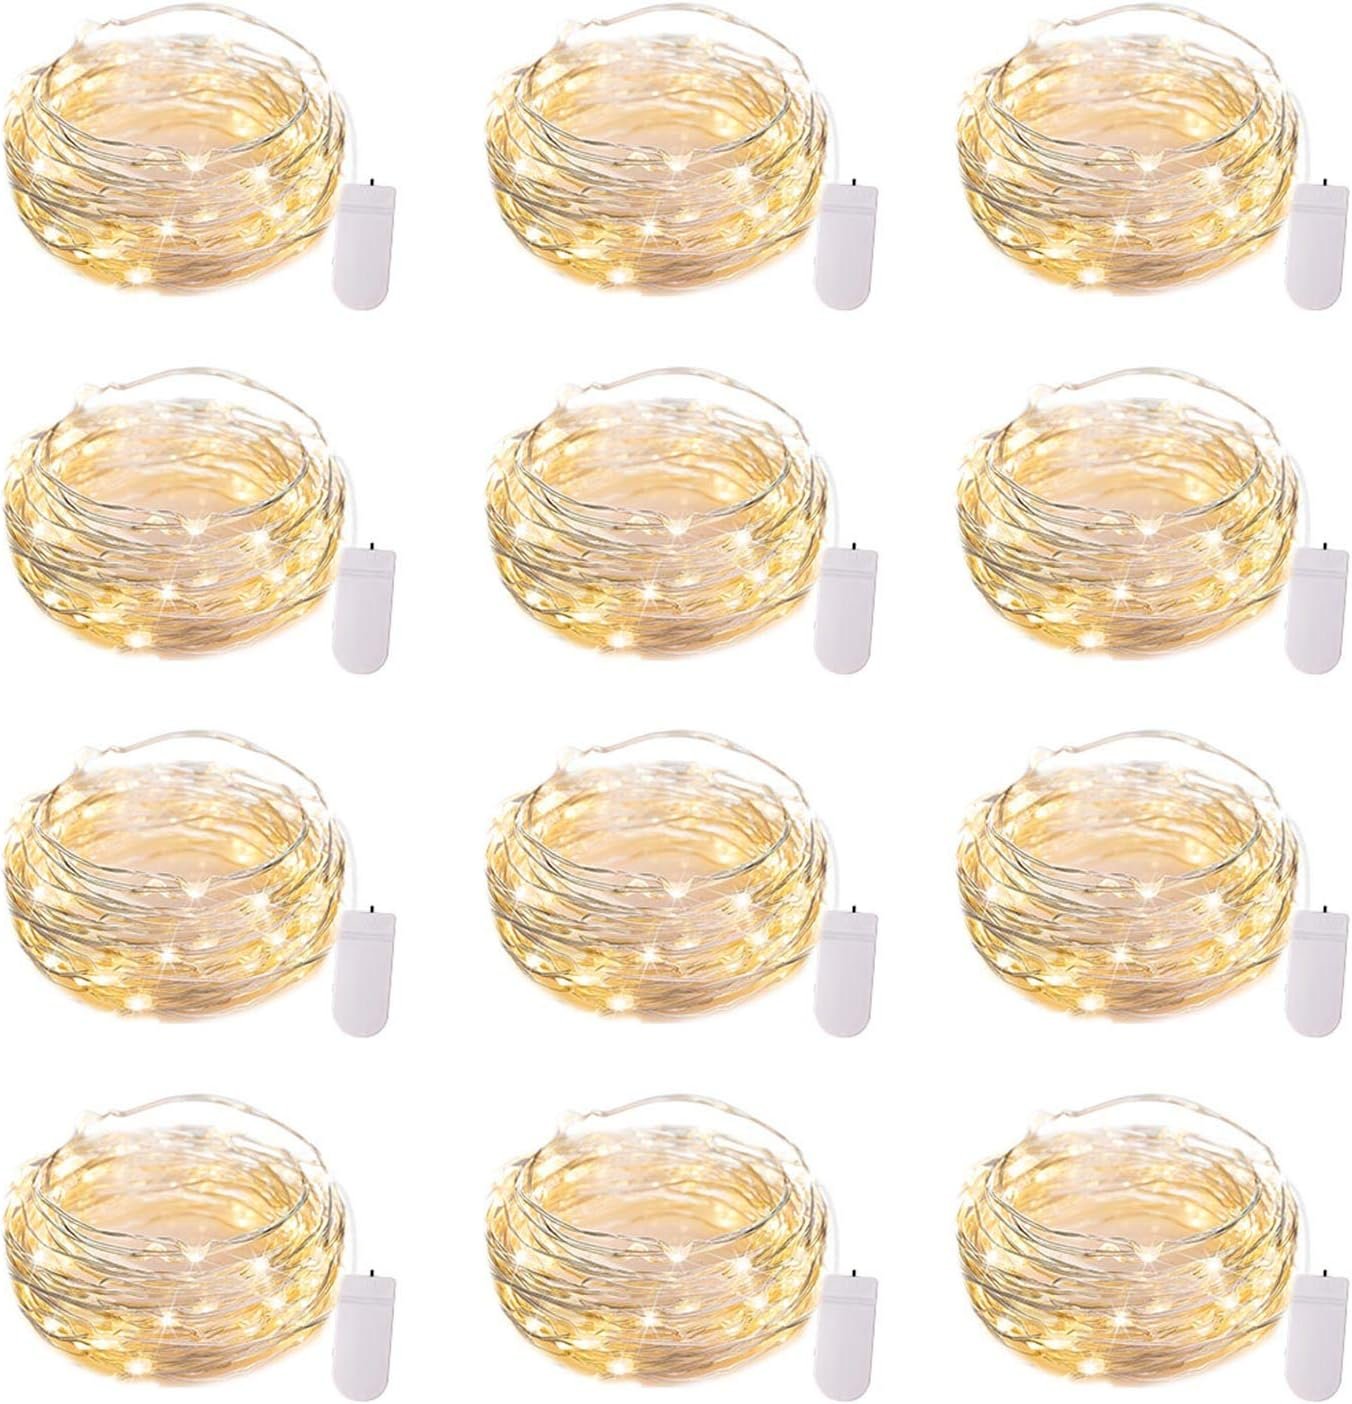
I added gold trim around the front opening to make it look more complete and tied up the curtain with some gold ornate ribbon. I added fairy lights and would like to add vines and mini toadstools onto the front!
Here are some trim and accessories I found that I would also love to add!
Every year I do a photoshoot with Cove on her birthday! Last year I set up a whole tea party and it was what she was into at the time. This year I used her puppet theatre as her setup which was so perfect for her right now. I just love the memories captured!


I love hopping in on the fun and hope as the kids get a bit older they can continue imagining together!

Thanks so much for reading and drop any questions or comments below I hope you have fun making your own!
xoxo,
