

Toadstool Table

I knew I had to make our own toadstool table to second we started designing our playground! I looked for inspiration and ideas and quickly realized there wasn’t much information or examples out there!
I had so many people send me the toadstool furniture that Cass Make Home made and after thinking for weeks on how to do it I ended up following her method with a couple changes of my own!
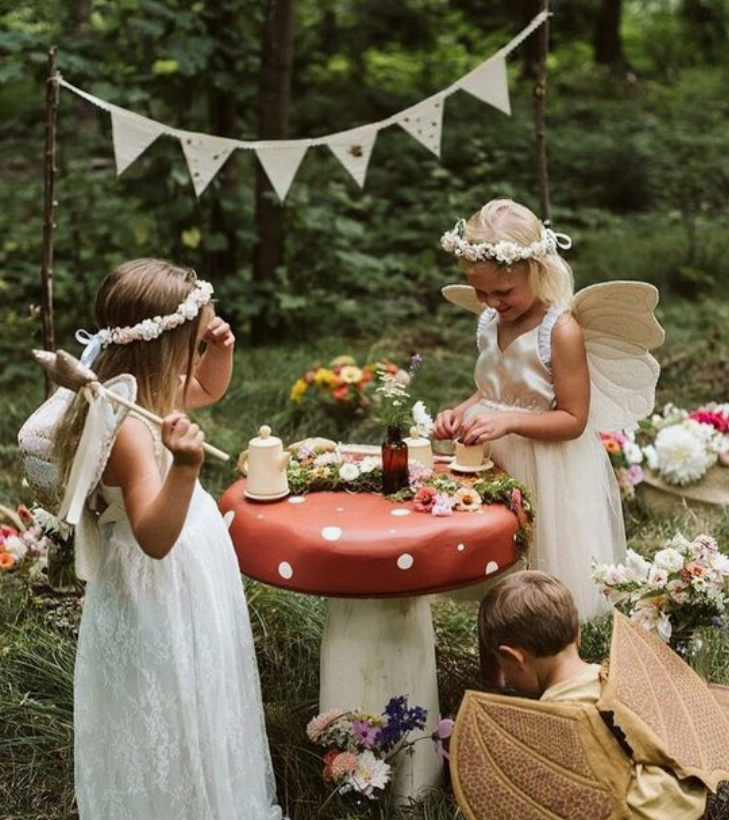
The inspiration I ended up using was this image! I love how her toadstool table turned out and that’s how I wanted mine to look.
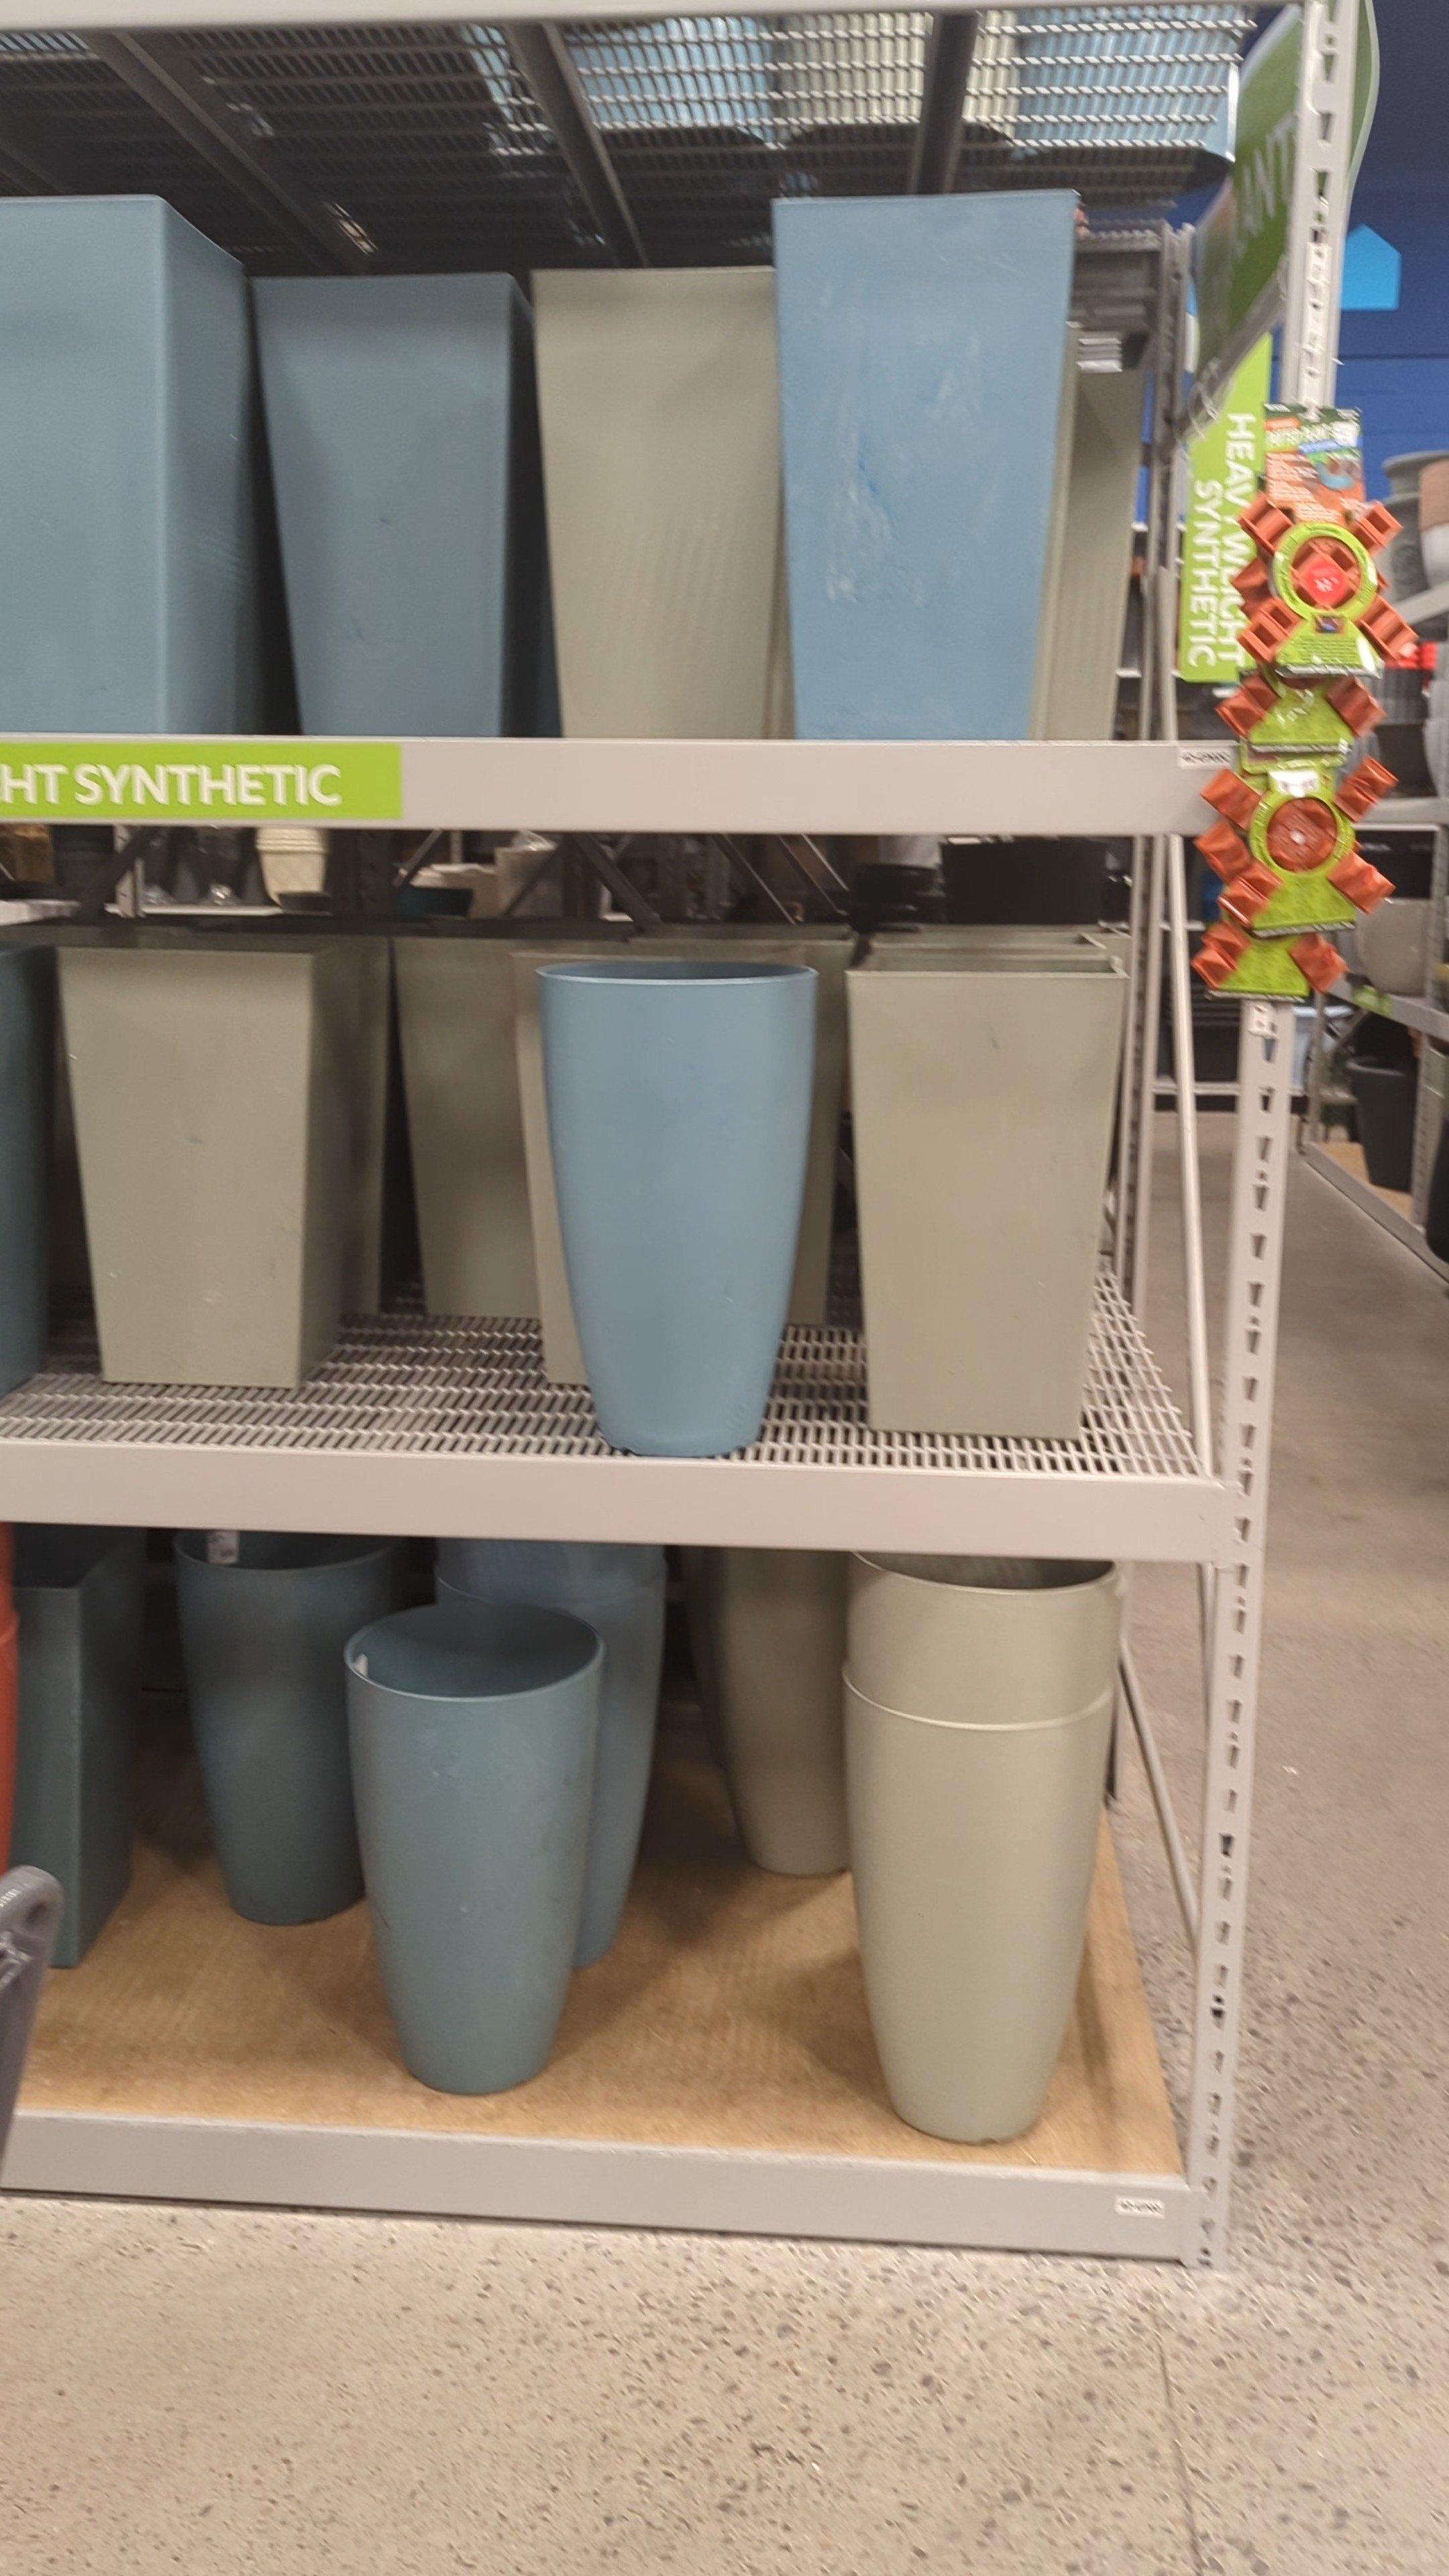
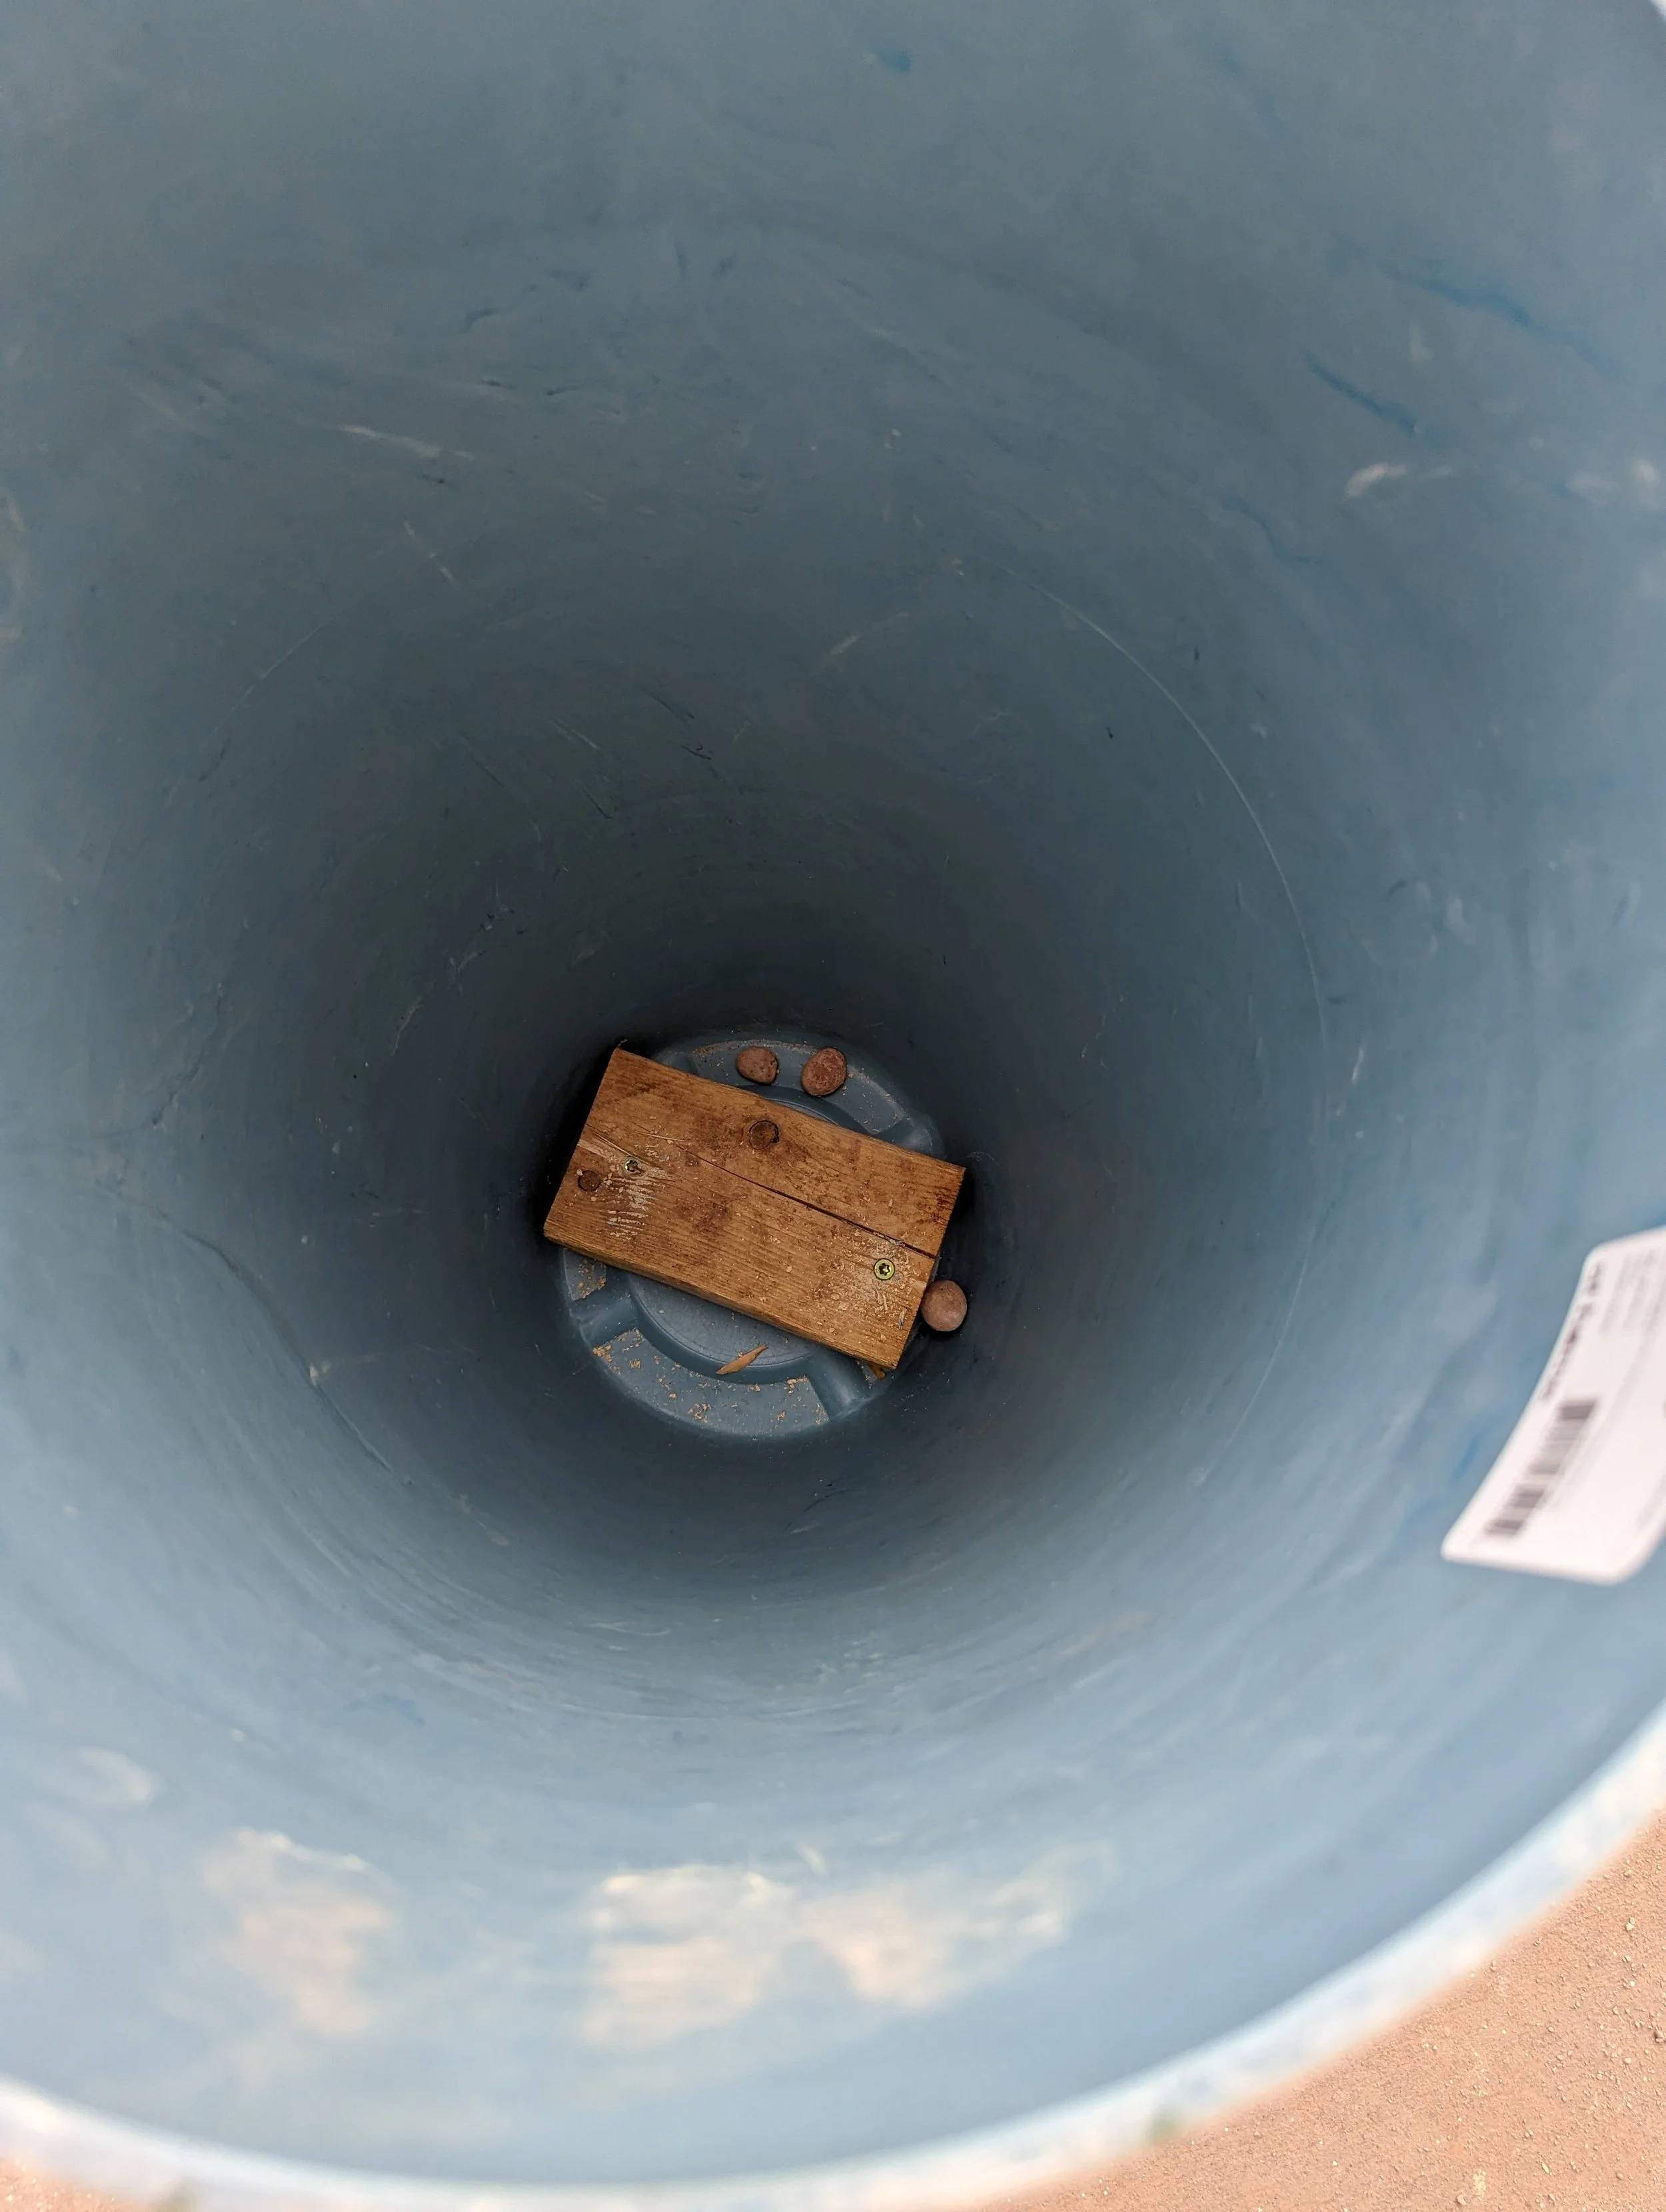
I began by stopping into AtHome to get my table base which was a $30 planter that is tall, skinny, and slightly tapering. This was my first time going into AtHome and I can’t believe I hadn’t been in there before! I would defintiely recommend them since I looked at Walmart, Home depot, Lowes and a few smaller local shops that didn’t have what I was looking for.
Next, I got my table top supplies at Home Depot which was three wooden discs for $17.50 each measuring 2ftx2ft.

I got home and did a fit test to see if I liked the spot, height, and size of my table! I gave it a thumbs up and got to work!

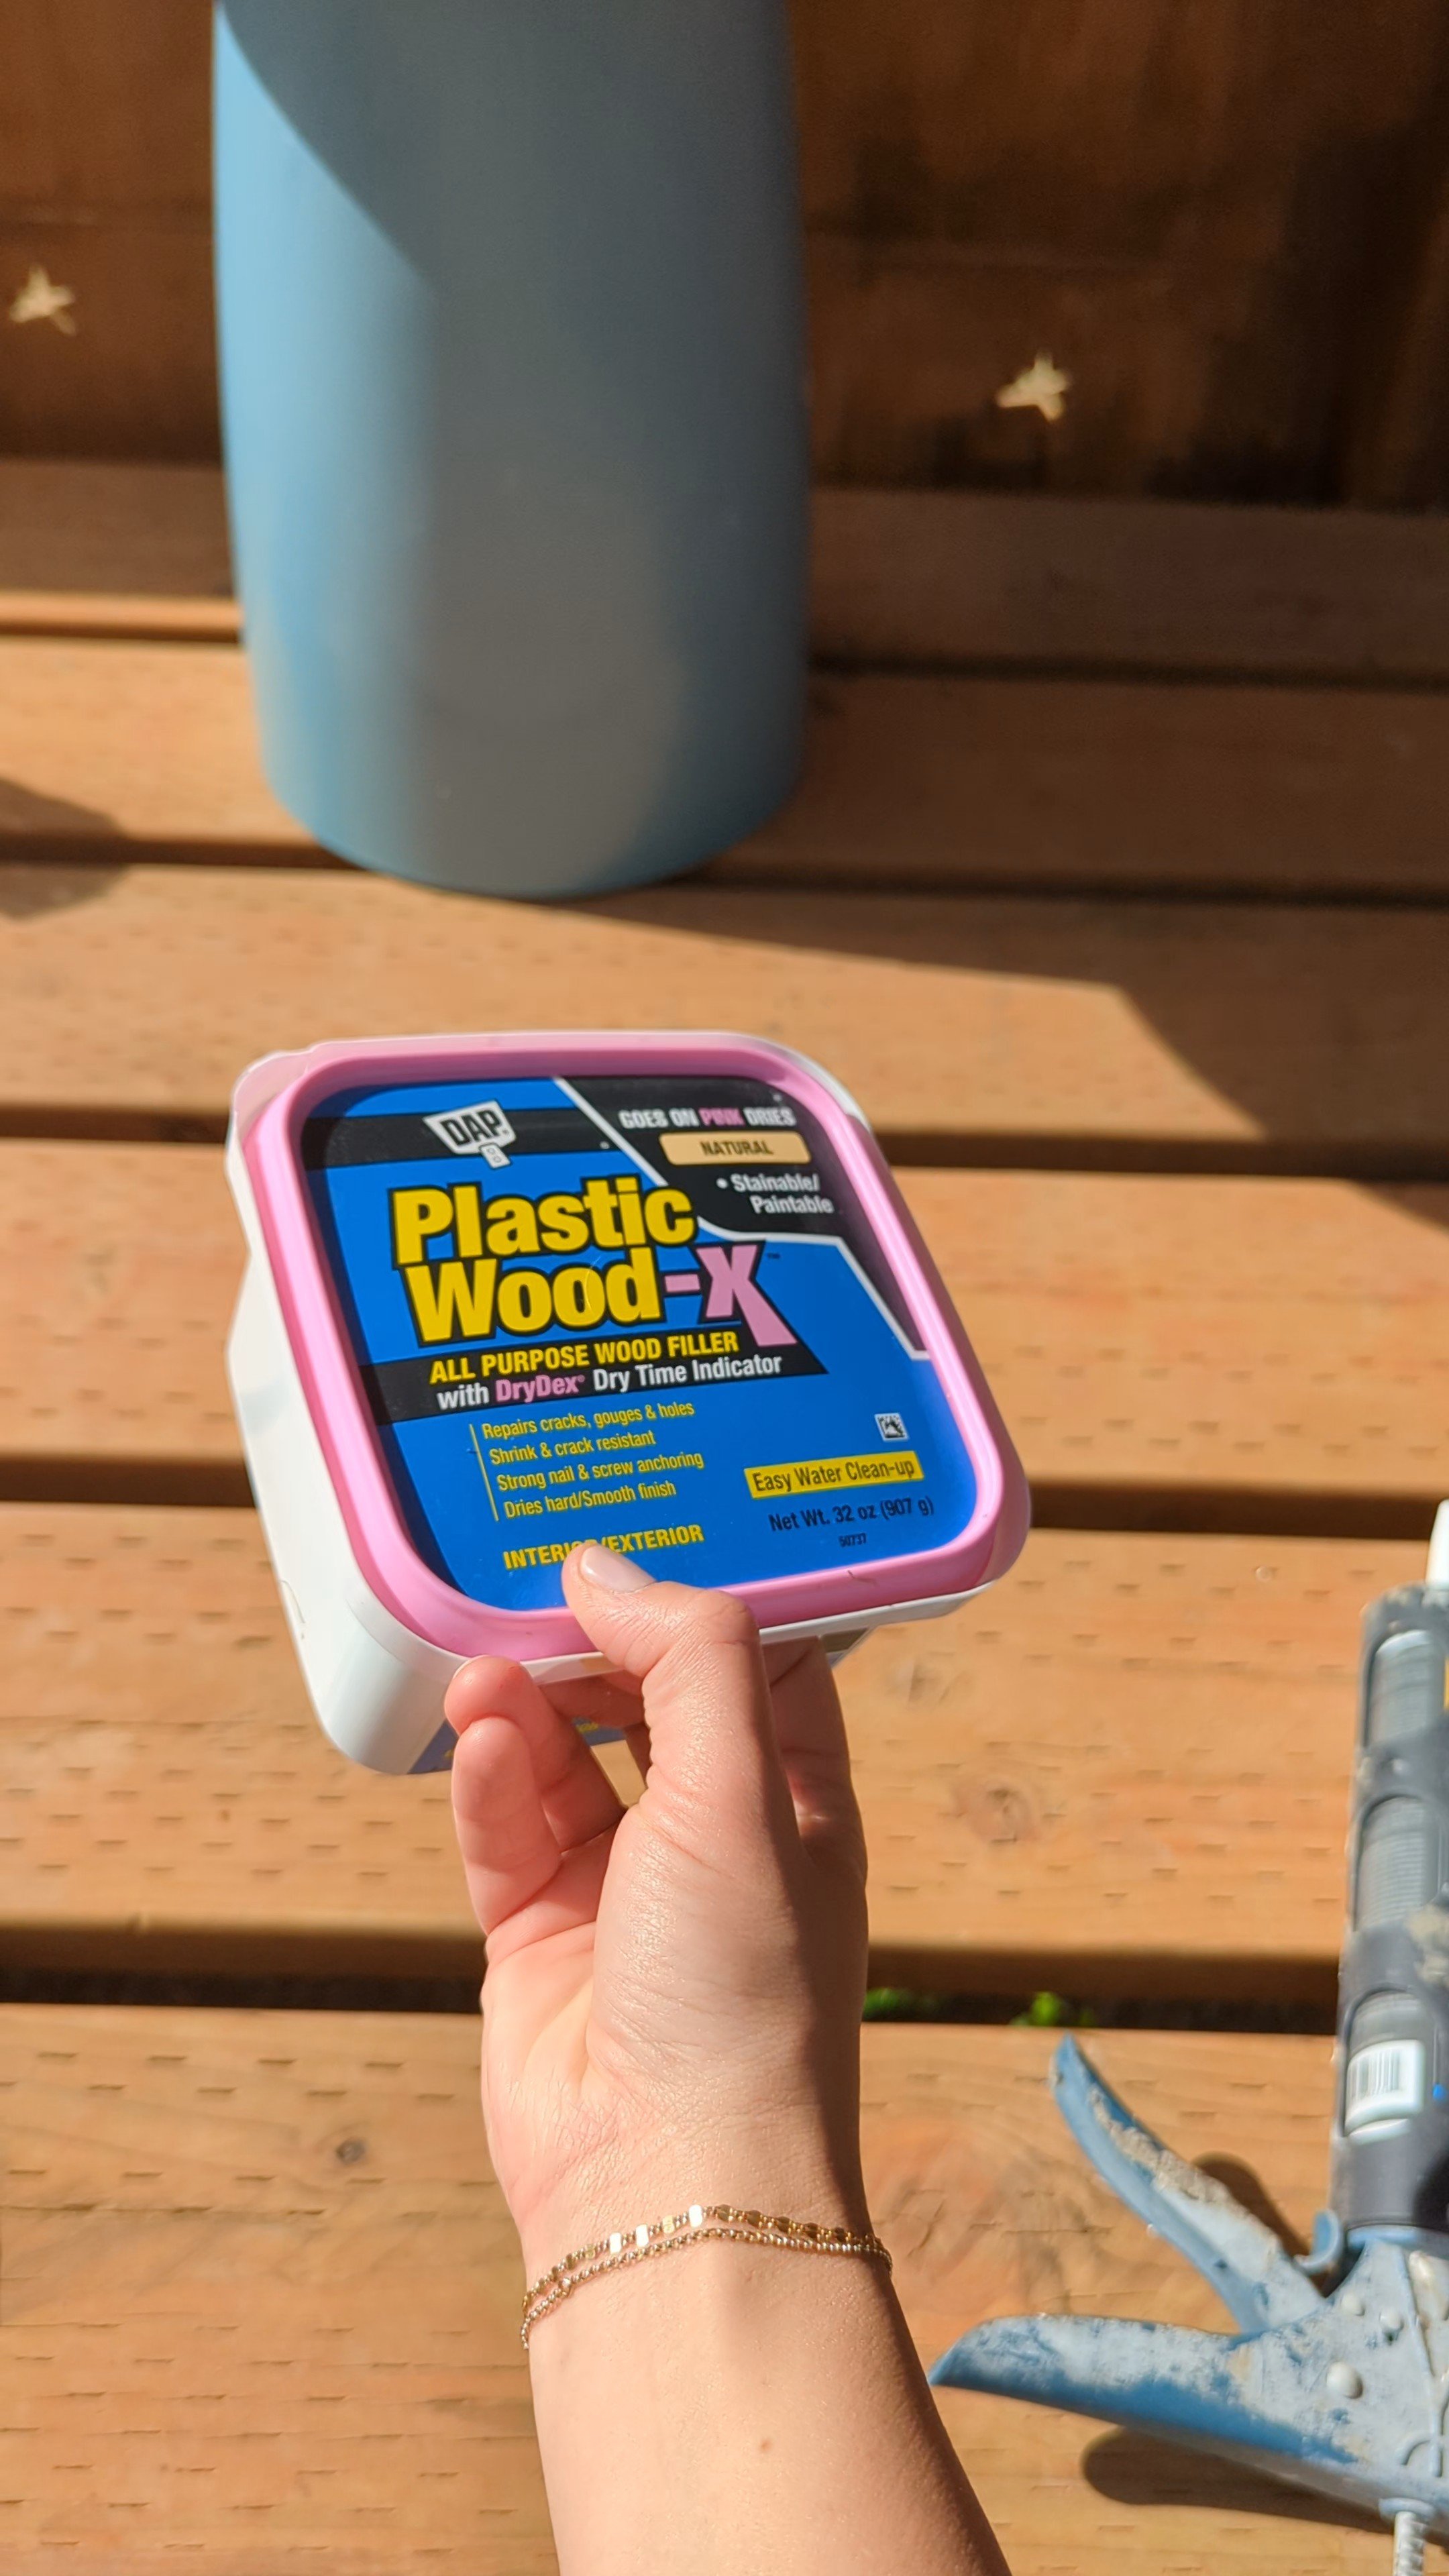
My main supplies were:
Wood filler ( was later told to use bondo instead)
Off white Spray Paint
Foam Paint brush (I liked using this for the top so there were no brush lines)
Regular/Craft Paint Brush (this gives your table base lines/texture)
Mushroom Base Paint Sample: Accessible Beige
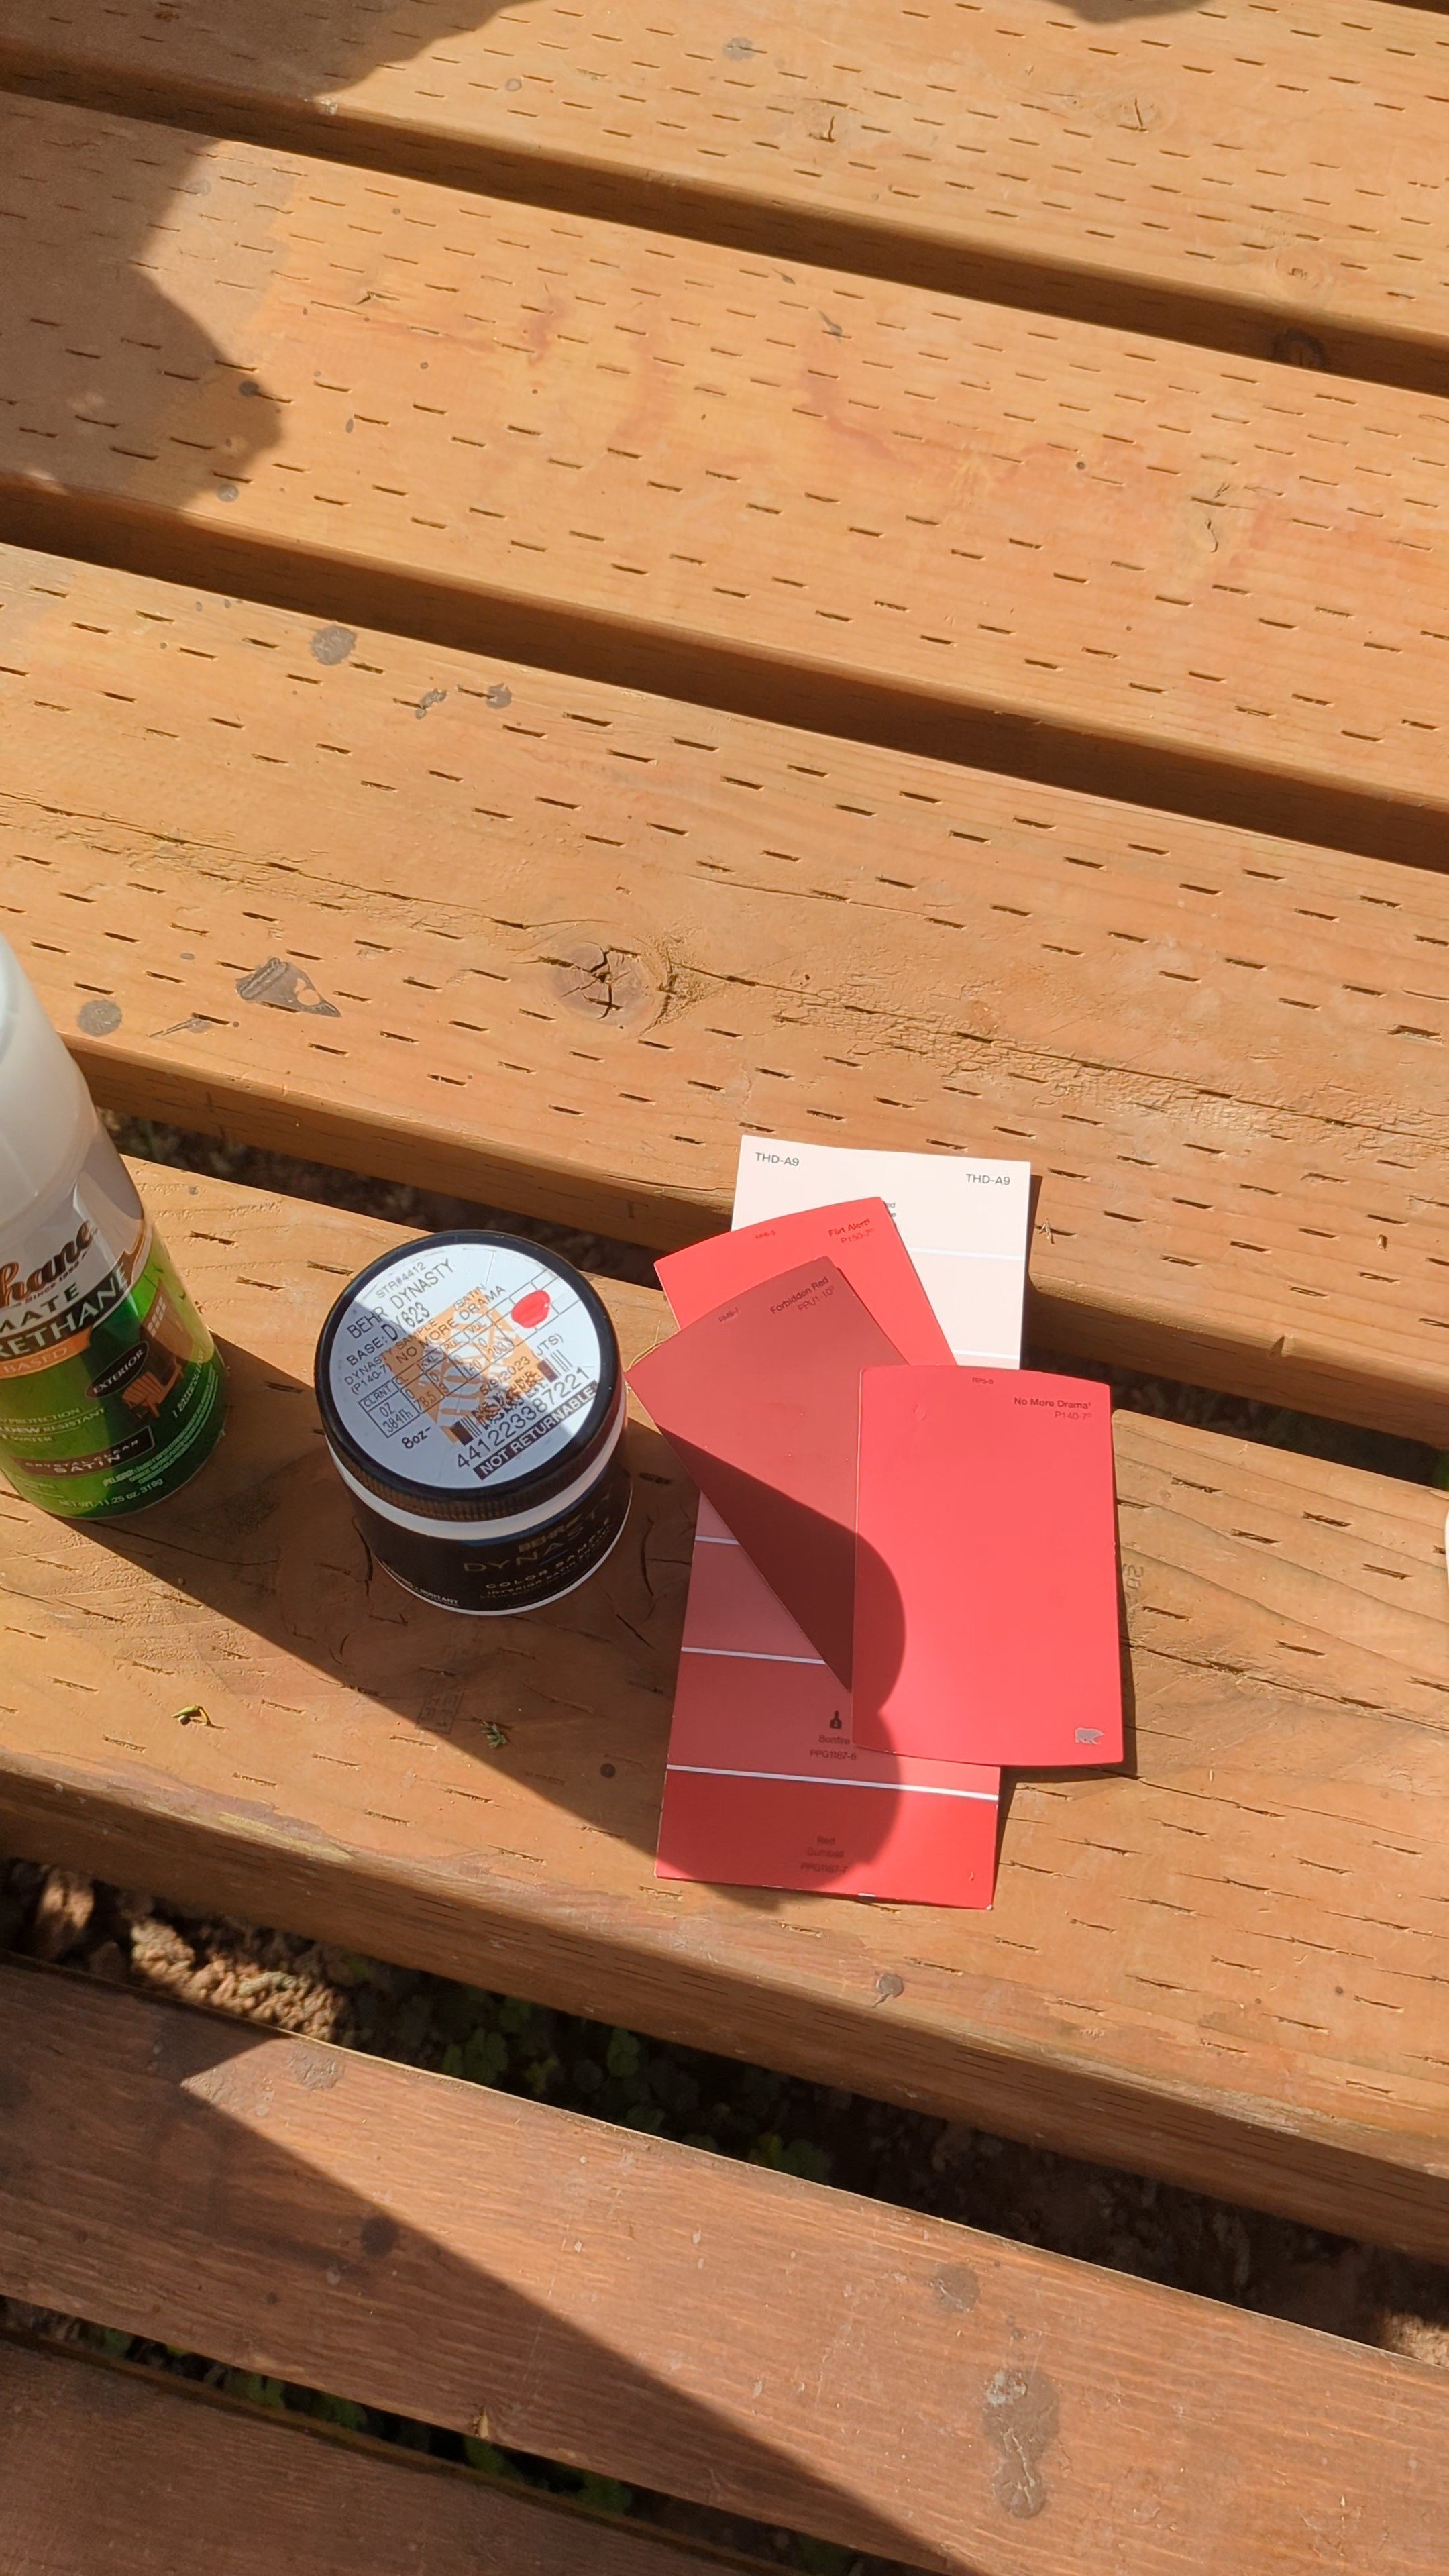
Red Paint Sample: No More Drama- Behr
White Paint Sample: Greek Villa
Screws 2” or 2 1/2” (I used about 10)

Of COURSE I spilled the red paint all over the playground right before I sat down and made a giant tear in my favorite dress. I’m such a clutz sometimes and had to keep going from being sad about it.

I got all my paint ready on my rinky dinky paint station using an old piece of plywood and my work horses that worked really well!

I have so many paint samples that I wanted to use what I already had as much as possible.

I used the 123 primer and then this off white spray paint that I already had in an off white creamy color.

Then, I used my thick paintbrush to brush a rough layer of accessible beige in up & down then diagonal brush strokes. I brushed some brown and green in places to to give it dimension.

Then, I used my liquid nails to attach one of my wood pieces to the table base. *This didn’t end up working well for me so we ended up screwing in screws later.*

Then I used more liquid nails to layer the other two discs, clamped them down together, and still had to end up putting in about 6 screws going up through the bottom and that worked great!

Time to get rid of those grooves! I used my hands for this since I couldn’t find my putty knife and I think it was actually easier this way! If you don’t mind the feeling of clay or playdough that’s all it felt like but I had more manipulation and control.

After letting the wood filler completely dry I went to start sanding and the top popped off so Dallin put in a piece of wood so the screws wouldn’t go through, and put in two long wood screws.
Next Dallin got our reciprocating saw and I instructed him as he cut since I was asking for a funny thing. I had him take out chunks of the table top that were just along the top rim not the bottom rim.

Basically just a small groove that can be sanded and smoothed out.

I sanded and smoothed out the first one and thought it already looked so much better and then we made 4 more “grooves” so 5 total. I sanded the entire thing really well and ended up doing one heavy layer of wood filler, then a light second layer, and finally a touch up layer just to get small cracks.

I wiped the whole table top down and painted it with 123 primer and waited an hour to dry before painting my color!

Next, I painted my table top the “No more Drama” color and did a pouring effect! I poured it on the table and used my foam brush to move it around like a glaze. That made it VERY smooth and left no brushstrokes. It also made it so I didn’t have to do 5 layers of paint haha.

I did a vote on my instagram if I should do small polkadots or large polkadots and the vote was definitely in favor of larger polkadots. I agreed I think that made it look more toadstool-like!

I tried a couple different ways to get my polkadots. I started with a round sponge and ended up hating that so then I used a roller and didn’t love it but it did the trick, then finally touched it up with a small craft paintbrush.

Here’s how it looked after the painting and before the final top coat! I got an oil based top coat but that can turn your white yellow so I should have gotten the water based and needed to run to the store first before continuing.


Thanks you following along, friend! Drop any questions or comments below and I hope you try making your own!
xoxo,
